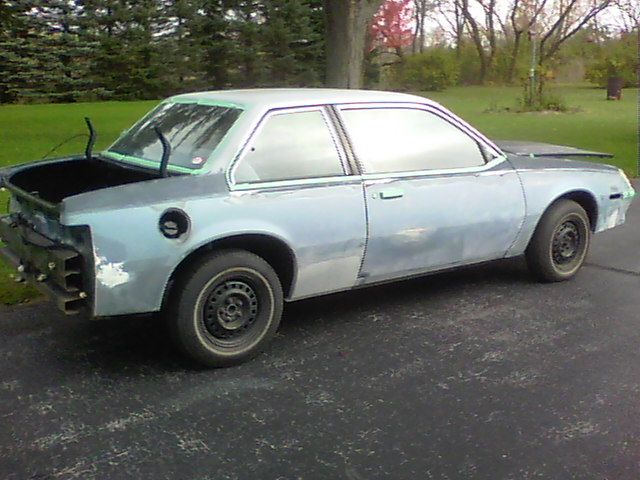
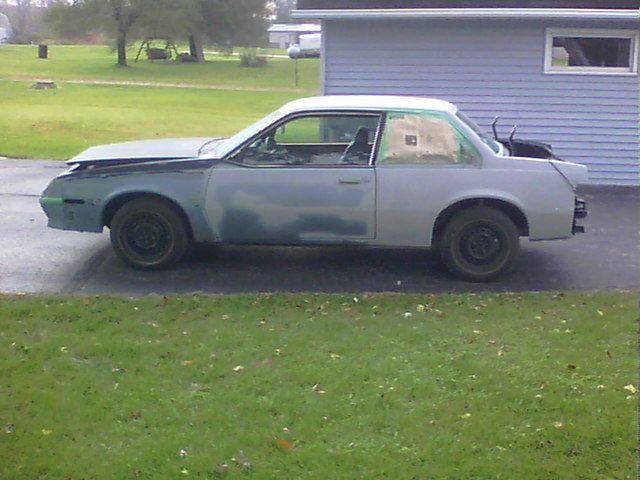
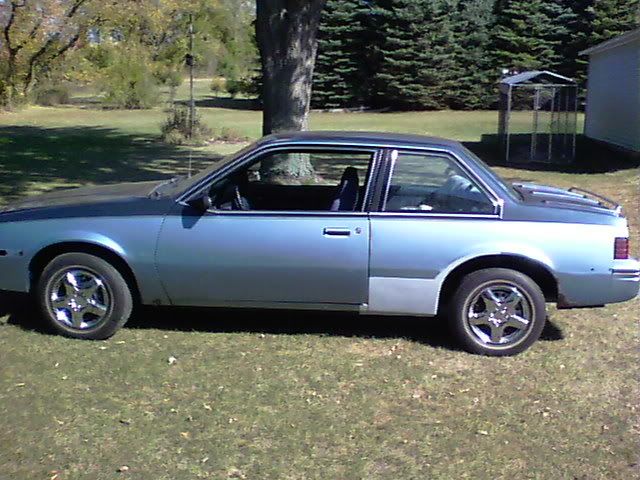
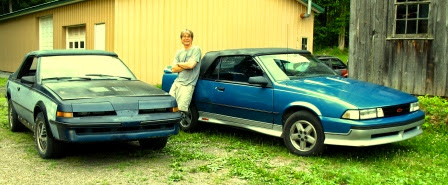
i "ve been busy working on the hawk and things are going well. here is a list and some pics of the progress.
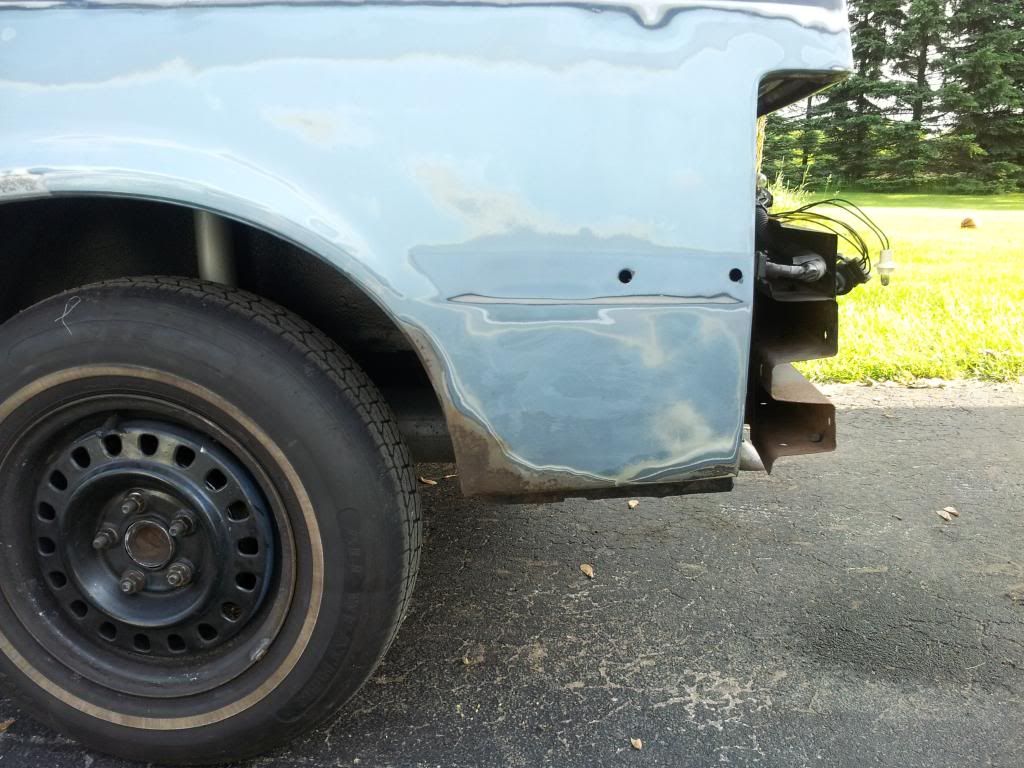
patch panels welded in front of both rear wheels.
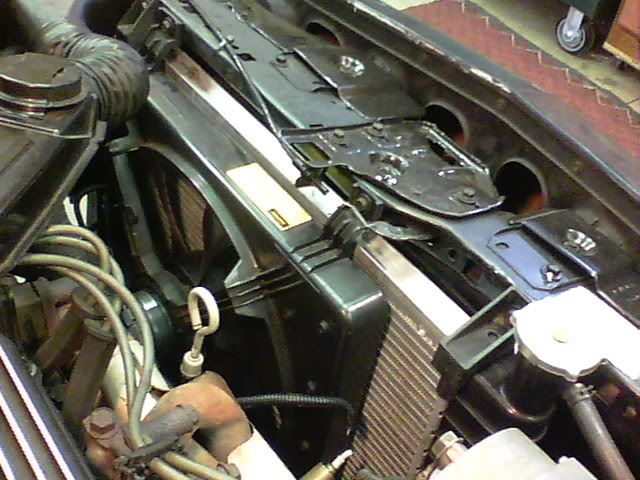
new radiator installed.
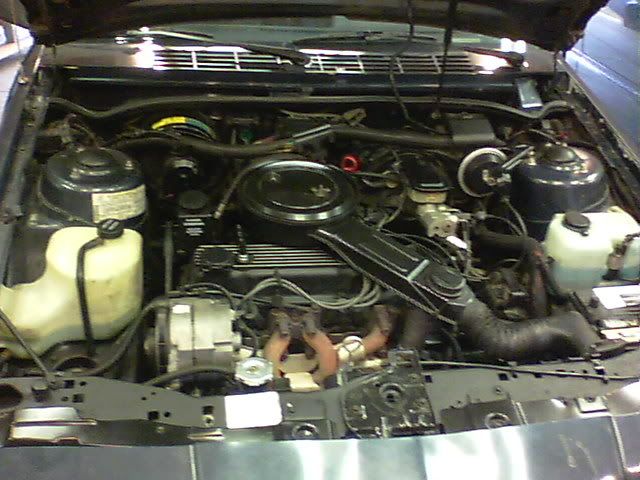
cleaned up the engine bay.
new brakes all the way around.
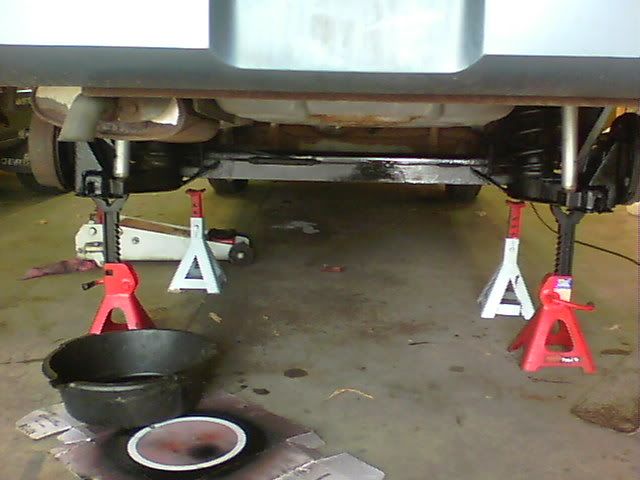
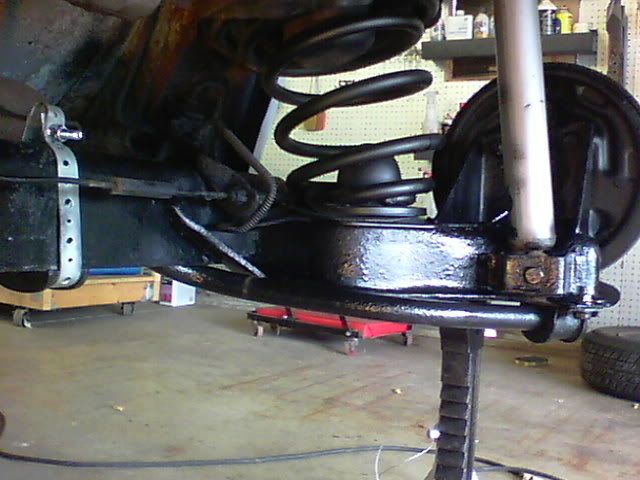
cleaned and painted rear axle and swaybar install'
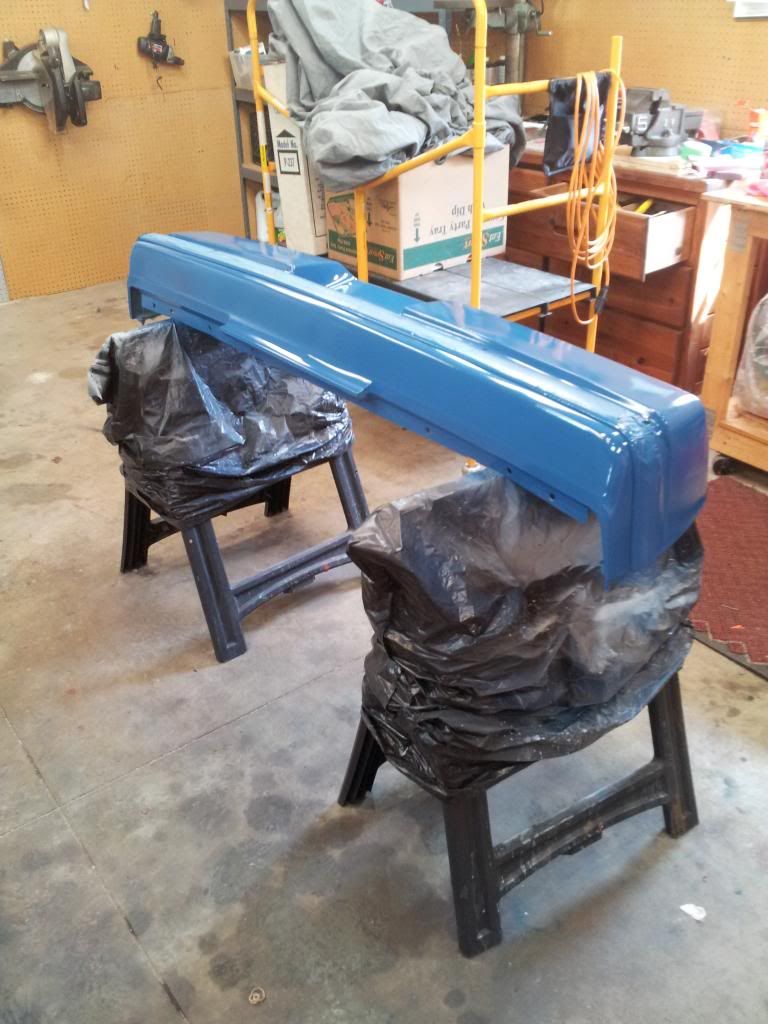
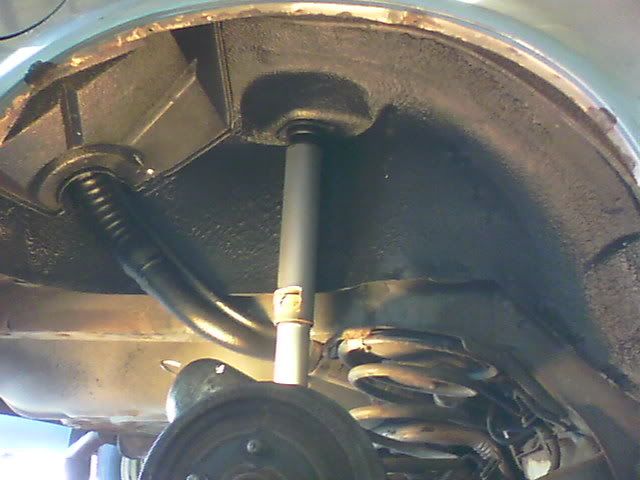
undercoating of wheel wells and painting of plastic parts


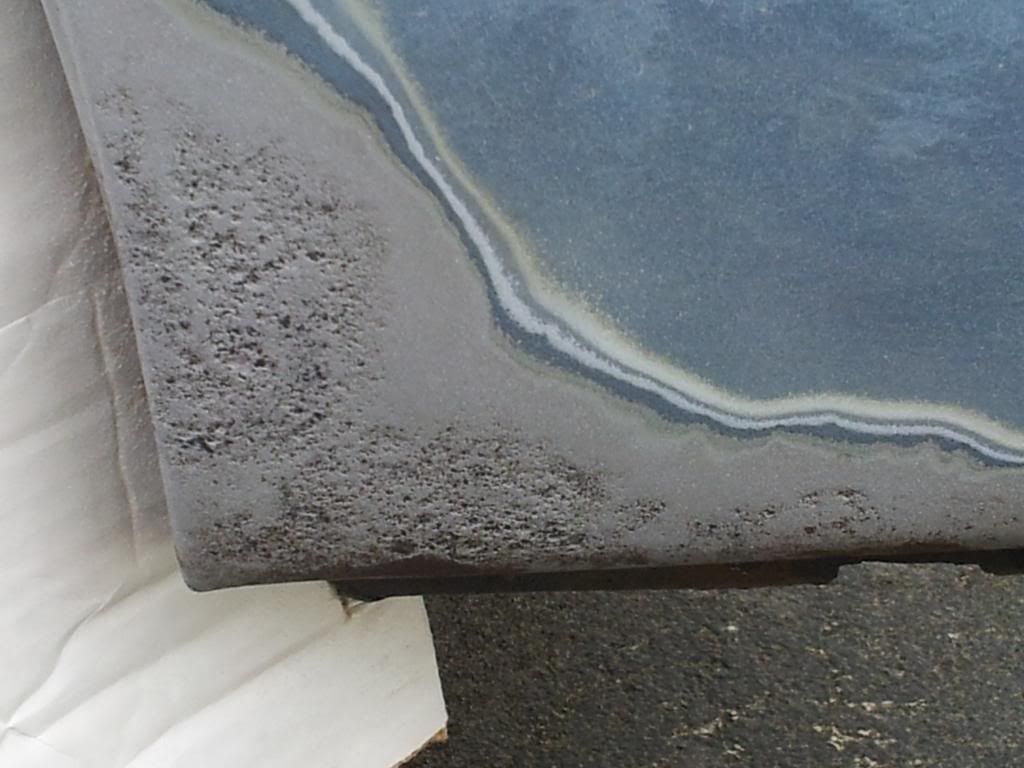
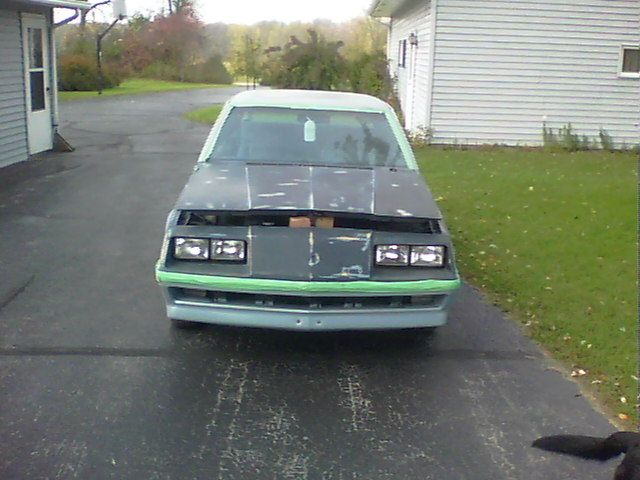
i am going to start sanding and priming the body a section at a time, a tuff and messy job. i hate dirt!
Looks like you have done some nice work there.
Keep us updated.

Always fun when doing resto work.Doing it in steps makes each part better a little at a time.I see your engine has some serious oil on the pass side,maybe your oil pan is the culprit?I know they can leak like a river if not done thoroughly and I mean stupid clean and great gasket seale like permatexs the right stuff(that is the real name of it).

i did have a leaking valve cover ron. i think it must have been leaking for years before i got the car a couple years ago.i think the former owner was very sloppy when removing the oil filter as there is tons of crud in that area. i scraped alot off already.iam thinking about getting it steam cleaned but am worried about water in the electricals. the oil pan does have a small leak but i cant justify all that work with the amount of oil it is losing right now(leaves about a spot the size of a half dollar after several days of sitting) if i get to the point where i think it has to be done i will probably be asking you and everyone a lot of ?s
Great photos!! Great work to go with them :-)
So unusual to see an OHV in a Pontiac. Most all came with the OHC. Parts and reliability are on your side though! I've got one of each and the OHC is a very finicky design. I think the worst design on your engine is the coil location. I also noticed with interest that you have the power steering pump with the reservoir , the OHC engines have the pump with the reservoir located on the firewall. I had thought this was proprietary to Pontiac/Oldsmobile/Buick. Turns out it was dictated by engine installed.
I had a valve cover gasket go too. Had to use a cork design, the neoprene didn't hold for me. LoL, the passenger side subframe on these do tend to be very well oiled/lubricated....I repainted the drivers side, but the oil from the filter changes made this side impossible to do, and hardly necessary!!
Just a little FYI. Transaxle from the OHC wont interchange with OHV. The starter location is on the firewall side on the OHC.
Keep the photos & Updates coming!! :-)
.

Opppsssss...I keep thinking you have a Pontiac. I'll have to do some homework and see if the Buicks came with the Brazil engines. I know the Cimarron used only the OHV , none rolled off with the Brazil engine - you'd think Cadillac could have benefited from having the Turbo option in their Models.
.
Orlen--my '85 Hawk does have the Brazilian 1.8
Thanks Wayne!!

It's wonderful to have some Buick owners amongst us to keep us informed!!
We have only a lonely - one such example running the local streets here. Seems to be a late version, solid white 4 door, but in excellent condition. Never seen to be in the right place or with my camera to catch a photo though.
.
i'm going to be ordering some new carpet soon. can someone tell me the factory code colors from these build sheets? i also could use the names of a few good suppliers. thanks.
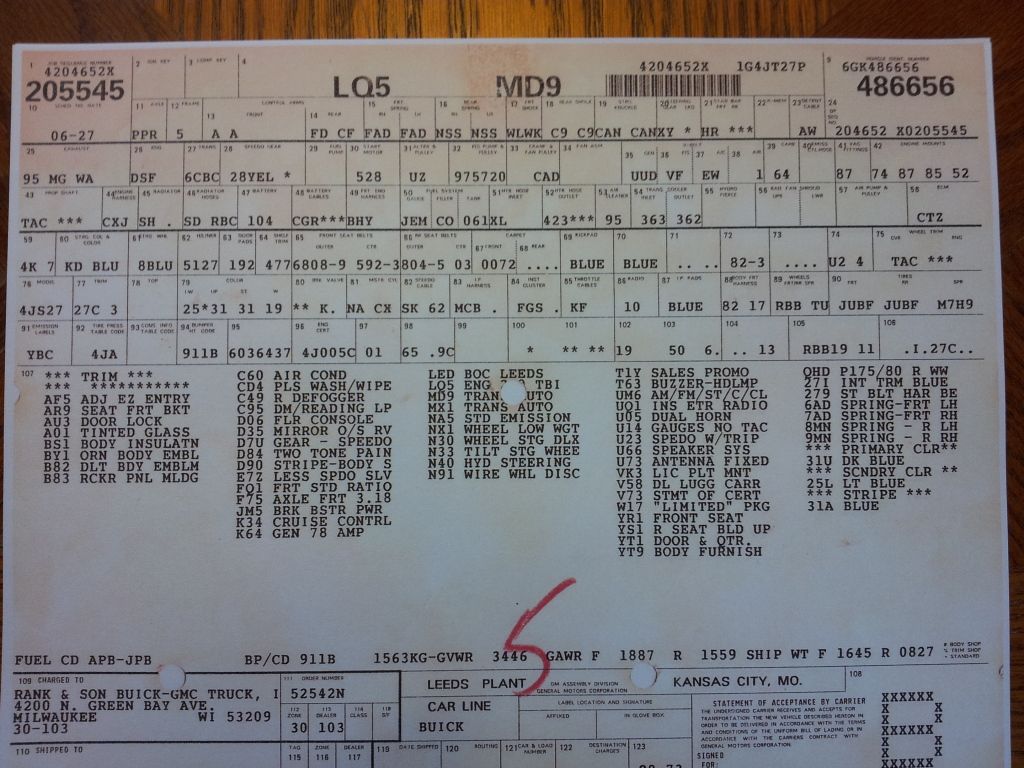
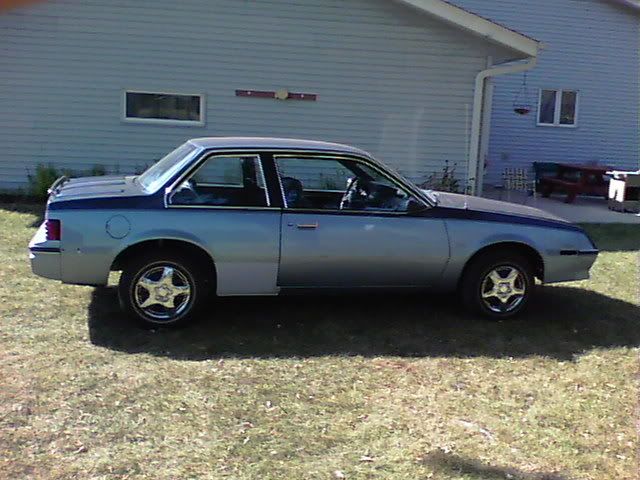
It is right at the bottom of the last picture. DIS Lacquer WA-L8574 U8592 27c
Lacquer
L-8574 = L means Lower body - Dark Blue
U-8592 = Upperbody - Light Blue
27c= Clear Coat Blue Metalic
http://paintref.com/cgi-bin/colorcodedisplay.cgi?gmcode=WA8574&rows=50
I believe those are correct. A paint show can help you but It should get you 80% of the way there

On the inside my car looks like a fighter jet.
i'm sorry rob i should have been more specific, i am looking for the interior color codes for the carpet and interior trim.
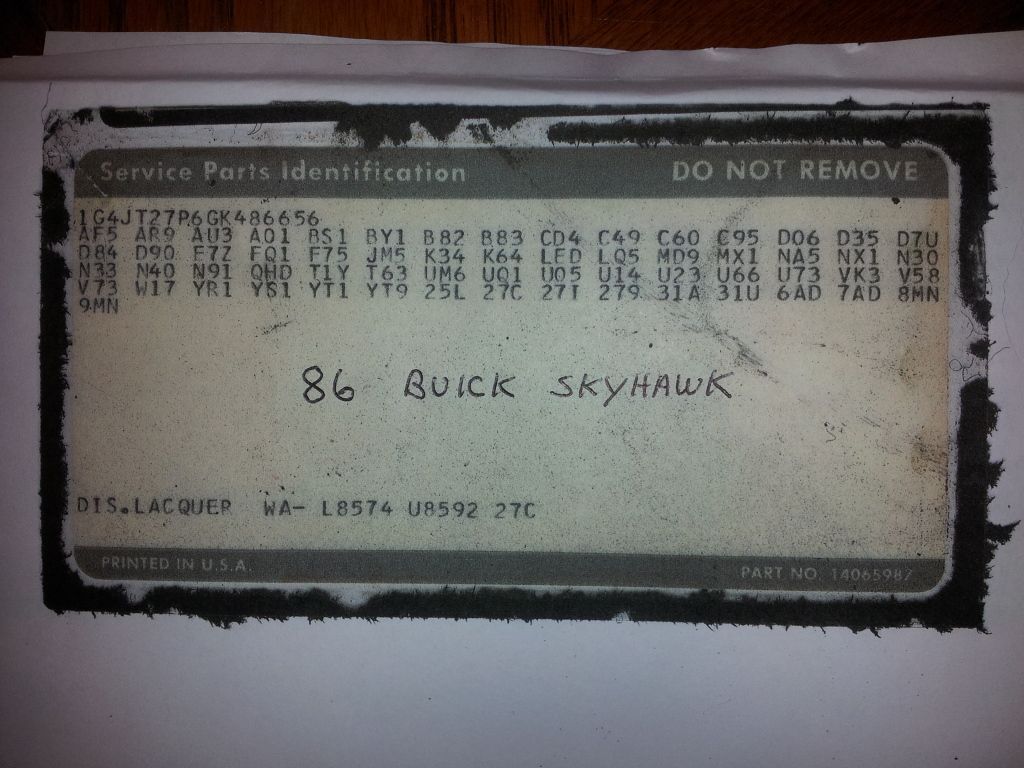
If I remember correctly, I think I saw carpet codes on the list that is on your trunk spare tire cover.
27I = interior trim color dark blue
(Quoting a past member)-"Never underestimate a First Gen"
Get carpet from here.
http://www.ebay.com/itm/89-90-91-92-93-94-Chevrolet-Cavalier-Convertible-Carpet-/120982423706?pt=Motors_Car_Truck_Parts_Accessories&hash=item1c2b1d489a&vxp=mtr
I ordered the 801 a few years ago. It was the best carpet I ever found for the price. I also paid them an extra $40 for the molded trunk carpet. It is exactly like the OEM carpet. You have to trim the edges a little, about 4 inches on my coupe and a lot for the back seat since it came about 2 feet too long. I also had to cut holes for the shifter and seats. It was amazing. Jbodies never came with jet black carpet. Just pick the color that is closes to yours or that you want. Also the picture shows a two piece carpet but mine was one solid piece even had padding on the back and the plastic rubber for you driver and passenger floor.
On the inside my car looks like a fighter jet.
Rob Dotterer wrote: Jbodies never came with jet black carpet.
Yeah they did. Mine has black carpet and I've come across a few in a junkyard years ago as well.
http://www.accmats.com/ in case you want a customized carpet.

They came with a dark greyish black. It was never jet black.
On the inside my car looks like a fighter jet.
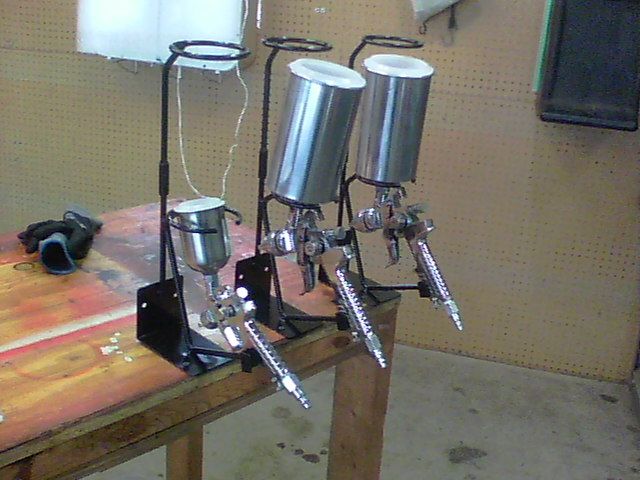
I might have to get one of those sand blasters myself!! What kind of Compressor are you feeding it with?
It is so easy to get overwhelmed with the entire project right in front of you, John. You are doing a Great Job on a has to be a very Rare Buick!! Keep going at your pace. Enjoy the Journey and try not to worry about the destination!!

...........................................................................

Yeah....great progress John....very inspiring. I have that same journey to travel once my garage is cleaned up after the GT disassembly project. Though I do want to mock up my car with all the GT items first, then do panel fit and tweaking before I get into the body work where you are at.
I am curious why you decided to sand the paint substrate, instead of strip to bare metal? If you don't have putty lying under the surface to redo, I like to strip to bare metal so the new paint is factory straight. I also think it takes a bit more time to fill in scratches and paint nicks, than it is to just start over by stripping to bare metal with a chemical stripper. One time I stripped my 87 Trans Am panel by pane in my drive way. I used a chemical called Captain Lees Metal Prep and Etchant. It would protect the bare metal from rusting until you were ready to paint the car, then it was sanded off so as not to effect the paint when it was applied. That stuff was so good, that it is also used to remove surface rust. During the middle of that process, a hurricane came up the coast and rained on the bare metal T/A for 2 days. I was so stressed at what the aftermath of the metal was going to be, but the car only sustained a tiny bit of rust. It was easily removed by reapplying the Captain Lees which ate the rust away and reprotected the metal. 2 weeks later, I painted the car with no problems.
I also like your little sandblasting gun. Does it clog easily? I hate my big outdoor blaster because the high air pressure clogs it easily and the slightest bit of moisture in the air line also clogs it easily too. I now just use Captain Lees to chemically strip most of the rust on my bodies. I used it last year to remove the 85+ year old rust on my 26 Willys Overland touring car.. It was amazing to see the shiny metal come out from underneath the rust on that old tin.
I see you painted the endure rear bumper. Did you add a flex additive to the paint or just shoot it hoping the paint would not spider web crack? What type of paint did you use? Was it base coat clear coat, enamel from a gun or rattle can?
Looks bad yet looks really good with the body ready for some color.Nice fixes and I know the key in paint is prep.I myself may buy a paint gun hvlp to paint a deck lid for sunny.I am just working on finishing up some projects from spring to summer now fall.Car does look a ton better even in the prep stage.
Can't wait to see this in new paint!
NIce progress.
It is a journey, not a destination...

It is Wonderful to see some old 1st gens getting such TLC!! With those 3 guns I am excited to see what you come up with! Just think, this will be your last year looking at your Hawk in this condition ever again - so don't wince too hard. I am still getting used to the paint job I completed this year on my old 'Bird- myself. Seems like it happend so fast I didn't get time to soak in the transformation....LoL
No doubt it will be an exceptional looking very rare J you will have when finished
Keep up the efforts - and Thanks for sharing with us John!!
.