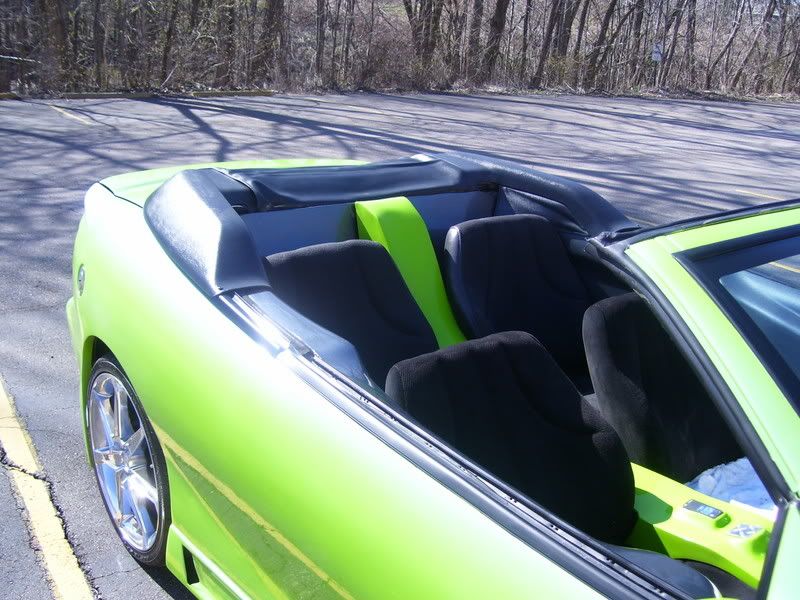
The time came where my rear bench seat was bringing my interior down do its time for a change. As with the rest of the seats...
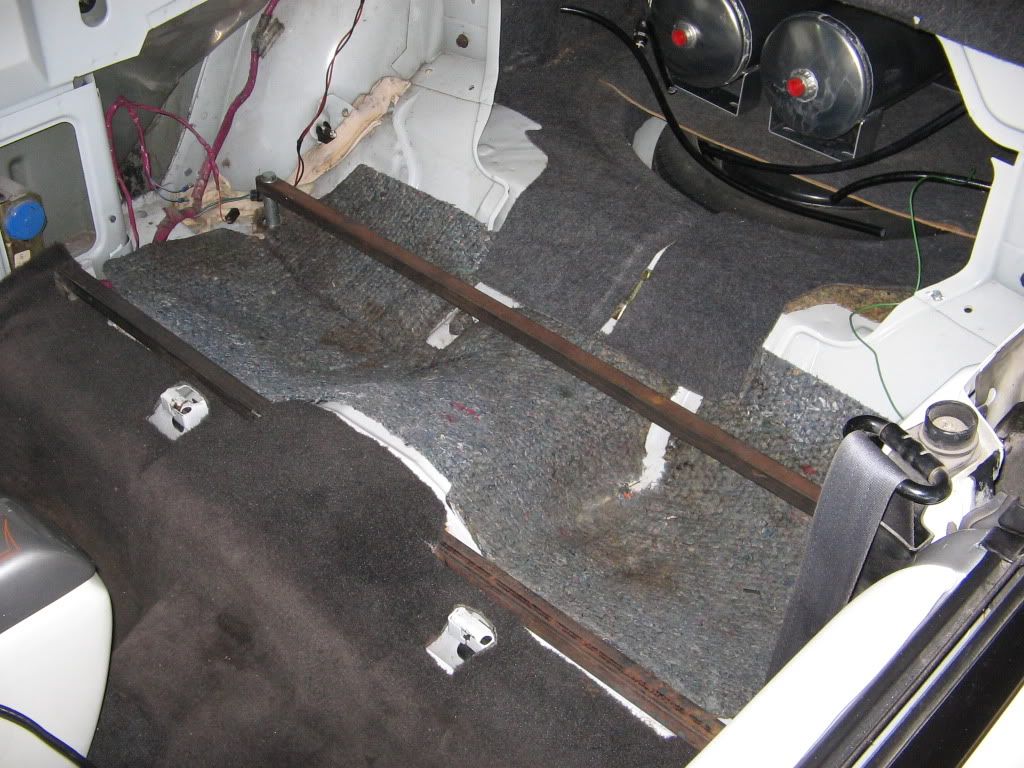
started with 10' of 1" square tubing. For the front brackets i cut the tubing at a angle to meet with the hump in the floor and welded it to the floor pan. The outboard end of the front bracket has a 2.5" riser welded to it then welded to the floor pan. This completed the front brackets. As for the rear cross member, theres no welding required. This bar will bolt into the stock seat belt bolt locations, approximately 53" wide. If you install the front cross bars linded up with the lateral seam in the floor pan this will give you the required 16.5" depth between the brackets that also aligns with the depth of the rail bolts on the bottoms of the seats.
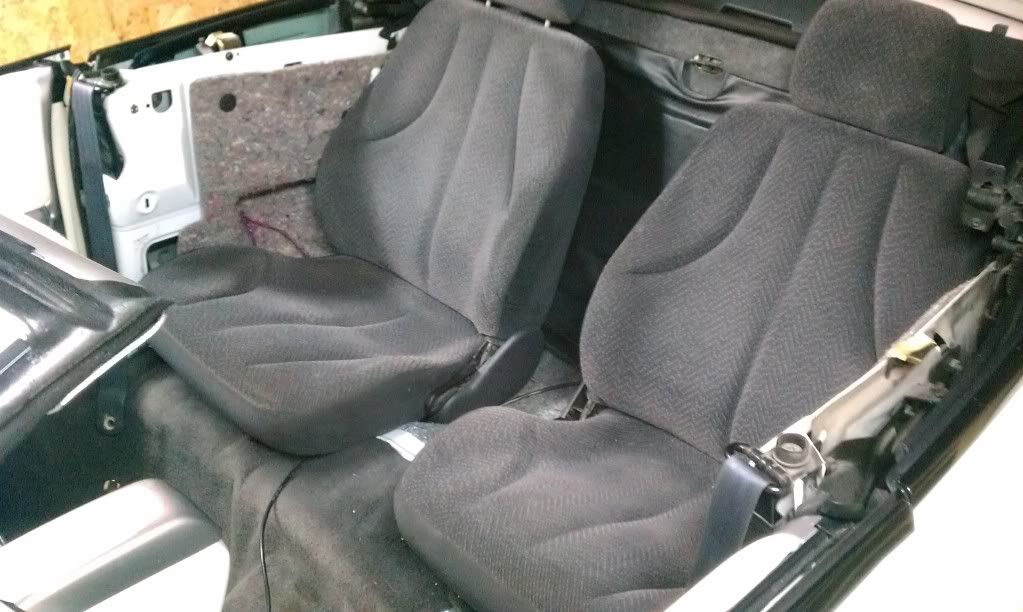
Stockers just setting in there.
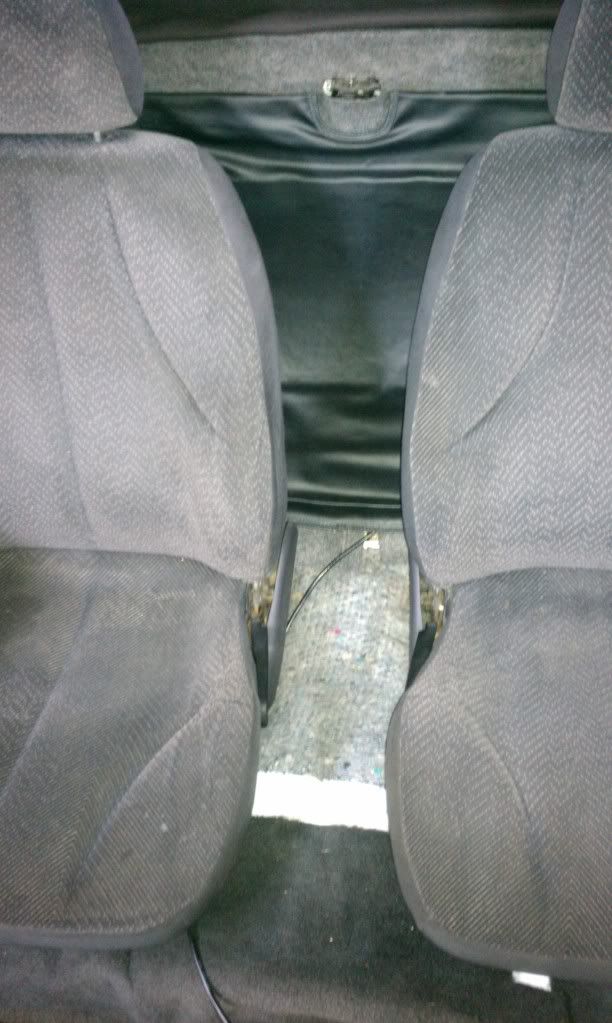
Space allowed for the custom console.
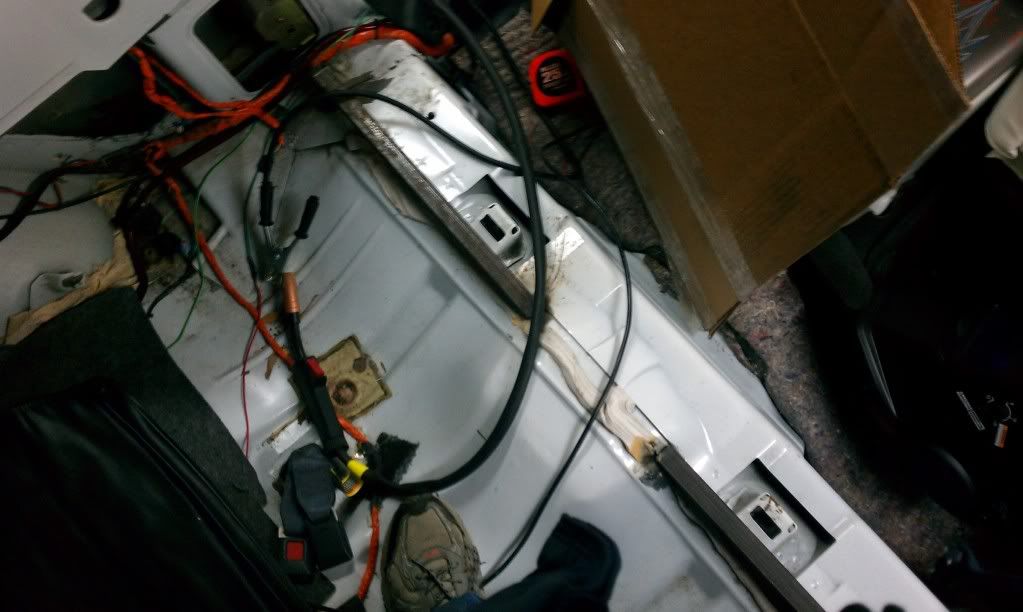
notice the alignment with the seam in the floor pan ^^^
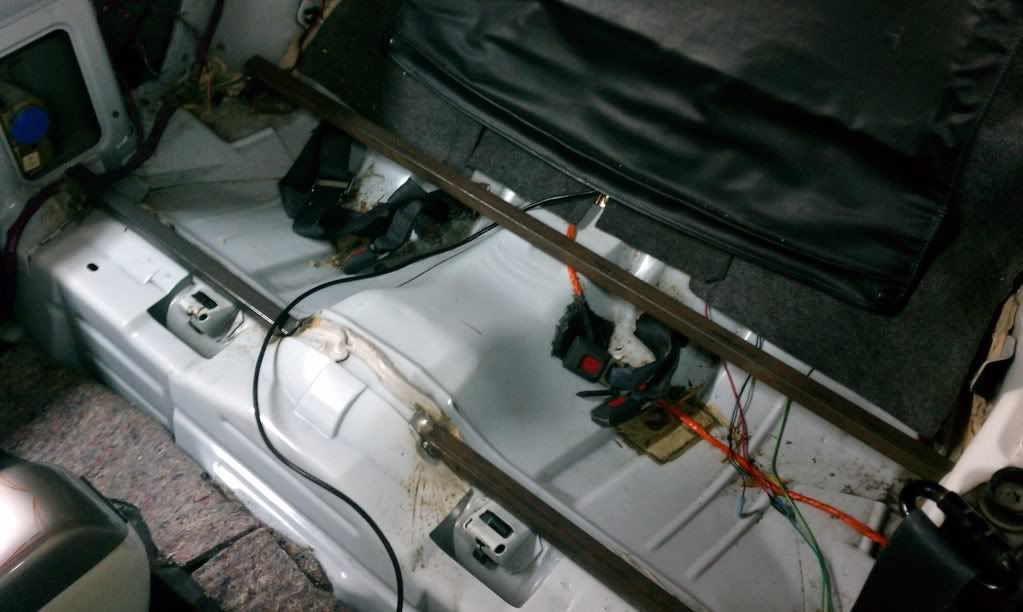
anchor the center of the rear cross bar if you like, but the fitment was tight once the juke was reisntalled.^^
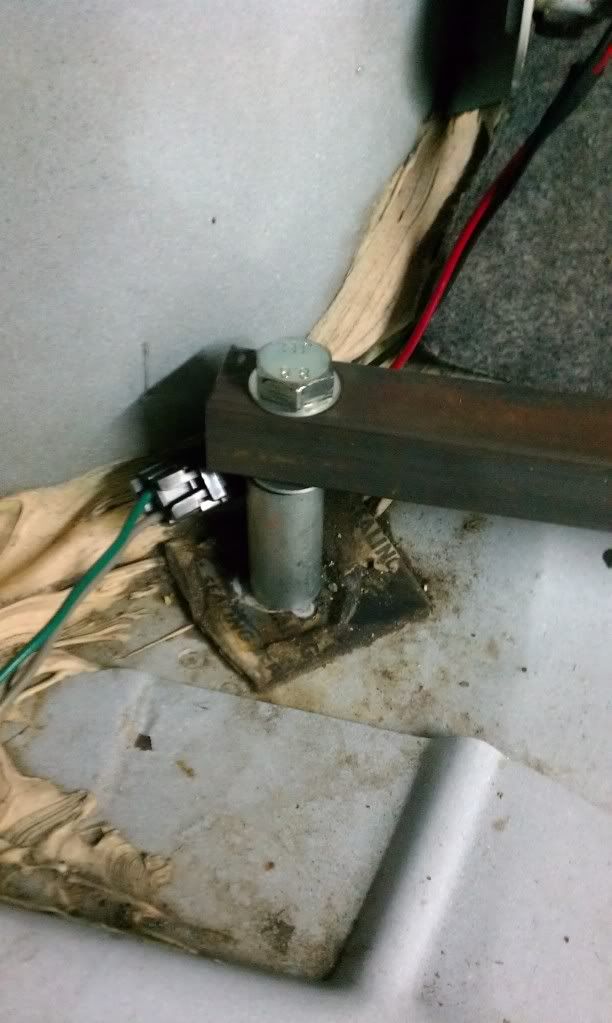
Used a piece of pipe as a 3" riser to gain alignment on the recline angle. Washer, spacer, washer, tubing, washer, bolt. M12x1.75.
As for the seat brackets.
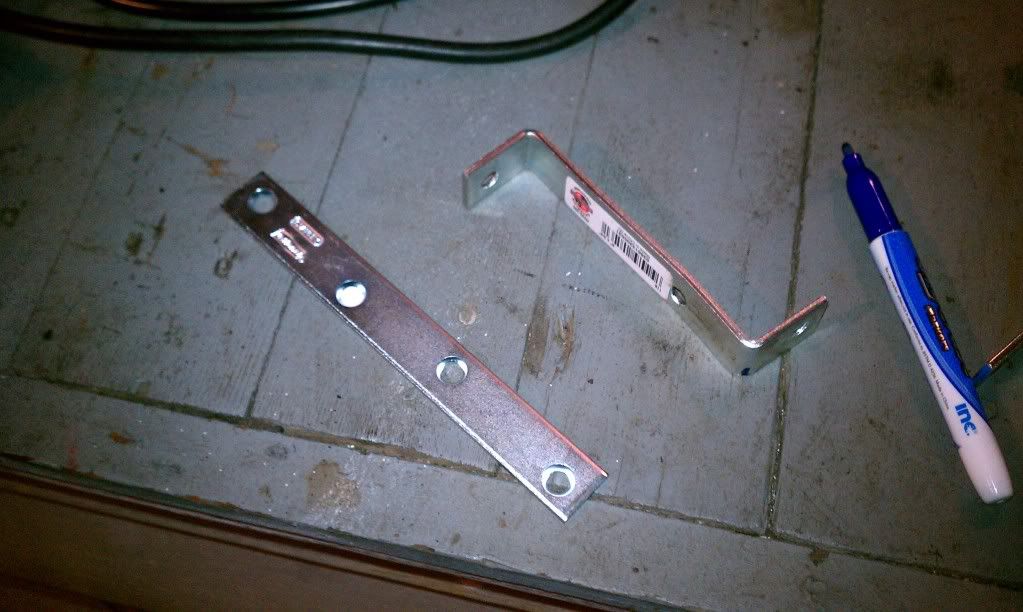
General purpose brackets found in the hardware section of the Ag store. Bend the brackets into 1" legs and cut accordingly.
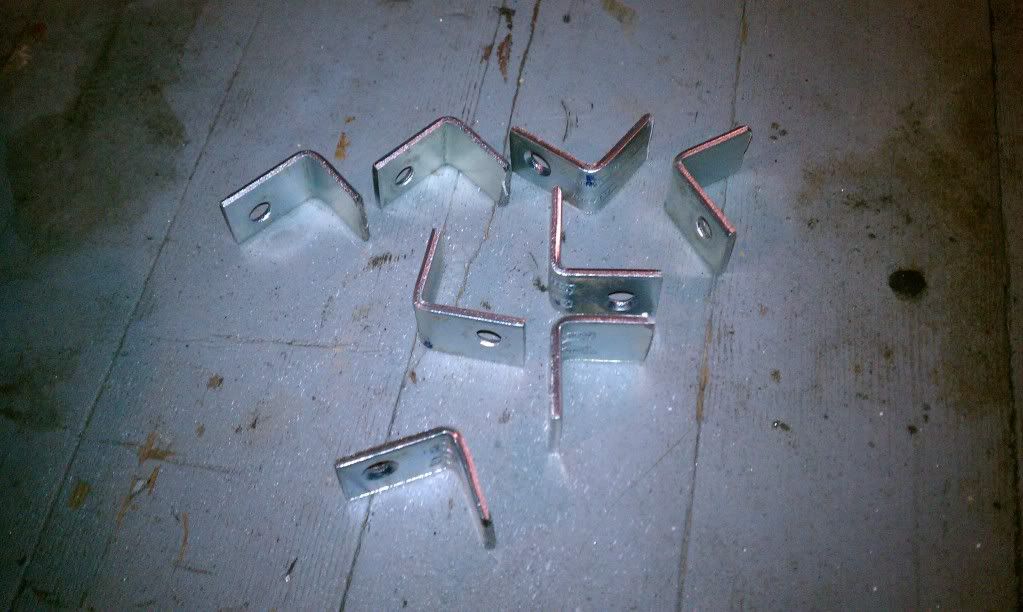
You should end up with 8 of these. Drill 3/8 holes in these.^^
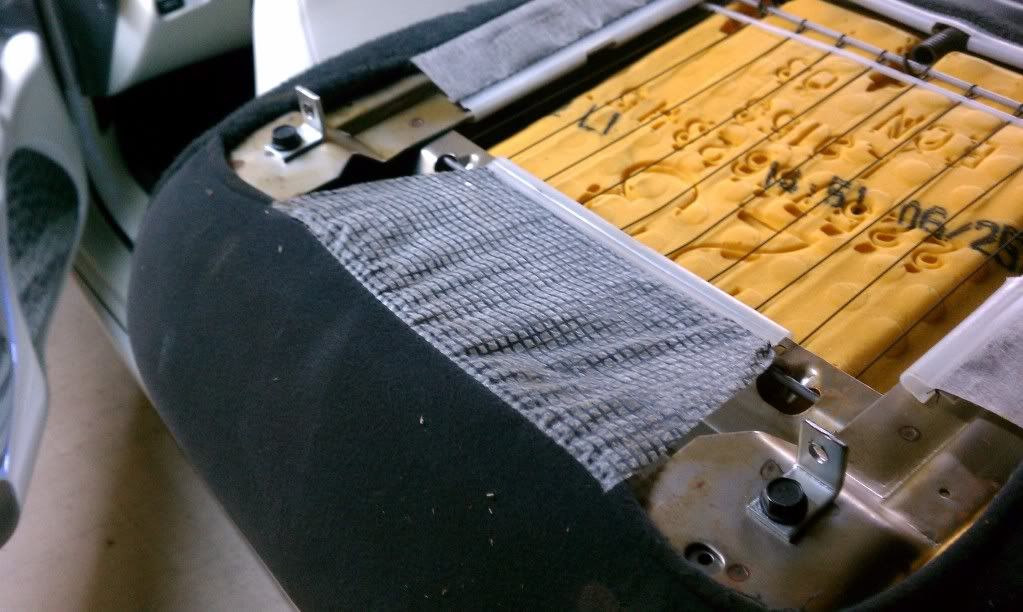
Mount using the old seat bracket bolts with the down facing legs to the rear.
I chose to use self tapping lag bolts to attach to the cross member.^
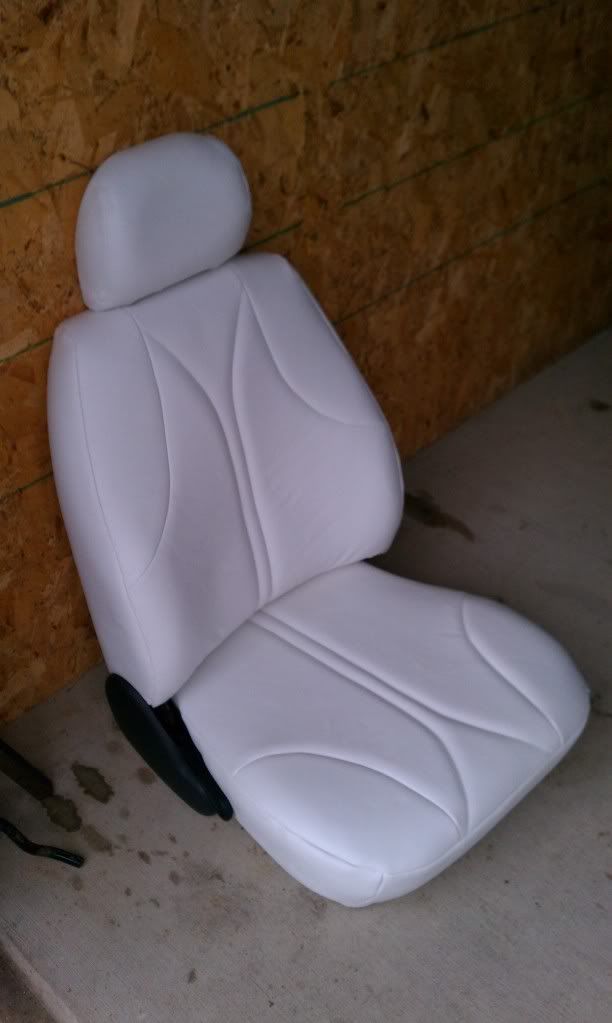
The fresh seats for the new season, not even farted in one yet

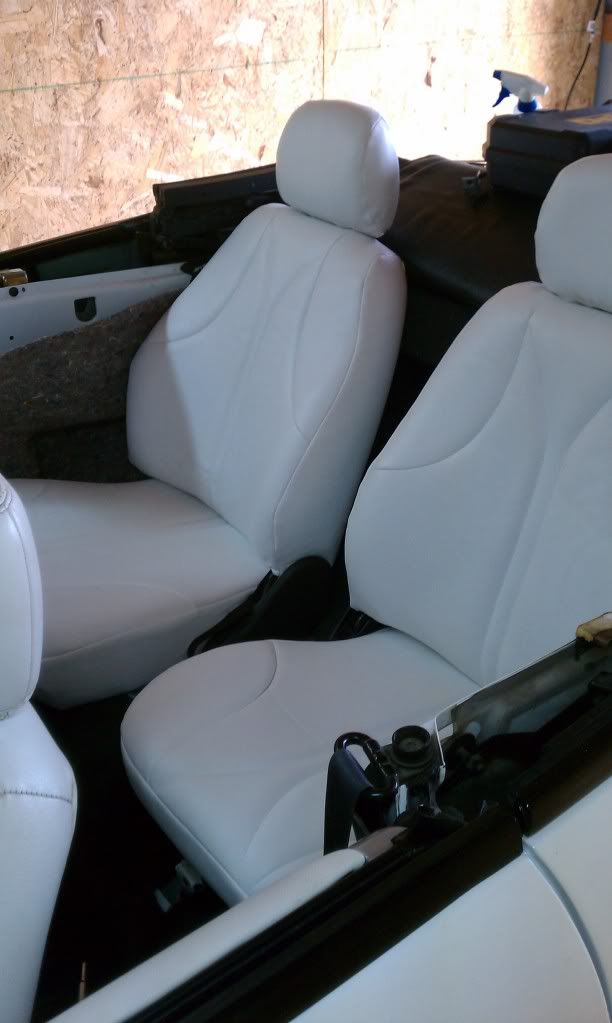
Bolted down.

For the convertible people the headrests do clear the top, setting in them with the top up is going to be tight if you a tall fellow, my head pushes on the headliner.
This isnt finished yet, still need to fasted the rears and fabricate the block off panel for the old pass though hole.
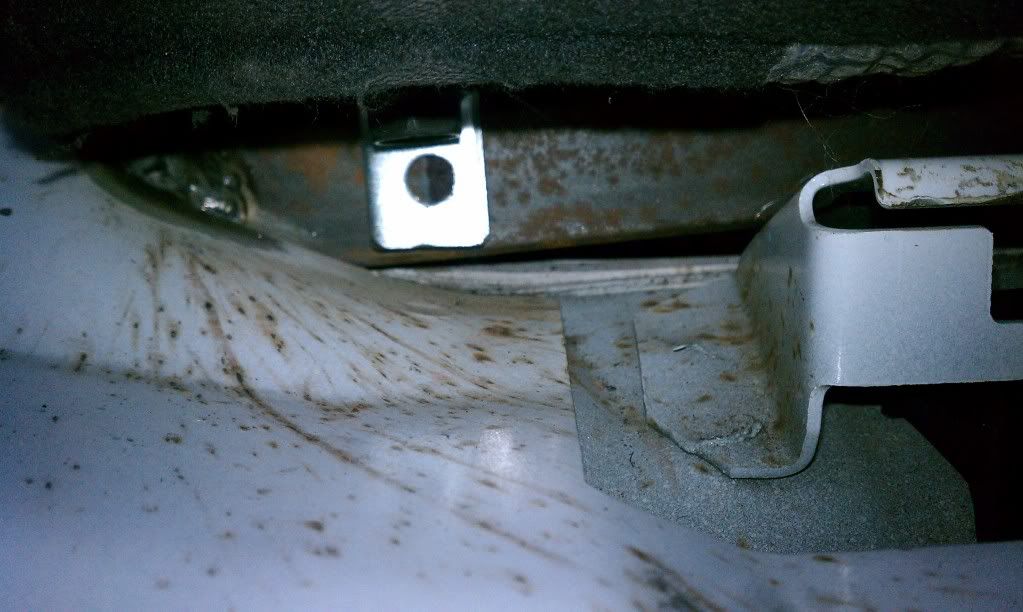
Nicely done, one question though, I was looking at where the seat belts fasten and it looks like you buried them under the steel bracing, did it work out that it can buckle..?

Seatbelts were removed, they just happened to still be there in the pic. That is actually the old center lap belt in the pic, the shoulder belts were removed years ago.
So you have no seatbelts in the back? Or you just removed the center one?
Looks good man.
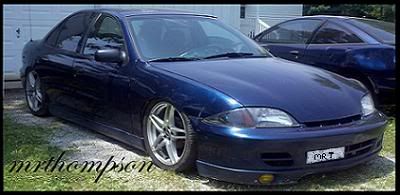
PRND321 Till I DIE
Old Motor: 160whp & 152ft/lbs, 1/4 Mile 15.4 @88.2
M45 + LD9 + 4T40-E, GO GO GO
Nice Work. I thought about doing that a while ago but never got around to it. It looks like more work than I would want to put in. It's nice to see someone actually execute this idea once and for all.

no seatbelts for the rear seats. Because show car

.
Sweet dude....... I did that for a short time
You know you could retain the seat belts and fasteners. Certain years came with the female side attached to the seats on the passenger side also.
Looking good.
Mike, I actually planned on a similar console .
i should have saved mine, i just threw it away like usual lol. I think removing the headrest would look better imo. I just never liked looking at the side view of the car and seeing headrest sticking up, and with the ones in the back being higher i think its a must. by the way i didnt realize who u were until i seen your profile! i remember your car, i love it! nice and clean!
ha the pic in my profile is actually from that show lol. And i considered removing the headrests, but didnt really care for the look, just seemed incomplete IMO. I would totally do it if i was going to the traditional lowrider look. If you have some build pics of your console that would be helpful, im trying to find a good way to make the form for the fibeglass. I plan to have the console wrap around the seats and blend into the quarters then terminate the bottom into the floor at the hump like the front one is.
sweet setup! thought about doing this in mine, but maybe a bit above my skill level!
Nice work!
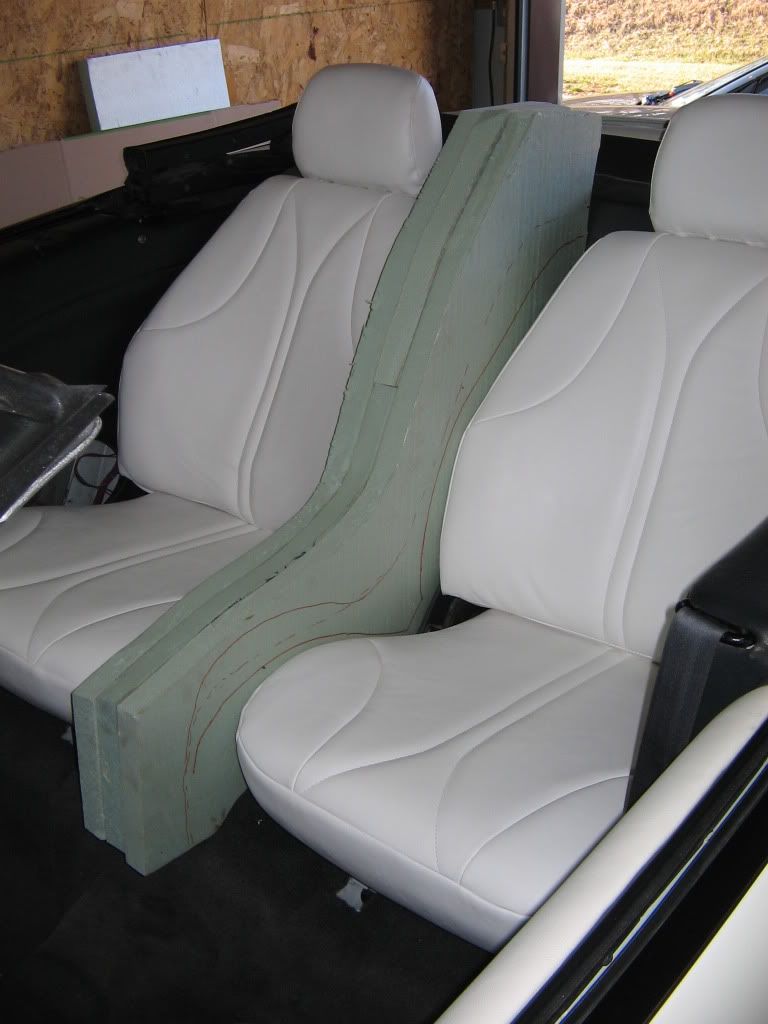
Baggin the rear end has distracted me a bit, gotta get the foam board to start making the console.
another shot o fthe brackets with the insulation installed.
doesnt look bad. but my suggestion would be to make the console no more than shoulder height. it kinda looks like a partition with it going up that high. like youre going to have two fighting kids in the back and you dont want them to look at each other.

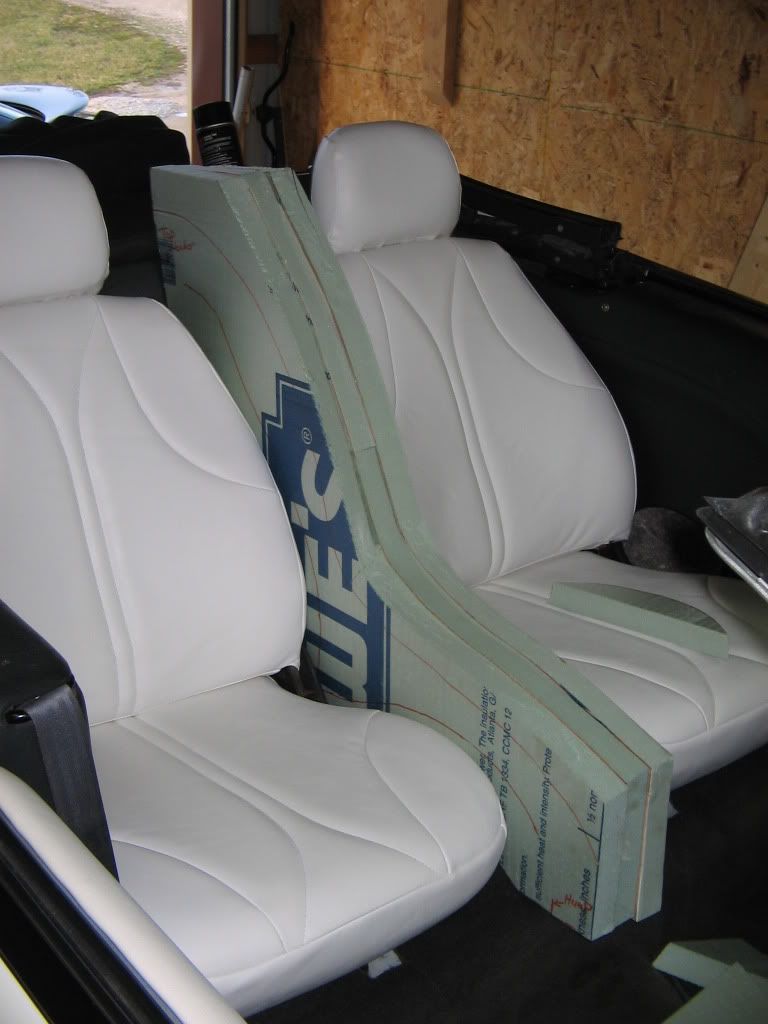
yeah i didnt specify that its not THAT high lol. "rough form" Its going to be almost 8 inches shorter than what you see there.
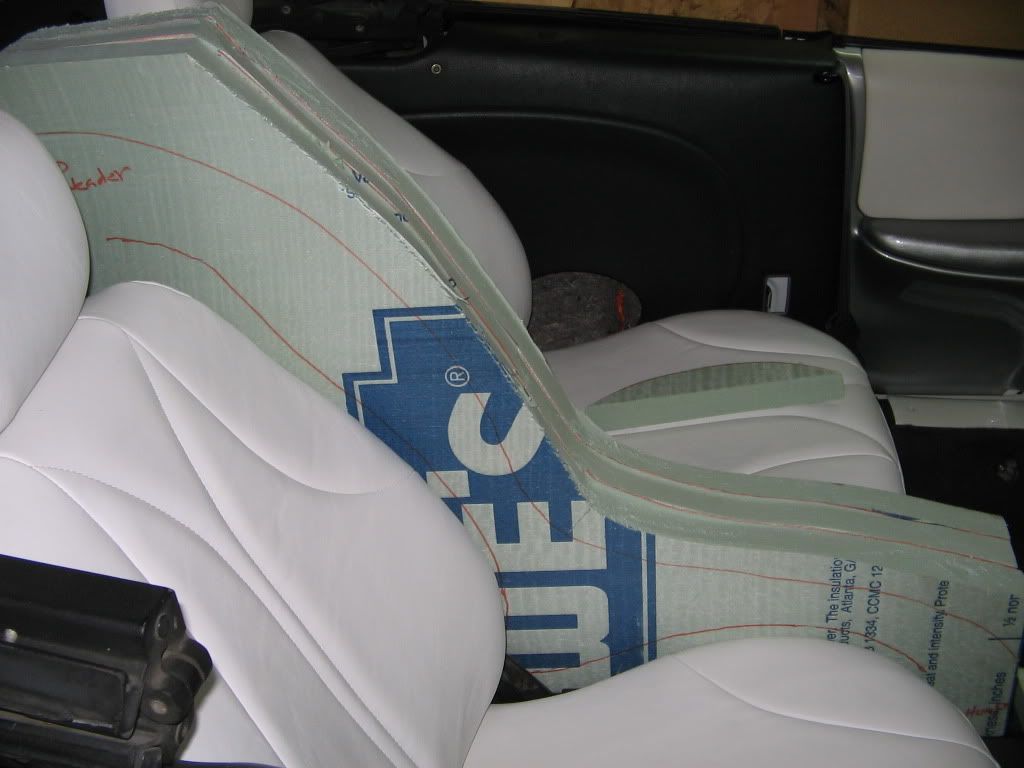
here is the more realistic shape.

Look sick. I think where the seats start to go inwards towards the top u can have the console do the same. Also maybe add some 3" PVC for some cup holders is an option.
Looking at it more it might look sweet to cut out the line where u have the manic marker tracing the seat.
thats the plan the console will "flare" out and wrap around like i said earlier. Im going to counter sink a pontiac trunck logo i think and use it to split the paint line then followed with some pinstripping.