Evilution's 2011 Rebuild - Page 4 - Photos & Media Forum

Forum Post / Reply
You must log in before you can post or reply to messages.
Re: Evilution's 2011 Rebuild
Saturday, January 28, 2012 4:43 PM
Be careful soldering the o2 harness if there is no holes in the sensor body, if there are no holes in the body do not solder, use butt connectors that are water proof.


Re: Evilution's 2011 Rebuild
Saturday, January 28, 2012 5:41 PM
Phillip Gruver wrote:i wont win with my red headed step daughter.. smokes and is slow lmao, but i got you all on handling!!! whoop lmao

Yea, i would say you could be a solid 3rd in the handling. Spencer has all of us licked and im hoping to be right with him when i roll the cav out in the spring.

EVILution (KGM Godfather) wrote:I dunno..kyle may be kicking us all on handling soon...


IF i get off my ass and get my parts to powder coat. And IF i get my grey hair dyer installed, yea, ummm, look out, hehe..........


But yea, you and Sam are almost forcing me to step up my S/C game....


Error: Sig not found.

Re: Evilution's 2011 Rebuild
Saturday, January 28, 2012 9:41 PM
The only thing I don't have that any you have is the rear sway bar upgrade. I have all my bushings covered, stb's, control arms, and my subframe brace, what else am I missing (besides tires)?
Re: Evilution's 2011 Rebuild
Sunday, January 29, 2012 2:36 AM
Jeffie's trailing arm bushings?, fender braces, better brakes, camber(front and rear), rear sway bar, and tires are very important.


Error: Sig not found.

Re: Evilution's 2011 Rebuild
Sunday, January 29, 2012 1:38 PM
Only thing I don't have there is rear camber and fender braces oh well.nvm
Re: Evilution's 2011 Rebuild
Monday, January 30, 2012 7:09 PM
Kyle gonna have to step up the sc game


z28guy(KGM BEOTCH)
Re: Evilution's 2011 Rebuild
Wednesday, May 16, 2012 1:56 PM
I'm back kids. Beginning of the year was busy so the car kind of went on the back burner. I got married on St. Patty's Day, so most of February and March were spend doing last minute planning stuff, then between a trip to Ireland, OT at my job, and catching up on other projects, my time was limited. I started to make a lot of headway over the last 2 weeks, and the car is for the most part back together, and will hopefully be running before the end of the week.

First, I upgraded radiators. I planned on ditching the stock expansion tank all along, so I figured why not get a bigger aluminum rad with a built in filler neck, so I could avoid having to put a filler neck in my upper rad hose...not only is it an eyesore, I think it'd be a tight squeeze between the blower and hood. So I grabbed a 3" Griffen and overflow bottle from Summit, as well as a new fan from Frozen Boost.


Surprisingly, I found the perfect radiator hose in one trip to autozone, I just grabbed something off the racks in the back that looked the right length and bends and it worked perfect. I also had to cut off the water necks from the radiator and replace with smaller ones...our stock radiator has a bit smaller than 1.5" diameter necks, and the Griffen lower neck was like 2.75". I also had to trim the upper LSJ rad hose to accommodate for the upper neck being in a slightly different position than stock. Fabbed up and welded some brackets to the side of the tanks, and the rad now bolts to the inner frame rails instead of the upper support.

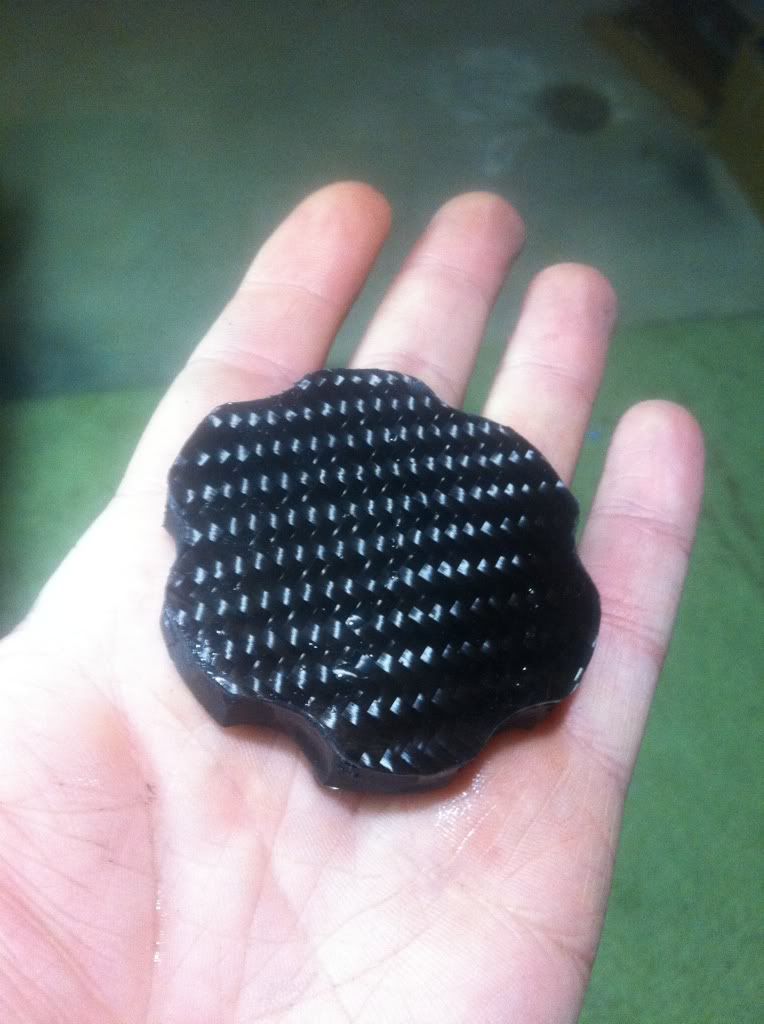
I've also been catching up on some carbon fiber odds and ends, while I'm doing some wraps for other people. I wrapped the shroud I made for over where the battery tray used to be, as well as one for the opposite side where the front of the coolant bottle used to sit. I'll be using it basically to pass through the braided lines to my catch can in a clean looking way. I also started wrapping the reservoir caps. I still need to wrap the spark plug cover for the valve cover, as well as the ICM/coil bracket, and the plastic radiator shroud.


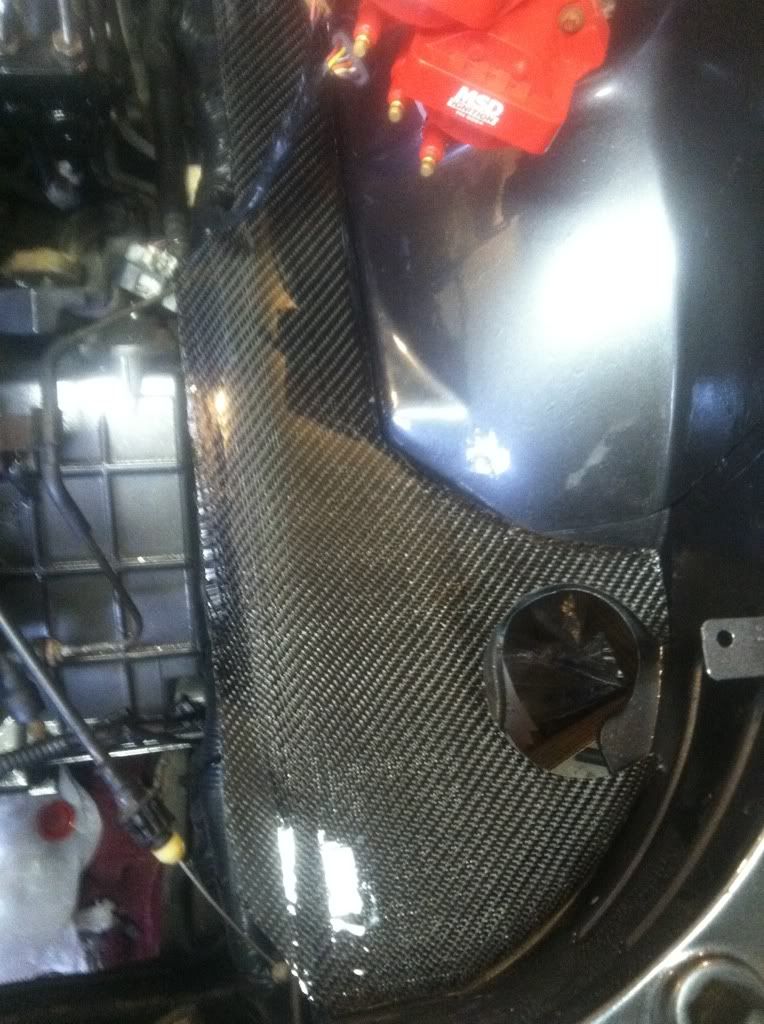
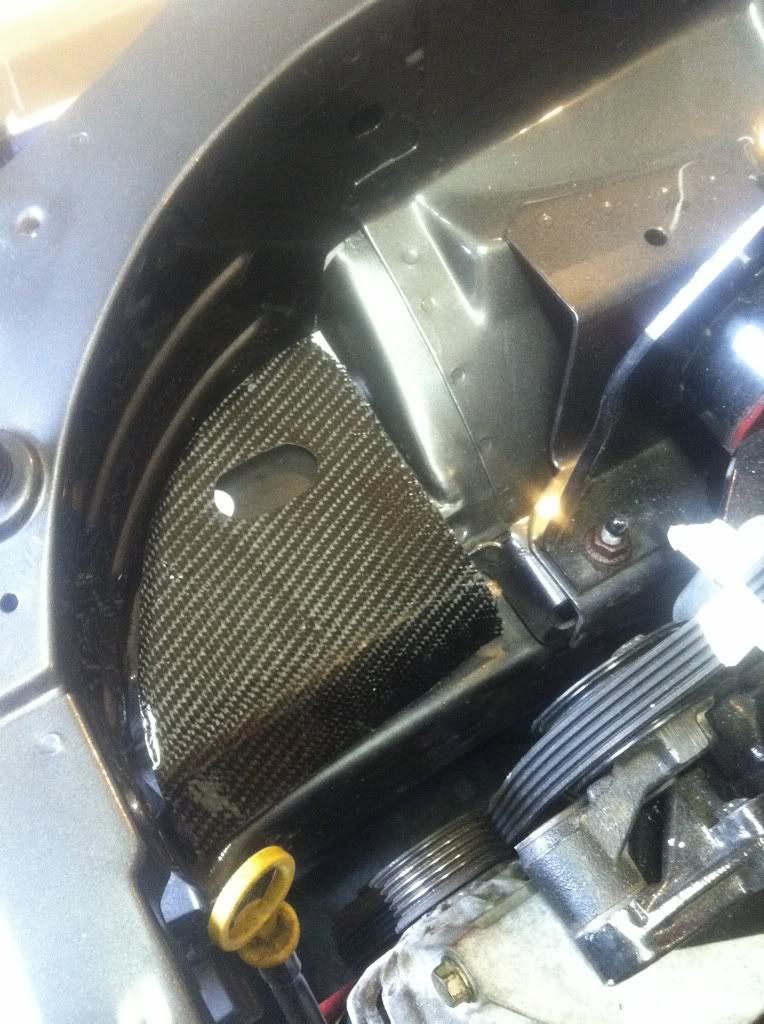
I am going to have to feather in some airbrushing on some of the edges of parts, I've been trying to use up the random renmants I have left from other c/f projects, so some didn't quite reach to the edges of everything.
Some of you may have also seen this in Tink's build thread, but I figured since I'm at it, I'd share. I'm doing several carbon wraps for him, and the Toyo mirrors were next on the list. They still need a ton of flow coats..I'm doing these by hand til I have my vacuum bag set up finished, and they're definitely labor intensive. Since everything is basically a downward slope, the epoxy just wants to run off, so I'm thinking I'm going to need to do one side at a time. These only have one coat of resin in the pics


I also picked up some pipe and couplers to make an intake...looks more like I stole it off a Freightliner...


And I decided my car doesn't have enough bad habits as is, so I thought it was a nice time to get her hooked on a meth addiction

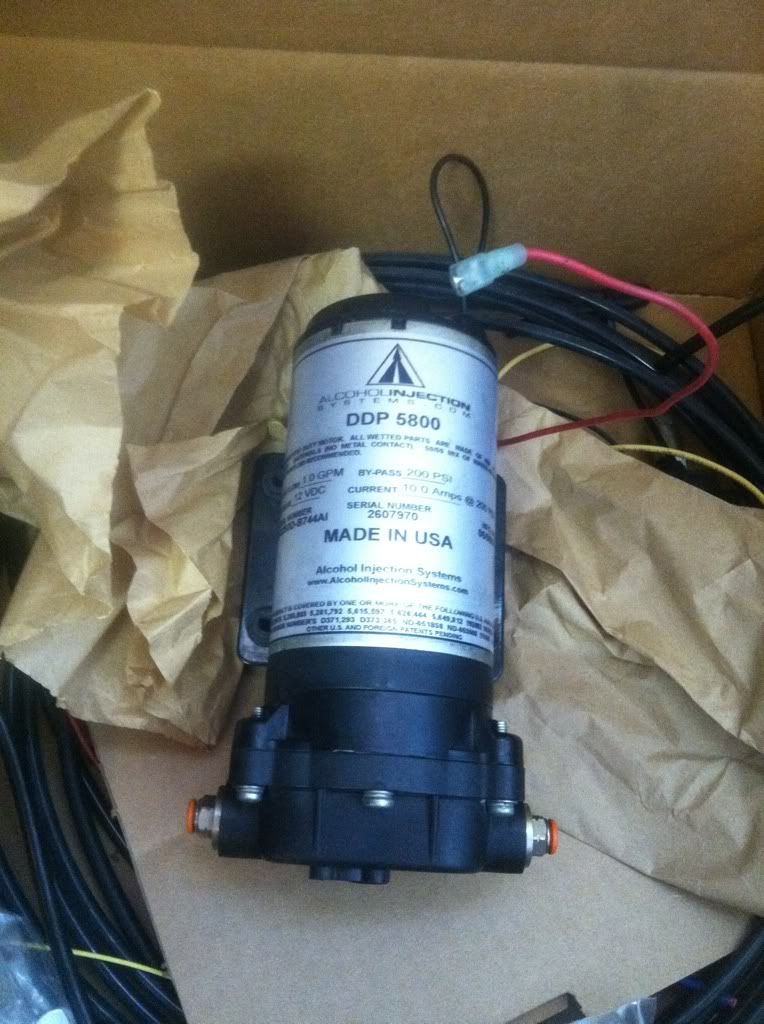
I figure between the meth, dual pass, and ZZP S3, I should be seeing much better IAT's this season

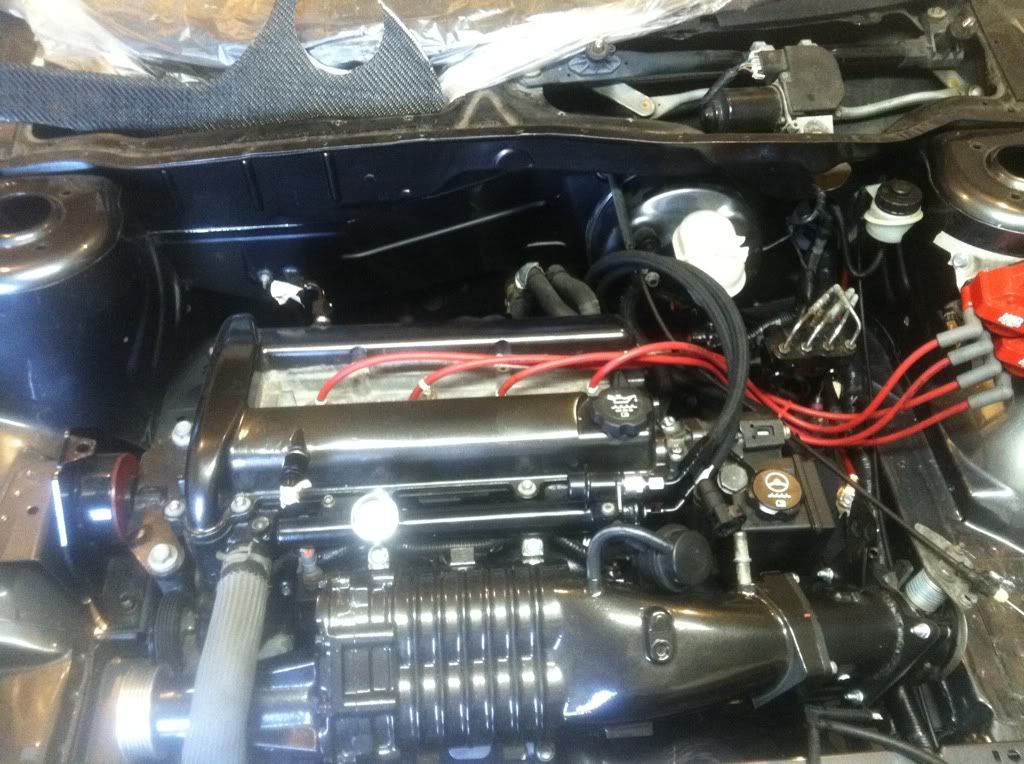
Ryan (oldskool) came over last night and started flashing the LD9 PCM, we have the reflash loaded, and he made up a basic base tune that should be good enough to at least get the car fired up and make sure everything is functioning properly. He got feedback from whatever sensors do so with just "key on", which makes me feel a little more relieved that I did all my wiring correctly, lol. I have a few odds and ends, mainly running some vac lines, putting on the s/c belt, and finish filling the cooling system, and then hopefully the car should start.

How she stands as of last night


I'm also thinking while I have the suspension out of the car, I may hand over some money to Tein...

Also, any suggestions on the best way to fill a completely dry rad system? I obviously drained the whole thing when I pulled apart the motor, so the water pump has been dry since January, and I'm just assuming that it'd be bad for the pump to run dry until coolant makes it back there (correct me if I'm wrong). Is there a way to basically "prime" the motor half of the system? I can't imagine that by just having the rad end tanks full, that coolant would get hot enough there to expand up to the motor, and obviously on the Eco you can't just pull the thermostat and fill through there like on a 2200. Is there a air bleeder around the water pump housing that I'm missing or something. I can get a vacuum pump to force feed it, but not for a few days, and I'd like to get this done sooner. I'm a newb when it comes to cooling systems other than routine maintenance and repair. Any help is appreciated!


Re: Evilution's 2011 Rebuild
Wednesday, May 16, 2012 2:34 PM
Car is assmazing clean ur detail is ridiculous I hope I could make my SC setup as clean as urs


Re: Evilution's 2011 Rebuild
Wednesday, May 16, 2012 5:31 PM
You might have to remind me Friday before i head down, but have a few 4" couplers/T-bolt clamps that i dont need.


Yea, the engine bay looks good.


Error: Sig not found.

Re: Evilution's 2011 Rebuild
Wednesday, May 16, 2012 6:44 PM
Everything looks awesome!


Re: Evilution's 2011 Rebuild
Wednesday, May 16, 2012 6:54 PM
Sweeeeeet


But


JEEP PAINT!!!!


Want hub spacers rear disk brackets or trailing arm bushings? Shoot me a PM.


Re: Evilution's 2011 Rebuild
Wednesday, May 16, 2012 7:45 PM
love it!

looking forward to seeing it all back together!


Re: Evilution's 2011 Rebuild
Thursday, May 17, 2012 3:42 AM
Love it dude. Looking great.


Re: Evilution's 2011 Rebuild
Thursday, May 17, 2012 4:53 AM
great upgrades


RIP JESSE GERARD.....Youll always be in my thoughts and prayers...


Re: Evilution's 2011 Rebuild
Thursday, May 17, 2012 8:36 AM
Nice man, is the dimensions of the rad pretty close to stock?


~2014 New Z under the knife, same heart different body~
______________________
WHITECAVY no more
2012 numbers - 4SPD AUTOMATIC!!
328 HP
306 TQ
Re: Evilution's 2011 Rebuild
Thursday, May 17, 2012 9:33 AM
Nice J

99z for 2015.. I'm back bitches
Re: Evilution's 2011 Rebuild
Thursday, May 17, 2012 12:46 PM
WHITECAVY wrote:Nice man, is the dimensions of the rad pretty close to stock?


I would definitely be interested in more info and pics of the rad setup. I like the idea of possibly ditching the collant resevoir


Jason
99 Z24

LG0/LD9 for Life
10 Year Bash Veteren
Re: Evilution's 2011 Rebuild
Thursday, May 17, 2012 6:35 PM
Thank for the feedback everyone!

As for the radiator, it's slightly bigger than stock, but fit with no issues. Now I don't have AC anymore, though I think even with the condensor there it would fit fine. The Griffin is 31"x16", I think the stock is something like 15" x 28"...and the Griffin is 3" thick. The only issue I had to work around was the water necks being too large in diameter. I just got two of the right sized necks and welded them on.
As far as mounting, I just fabbed some brackets with angled stock, welded them to the side, and they bolt to the inside of the frame rails. I'll look for the receipt from the lower rad hose I picked and post up the part numbers if anyone is interested. For an overflow I'm just using a generic bottle from Summit. I'll try to get some better pics to share.

This is the radiator.

Now despite the fact that the LD9 PCM's are designed to sit in the fender, I wanted it to be a little better protected, so made a protective cover out of sheet metal that will secure right to the mounting points of the PCM. I also have some heavy cloth wrap, similar to header wrap, that I'm going to wrap the harness right by the plugs with just for piece of mind.

I'm probably going to end up wrapping it in carbon because, well, why not? lol.

I have a small fuel leak to address as well, whenever I key on and prime the pump, I get a steady drip from the AN fitting joining to the rail. I have to take it apart tomorrow and see what is going on.


Re: Evilution's 2011 Rebuild
Thursday, May 17, 2012 6:59 PM
Awesome, looking forward o numbers in the not so distant future.


Re: Evilution's 2011 Rebuild
Thursday, May 17, 2012 7:45 PM
Nice, thanks for the info. Id be interested in the part# for the lower rad hose when you can.

So, with this kind of rad with the filler intagrated in it, is right there the only place you add coolant? Ive never had a rad with the filler with it in any of my cars lol


~2014 New Z under the knife, same heart different body~
______________________
WHITECAVY no more
2012 numbers - 4SPD AUTOMATIC!!
328 HP
306 TQ
Re: Evilution's 2011 Rebuild
Thursday, May 17, 2012 10:19 PM
Yes, the filler neck is right on the driver side end tank, and has a nipple to run to an overflow bottle (non-pressurized). I just grabbed a vacuum pump from my dad's shop, so I'll be using that to fill everything up...probably the h/e too.
Oh, and you have to block off the small coolant barb on the head, right above the upper coolant hose, that normally runs to the coolant tank. I just blocked it with a plug and Teflon tape...I think it was m8x1.25

I'll get the p/n for the lower hose posted up...I think it may be intended for a Jeep or something, lol


Re: Evilution's 2011 Rebuild
Saturday, June 02, 2012 5:48 PM
Ok, so the car wants to start!

I tried last night, cranked but no spark. I swapped in the ICM from my beater, and now it'll start for a few seconds, and dies out. Giving it a little gas will get about an extra second or two out, then it stalls too. Wideband shows about 15.2-15.3 when it dies, so my tuner and I are ruling out any severe lean condition.
VATs are turned off so the theft system shouldn't be what is killing it. I still want to check the spark on each plug, and check the ICM wiring with a multimeter so I can hopefully rule those things out.

Anyone have any suggestions what else I may be missing here??
Just to verfiy, I'm running 2000 LD9 harness/PCM, GM reflash is loaded onto PCM and Ryan gave a base tune to ensure there was enough fueling for the gigantor cams. Battery is fully charged.

Thanks in advance for any input.


Re: Evilution's 2011 Rebuild
Saturday, June 02, 2012 5:55 PM
What? I clearly should have done more research. You can use a 2.4 harness on an Eco?


Re: Evilution's 2011 Rebuild
Saturday, June 02, 2012 5:58 PM
U sure everything is gone from the vats system because it sounds like it is kicking in. Try doing the vats relearn, which u have to do 3 straight times for 2000+.
Throwing this out there, how much gas in the tank? If there isn't much and only the front is on stands, the fuel pickup might not be getting enough.


Re: Evilution's 2011 Rebuild
Saturday, June 02, 2012 6:46 PM
gtpsunfire wrote:U sure everything is gone from the vats system because it sounds like it is kicking in. Try doing the vats relearn, which u have to do 3 straight times for 2000+.
Throwing this out there, how much gas in the tank? If there isn't much and only the front is on stands, the fuel pickup might not be getting enough.


We're going to turn VATs back on and do the relearn tomorrow. And I never even thought about the gas, good point. I have under 1/4 tank, it's still on jack stands, and the gas has been sitting in the tank since December.

@thevillagemon - a few small wiring changes and either a 2200 or MSD ignition and Eco's run great off the ld9 setup. We boosted guys like it since we can use the speed density reflash.


Forum Post / Reply
You must log in before you can post or reply to messages.


Start New Topic Advanced Search