Ok, since the Mitsubishi turbochargers are a popular option for our cars (Being in the Hahn Racecraft kit, ect) I'm posting what I have come up with as far as upgrading to a bigger turbo. In my case, I'm upgrading from the Super 16G to a 20G compressor assembley.
The nice thing about Mitsubishi turbochargers is that internal parts interchange easily. For example, all the bearings, seals, ect from a TD04-13G turbo will fit all TD04 center cartridge assemblies. All TD05 internals will fit every TD05 center cartridge, ect. The turbine shafts are interchangeable in the same way. There are different shafts with differing number of blades, shape, ect but the basic dimensions are the same.
IT SHOULD BE NOTED, that the seal plate and thrust collar is the one area that may differ between different models. The compressor wheels are of two different types, one a "flat-back" which means the bottom of the compressor wheel is completely flat, and a "super back" which is angled at the bottom. For a better explanation, go
Here...To upgrade, you need to make sure that you have the proper parts for whichever style you are converting to. Most good complete rebuild kits come with both style thrust collars and seal plates. For the most part, this is a DIY project, but access to a good machine shop is highly recommended, and a re-balance of the turbo is
ABSOLUTELY NECESSARY.
I
HIGHLY RECOMMEND getting a complete rebuild kit before starting on an upgrade project. Most kits have everything you need, and come with exploded diagrams and instructions for proper dis-assembly and reassembly.
First off, you need to disconnect all oil/water lines from the turbo, remove the boost pipe, and any vacuum fittings that may be attached to the compressor and CHRA assembly. Mitsubishi turbos are nice, because a v-band style clamp is used to join the two halves of the turbo together, and removing this one bolt in the middle of the turbo allows you to separate the halves. You don't even need to remove the exhaust side of the turbo at all!!!
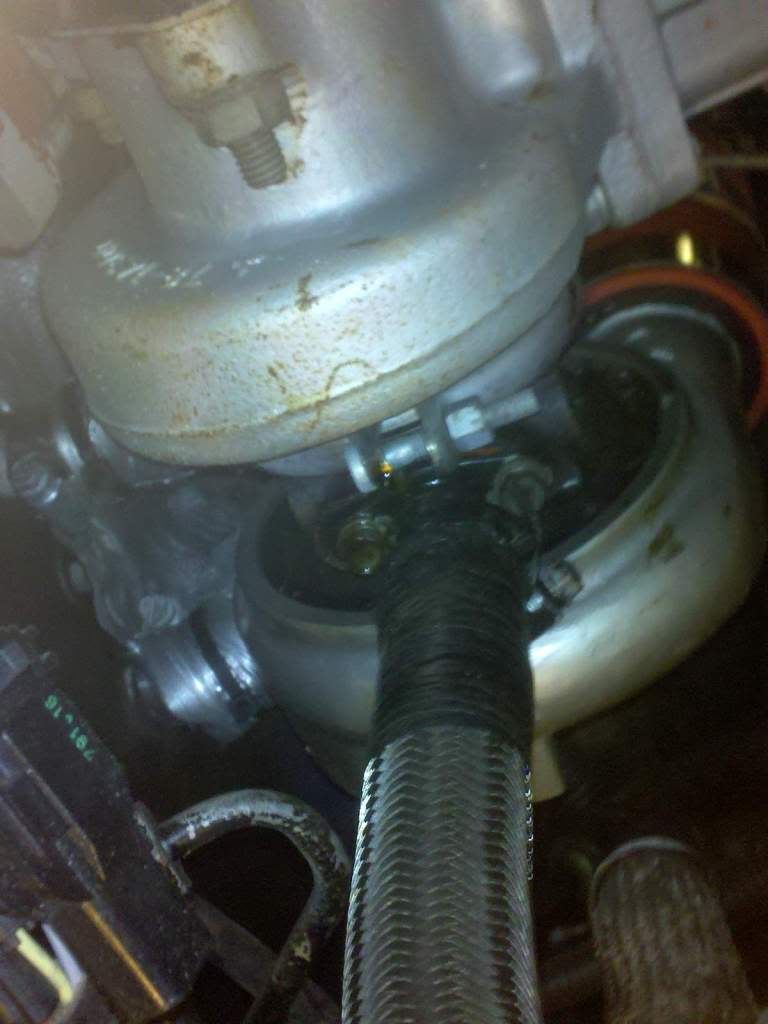
Once you have the two halves separated, the compressor cover is held on to the CHRA by a large snap ring. Remove the snap ring and the compressor cover will pop off with some effort.
BE CAREFUL, and pull up straight. you don't want to cock the housing sideways and potentially damage a good compressor wheel and cover.
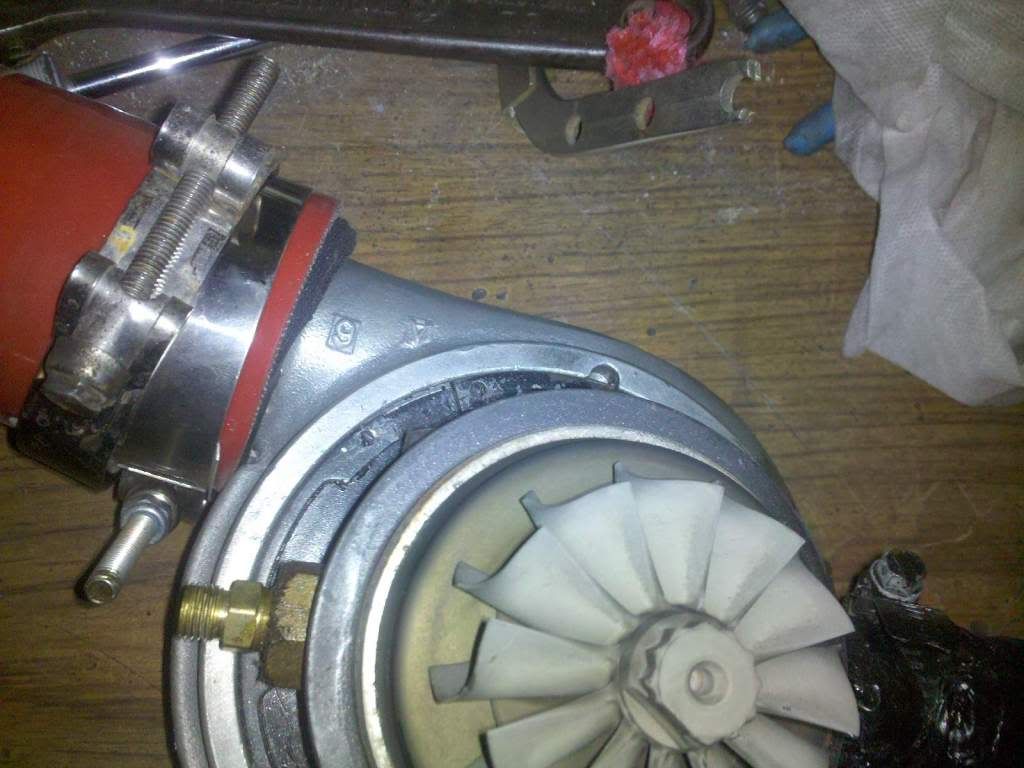
Once you have the cover off, the CHRA will look like this. You can see the size difference here between the 16G and 20G compressor wheel.
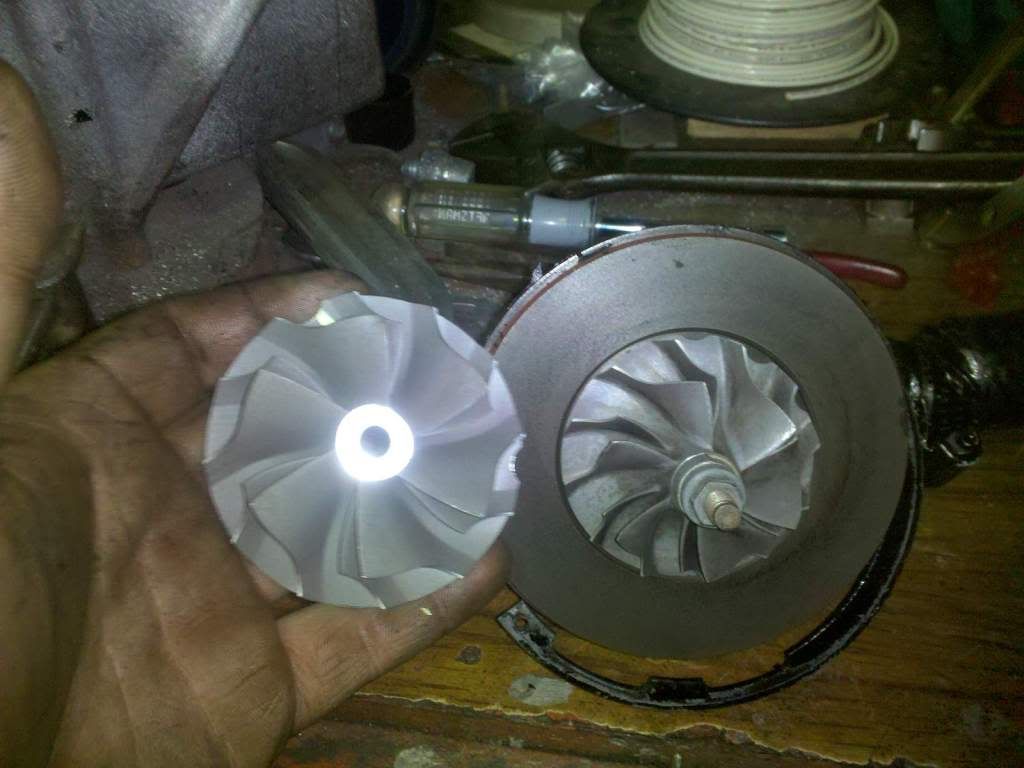
After the compressor cover is off, remove the center nut from the turbine shaft.
BE CAREFUL!!! MOST OF THESE ARE REVERSE THREAD AND YOU COULD SNAP YOUR TURBINE SHAFT AND DAMAGE THE CHRA!!!!! After removing the nut, a soft rubber mallet is best to use to remove the shaft and separate the compressor wheel. A couple of
GENTLE taps on the end of the shaft threads should be enough to separate the wheel. Do this part on a bench, because the shaft is held in by a snap ring type seal, and will "pop" out of the CHRA with some force. After the shaft is out and the wheel is off, your CHRA will look similar to this. Once again,
BE CAREFUL!!! MOST OF THESE ARE REVERSE THREAD AND YOU COULD SNAP YOUR TURBINE SHAFT AND DAMAGE THE CHRA!!!!!
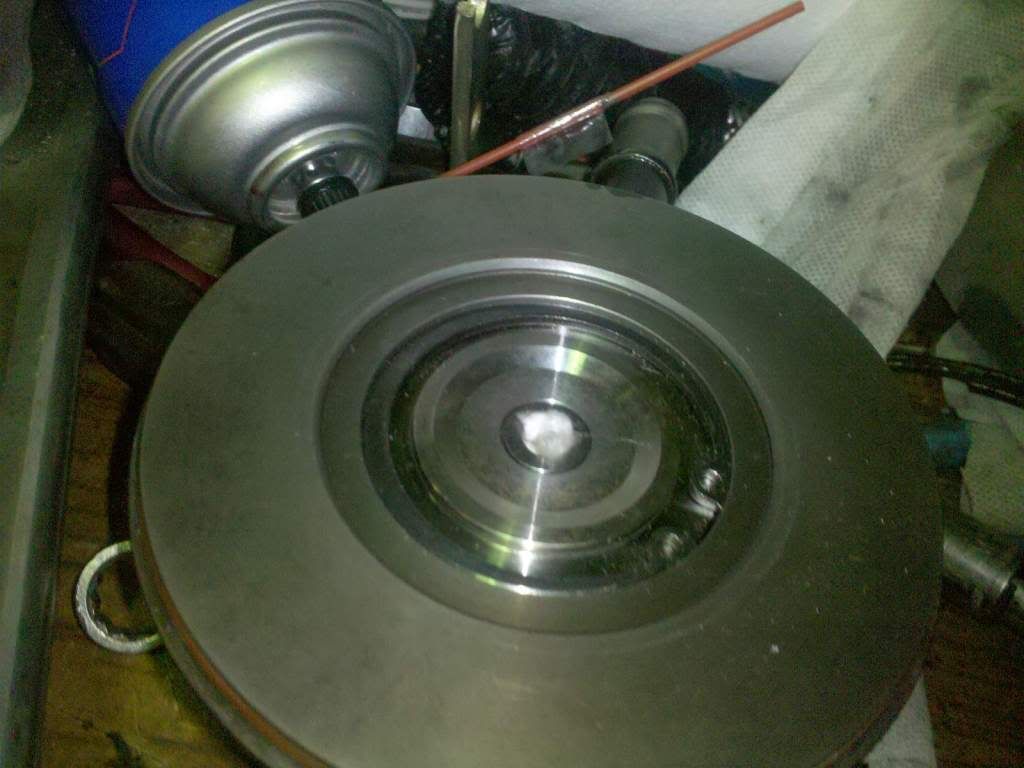
You can also see the seal plate held in by the snap ring in this picture. The slightly recessed area in the center above the snap ring is what needs to be machined larger to fit the larger wheel. a GOOD machine shop should be able to do this for you with little trouble. After machining, the CHRA will look like this.
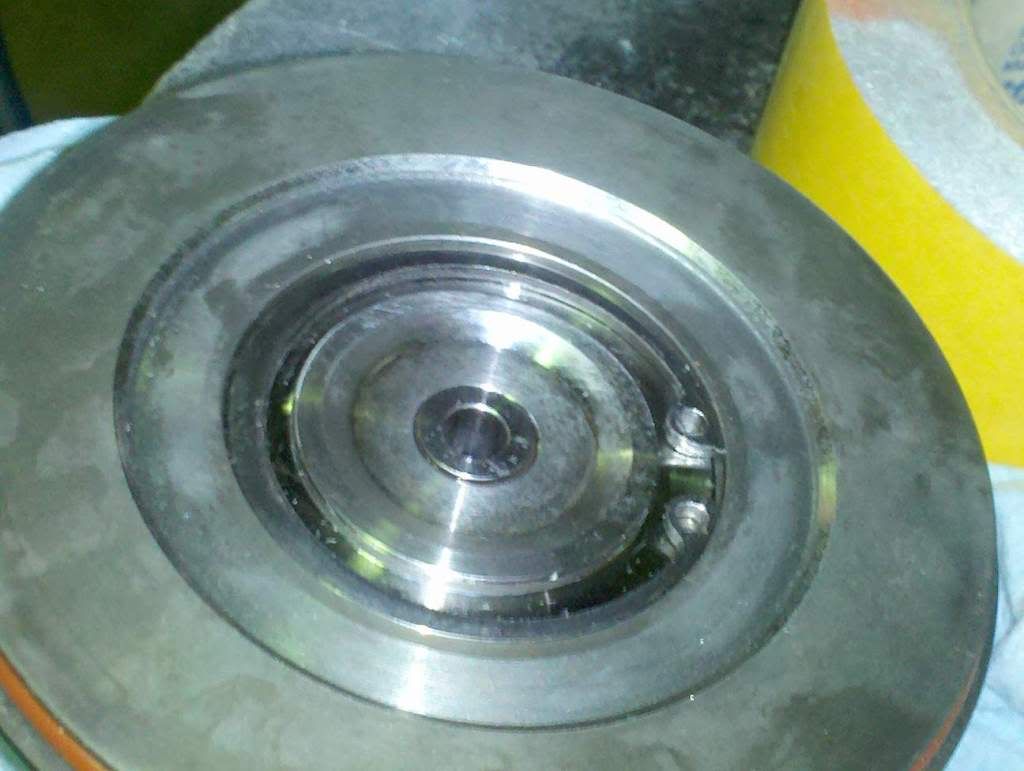
You can see here that the slightly recessed area above the snap ring and seal plate is larger to accommodate for the bigger compressor wheel.
NOW WOULD BE A GREAT TIME TO PROPERLY CLEAN THE CHRA, AND REBUILD WITH ALL NEW SEALS, O-RINGS, AND BEARINGS
Once properly rebuilt, installation is the reverse of removal.
GENTLY reassemble all components with clean motor oil, and once the shaft is in place, simply install the larger wheel onto the CHRA, dab a small amount of loc-tite onto the shaft threads, and tighten down to specifications.
REMEMBER THAT MOST OF THESE SHAFTS HAVE REVERSE THREADS.
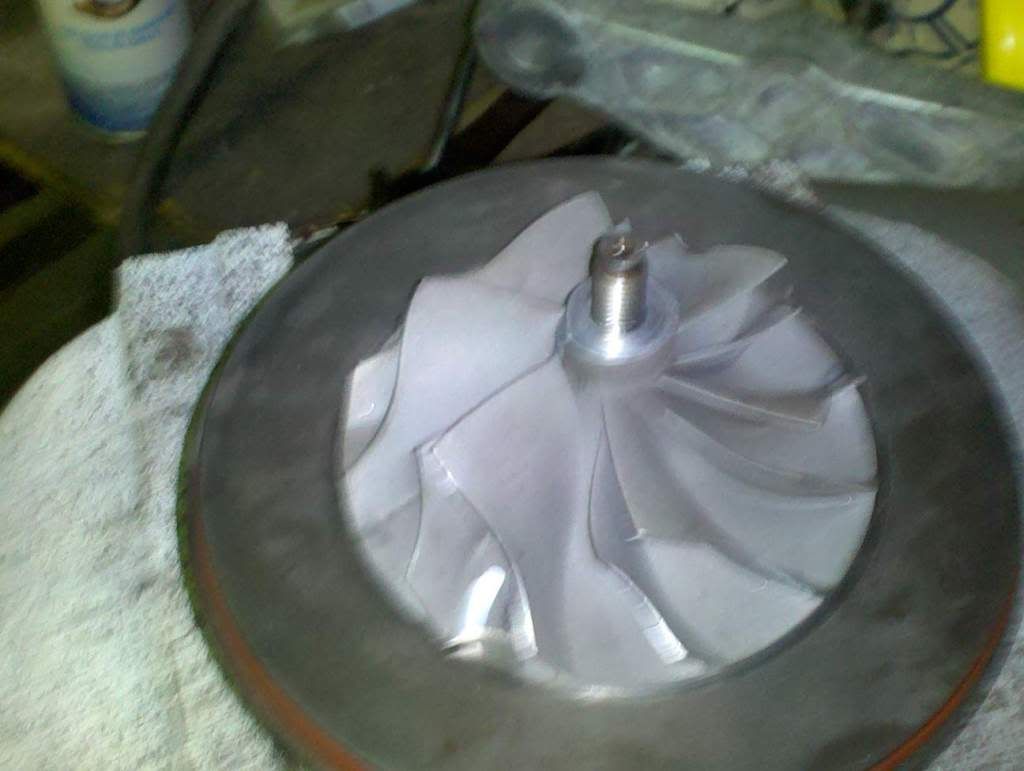
After reassembly, free-spin the turbo by hand and check for any clearance problems. The shaft and wheels should spin freely, with no binding or tough spots in operation. After all clearance issues have been looked for, and if everything is properly functioning,
THE TURBO NEEDS TO BE BALANCED. This step is absolutely necessary for proper operation and long turbo life. Most Mitsubishi turbo parts are component balanced, but upgrading to a larger wheel strongly merits a proper balance.
After the turbo is balanced and ready to go together,
GENTLY set the CHRA into the larger compressor cover. it should "pop" into the place with little effort, and re-install the snap ring holding the CHRA to the compressor cover. Then, once again check free-spin and make sure there are no clearance problems, scraping, or binding of the turbo blades.
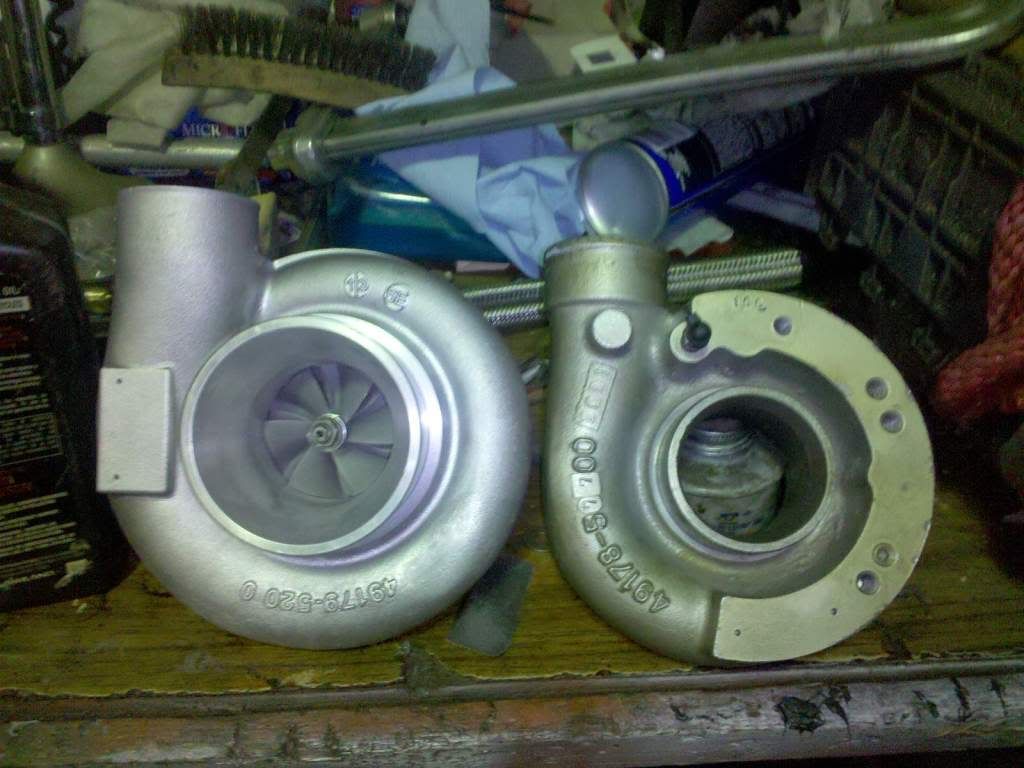
After reassembly, installation is the reverse of removal. Reinstall the v-band clamp holding the two halves together, reconnect all oil/water lines, ect and start up the car!!!!
LISTEN CAREFULLY FOR ANY ABNORMAL NOISES, AND TRIPLE CHECK FOR ANY LEAKS!!!
Be easy on the car and let the turbo "break-in" for at least 50 miles. Afterwards, re-check for leaks again.
And most important of all, the larger turbo will flow more air, so a re-tune is absolutely necessary.
 Currently #4 in Ecotec Forced Induction horsepower ratings. 505.8 WHP 414WTQ!!!
Currently 3rd quickest Ecotec on the .org - 10.949 @ 131.50 MPH!!!


