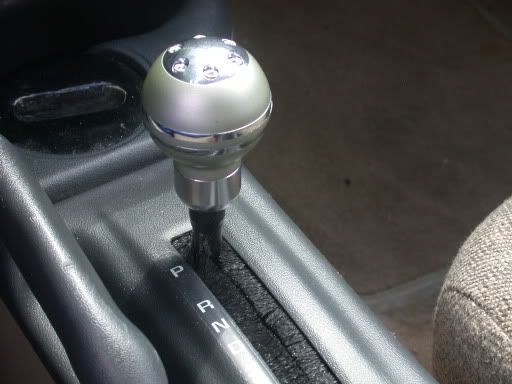
Ok well I know there were a lot of people wanting to do this so I did and here is the out come! I have pictures, but you donít have to fallow them seeing as how I messed up and fixed the problem down the line.
I ended up using:
Dermal with a spear point metal bit
Drill
Multiple drill bits
Shifter (9 bucks from auto zone)
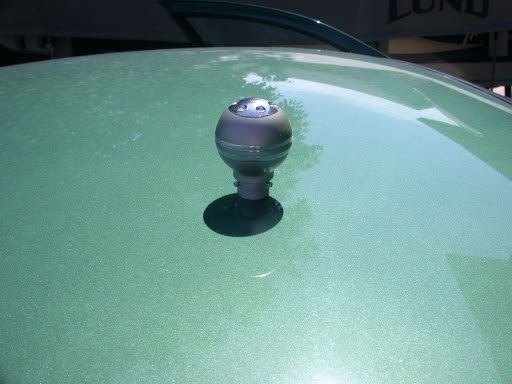
Hack saw/pipe cutter
possibly a second person to help and make things go faster/easier
LOTS OF PATIENTS
Now use this diagram to fallow all the measurements!

start with # 1 and work our way up.
#1 is the line that we need to know because this is the max depth out shift knob can drop down and still clear the center council.
To get this line pull the e-brake and twist the key one notch up throw the shifter into the 1st gear slot and mark on the back side of the shifter shaft
#2 is the line that we will need to help us measure how deep the new manual shift knob. So to get this line simply take the stock knob off by removing a "staple" like click that is in the front of this shift knob by using a flat head screw driver. Next simply place the shifter on the shaft and mark the line at the bottom of the knob.
#3 is the line that we need to know how far the shift knob travels to make us able to move the shifter shaft. So to get this line have done #2 and simple push down on the knob until it stops. Mark at the bottom of the knob.
#4 is the measurement we need to know to make sure we keep our stock push pin travel. Just simple take a measurement with a ruler and right it down.
#5 is the measurment between lines #2 and #3 again use ruler to measure this distance.
#6 is were we start to transfer the stock height push pin travel to our designated shorter shifter. So to the measurements from #1 and mark measurement of #5 UP the shaft.
#9 is the measurement of the distance between the top of the shaft and the bottom of the after market knob at resting point or at #2 measure it and write it down.
#7 is the distance we need to maintain out stock push rod/shaft ratio so use your #9 measurements and add them to the # 6 measurements.
#8 is the same length you need as # 4. It will get you the right height for the yellow shaft to be the same ratio to the shaft as stock.
So know we have out lines plotted out so grab your hack saw/pipe cuter. Would recommend pipe cuter MUCH easier.
Now we want to start front eh top and work our way down. So cut STRAIGHT through the shaft yellow shaft and all at the top of measurement #8.
Next we move to cutting JUST THE OUTSIDE SHAFT and the top of measurement #7.
Place the new knob on top push down and see if it clears the center council and/or if you want to remove more off it.
Now is the part we need to MOST patients for! i mean you cant mess this up or you get to go buy another shifter assembly.
This is were a second person would be great. We need to mark our screw holds so we can drill the holes. So do as i just said, have the second person hold the shift knob as you use a Sharpe or some sort of way to marks all three holes. I used a 1/8th inch drill bit and started all the holes while the knob was still on there. Then drill them out with the same size bit you need for the THREADS to fit in the gap/hole.
Now we need to mark the bottom of the "runners" or also the gap that the screws slide in so we can push down the push pin.
Have the new knob on there and have the second person simply push down of the knob. you need the holes to line up in a straight line so could take a bit of time right here to get them as close as possible. and mark/start drill the three holes.
Ones you have those marked used the same drill size you used on the upper holes.
Grab a Sharpe or what ever you used to mark your lines earlier and and draw a line the connect each of the holes.
I used a spear head dremel bit that was meant for metal but there are other was on doing it. so connect two dots straight up and down. then if you want to make them basically perfect grab the drill with the drill bit used on the holes and follow the line down the already cut out gap to make sure its at least that size for a nice free flowing push down.
once you get that right size you want most shifters have a universal shaft cap to keep them from wobbling around so find the ones that fits your shaft and drill a hole in the center of the top that is the same size as the yellow push rod shaft. place it inside the shift knob and line the screw holes up and tighten the screws.
Now i did this just because it was easier turn on the car, push on the brakes, have e-brake on and push down make sure you can get through all the gears a few times. Then place it back in park and turn the car off. Remove the key. If you can not remove the key you don't have enough clearance in the knob/shaft. so take off the shifter and grind some more off the TOP hole and work your way farther up on the shaft. Try a little at a nice! and keep getting ti perfect.
Now i must warn you if you want that firm feel don't do this. the knob becomes a little sloppy but not insanely sloppy. there is a little play in it as you run through D,N,R, 1,2,3.
Ok i skipped the pictures but here they are starting at the "runners" and my mistake and how i fixed it so if you guys have this problem you can do the same.
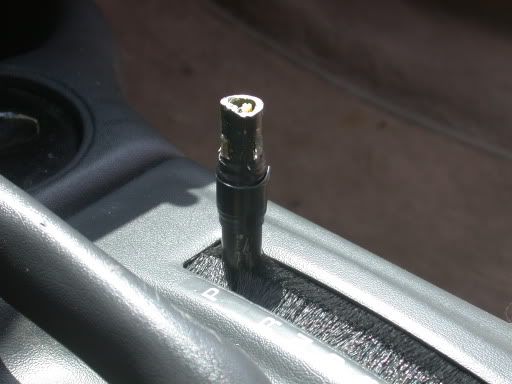
close up of one of the "runners"
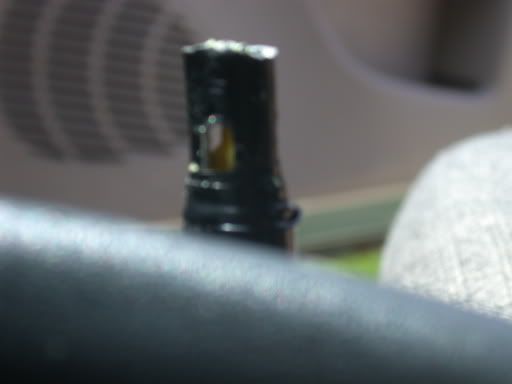
Ok now im going to go more in depth as to why i have electrical tape on there and why i have now yellow shaft past the top of the shaft. When i driller my holes for the runners i driller a little to far and didn't get back and on each on it slowly ate away a little bit of the yellow shaft so when i cut off the extra on the top before i driller anything i used that and the insert and glued them together. So this is what it turned out like...
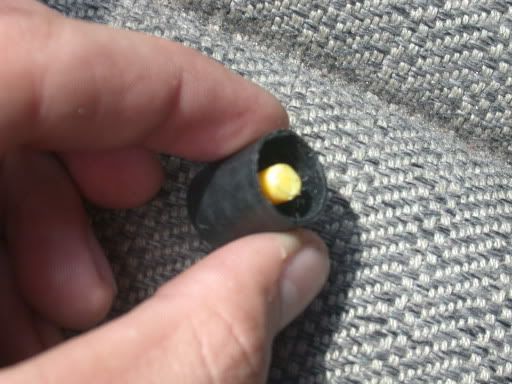
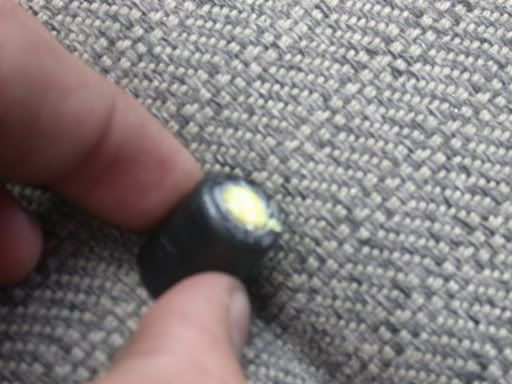
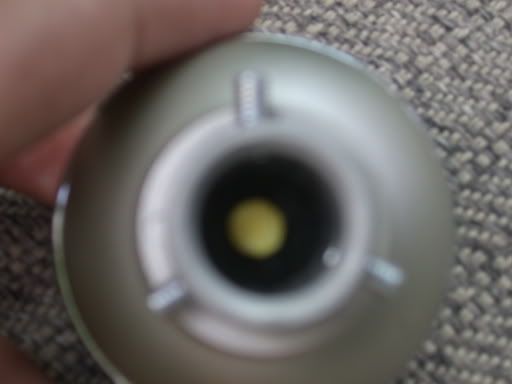
Now for the reason on why i have the electrical tape. One i did a crappy job sawing and scratched the hell out of the shaft and two i had REALLY bad shift knob play and needed to get ride of it. so a few layers of that and got ride of a bunch of it.
Now for the finished product!
