Rabbit's Miata Build - Other Cars Forum

Forum Post / Reply
You must log in before you can post or reply to messages.
Rabbit's Miata Build
Saturday, April 09, 2011 5:24 PM
I started a thread about my miata a while ago. Just showed a few pics. Well it was kind of scattered out and such so thought I would start a real build thread to share. So here goes....

1994 Mazda Miata

1994 Mazda Miata M-Edition
Stock Bottom end
Stock top end
stock torsen lsd
rwd 5 speed
T3 GT30 Turbo
Custom Built by B&B Muffler and Dyno T3 Top Mount manifold
cx racing intercooler
HKS SSQV BOV
greddy emanage ultimate
flyin miata o2 clamp
Competition Stage 5 4 puck sprung clutch
bell engineering rising rate fuel pressure regulator
supra 305 cc injectors
custom dual feed fuel rail
aem wideband
aem digital boost gage
digital fuel pressure gage
3'' dp
3" full exhaust Cherry bomb double walled tip
ac delete
ps delete
lowering springs
diy front and rear lower lips
fog lights
fake carbon fiber tail lights
tt style roll bar
Bride Low Max seats
Sparco Harnesses
JVC CD Player
NGK Plug Wires
NGK V-Power Spark Plugs
Drag Wheels
Personal Steering wheel with hub adapter and Air Bag delete.

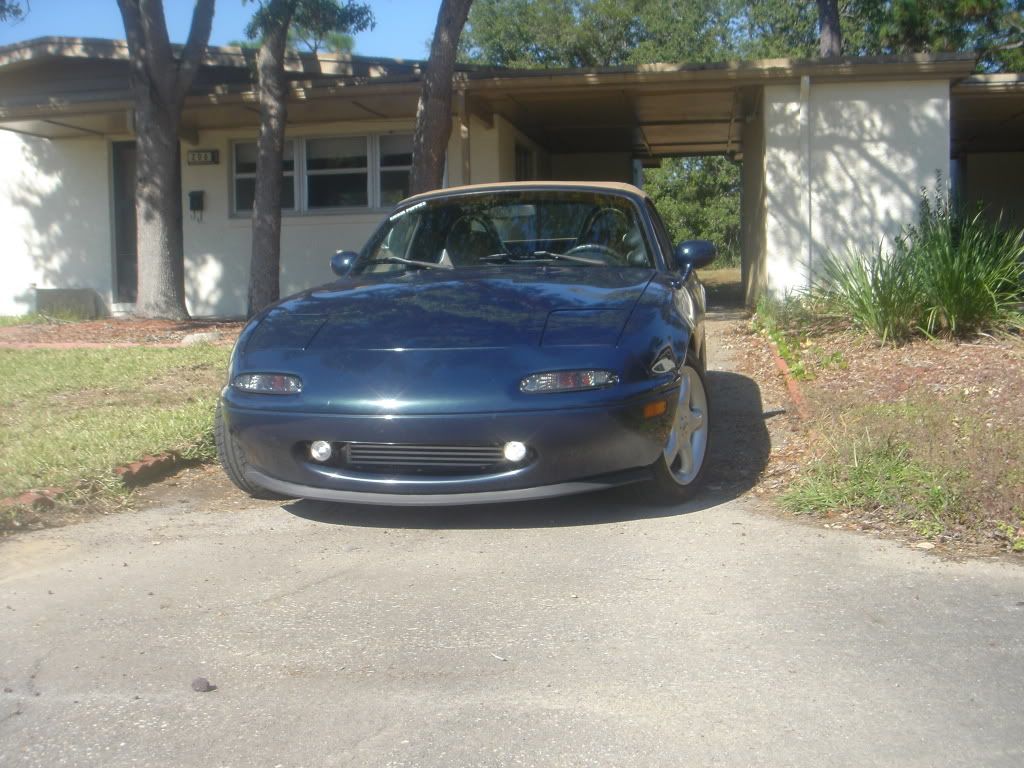
Bought this car so my fiance (Renee AKA Sexi_Lexi) and I could build her together. Its cheap to mod and a ton of fun.

How she looked when we got her.


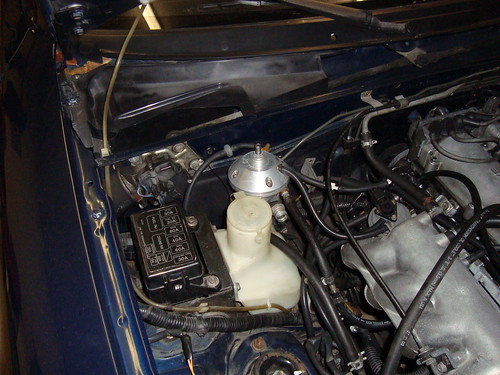
The mess of an engine bay
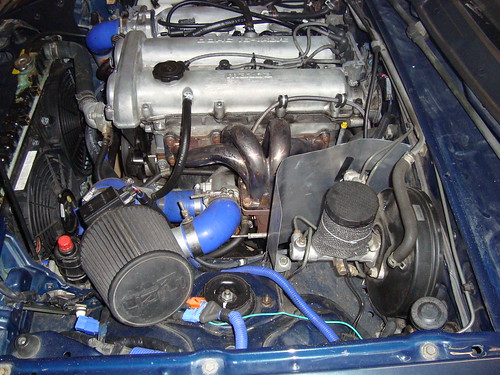


After we changed the rims and tires and added an HKS SSQV BOV took it to holt. Ran an 8.6 1/8th mile with a 1.9 60ft time.

The old rims
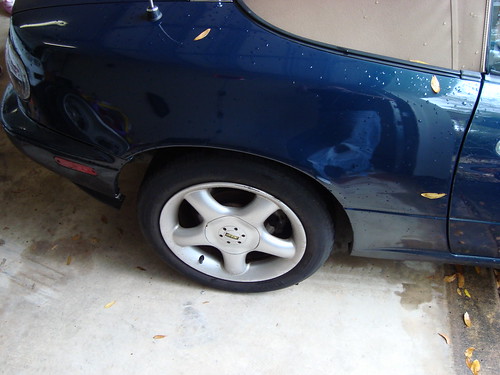

After changing the rims and tires. I had these laying around so figured why not put them to use.


After running the 8.6 the Flyin Miata Stage 1 clutch wasn't cutting it. Thats when we went with the Comp Clutch stage 5 4 puck.

New clutch
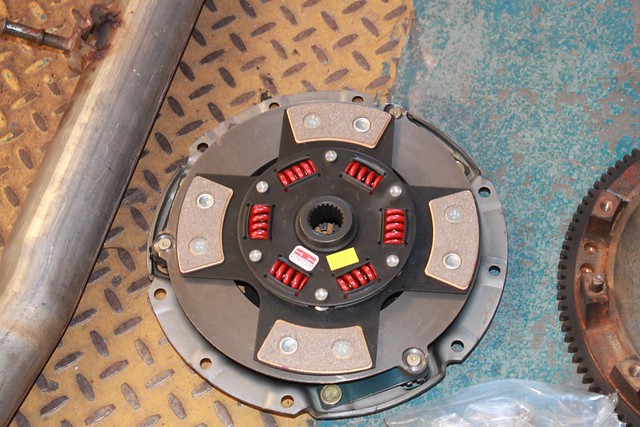

I did a number on the fly wheel when I burnt the clutch up. Thanks to chris850 picked up a stock one in good shape.

Burnt up pressure plate
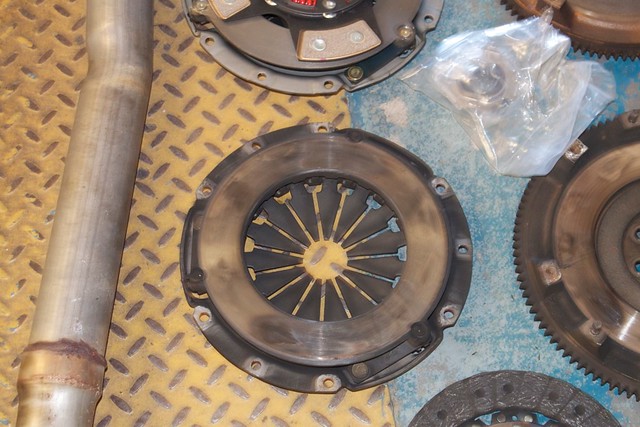

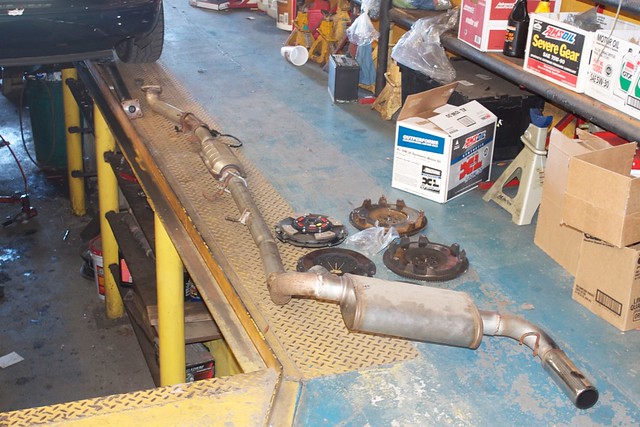
New and old parts with the old exhaust and gay tip on it.

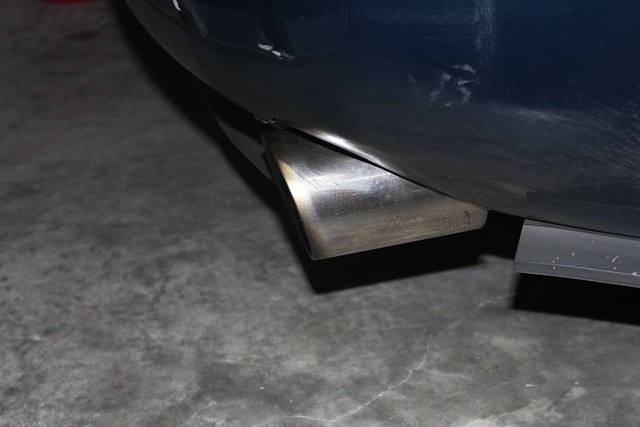
The new exhaust tip, lol.

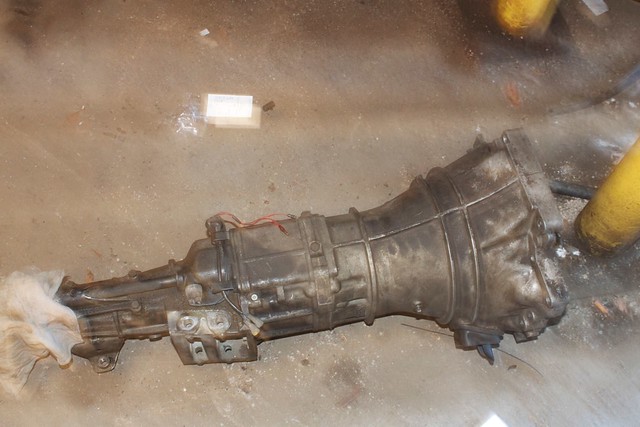
Tranny out


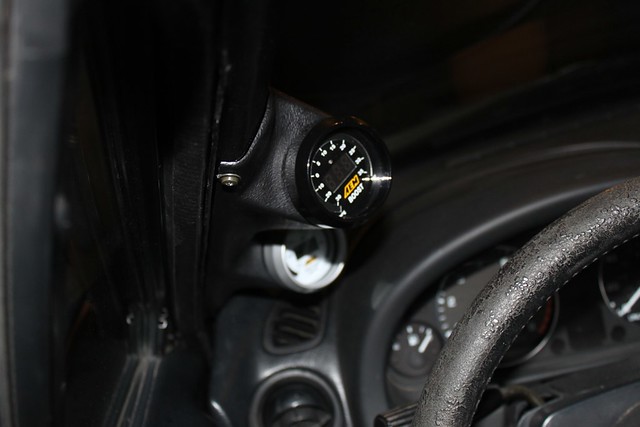
Added the AEM Digital boost gauge. The autometer one sucked and was inaccurate.

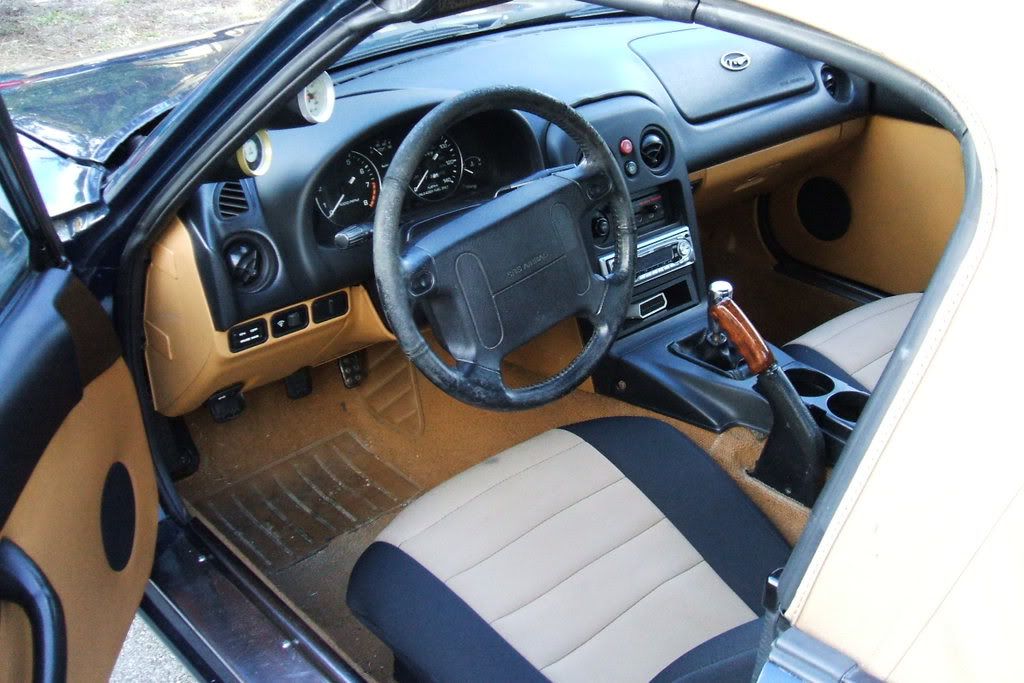
Added the bride low max seats
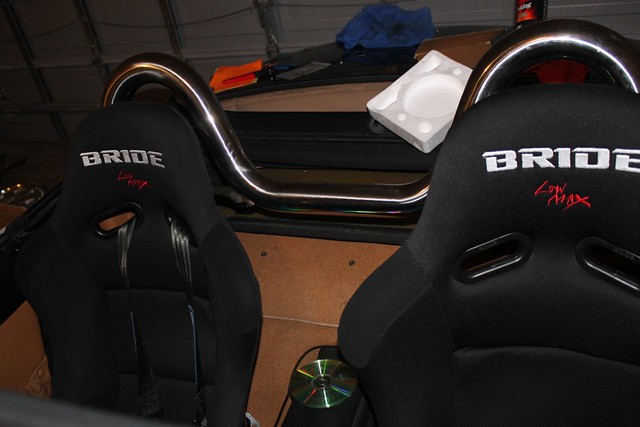

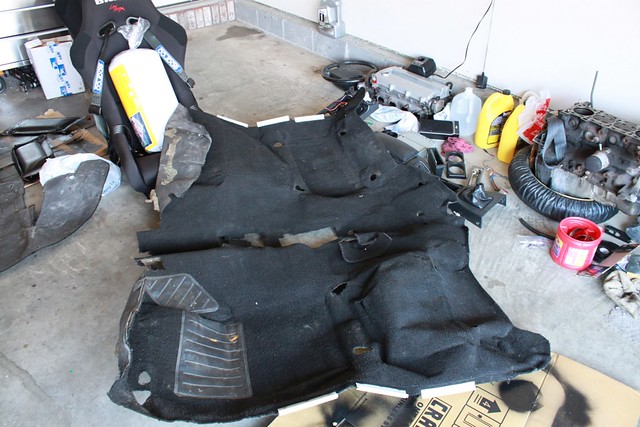
We have a full set of black carpet in perfect shape waiting to go in as well.

The valve cover gasket started leaking so figured it was a good time for a new one. This was a good time to take care of the ugly valve cover
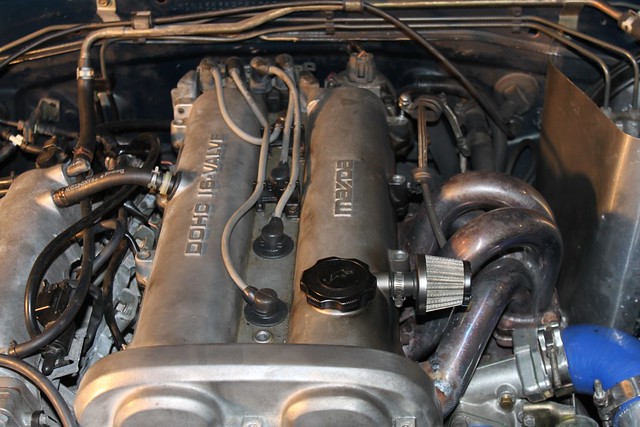

I started polishing it but wasn't satisfied with the way it came out. Here you can see part of it done.
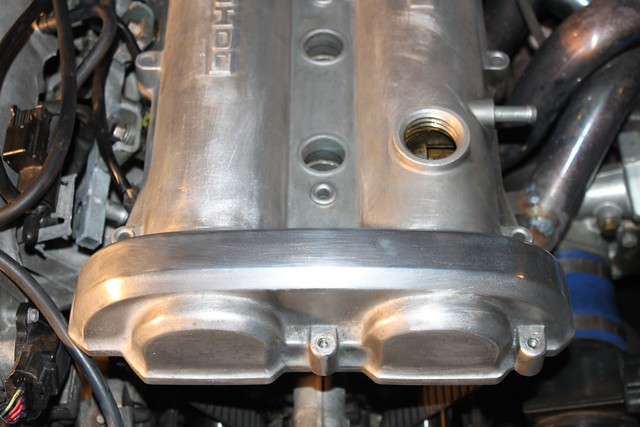

So we decided to paint it instead.

Prepping it for paint.
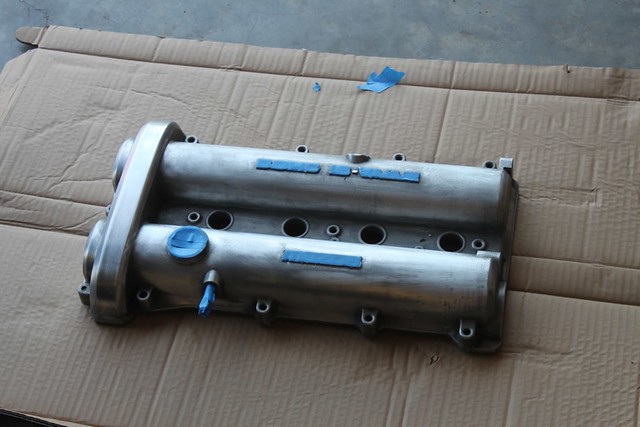

Renee laying down the paint
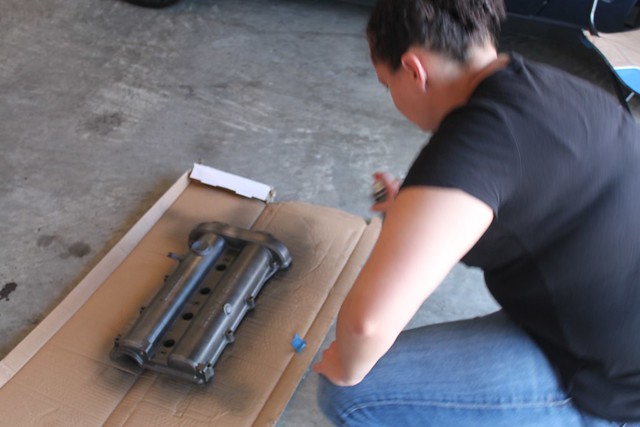

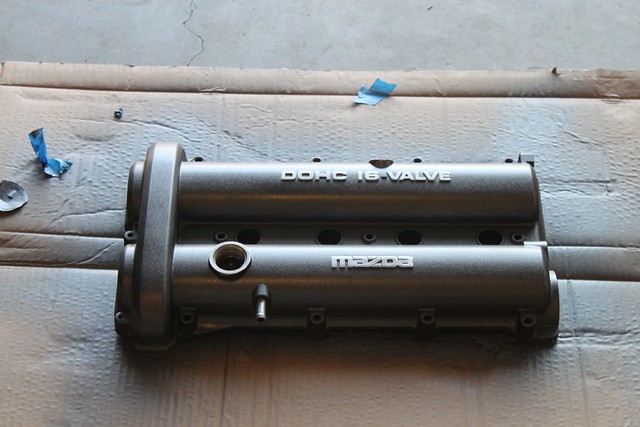
All painted, we decided to leave the lettering polished.

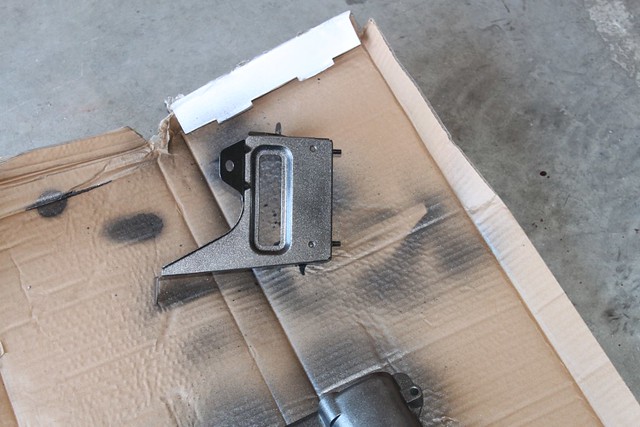
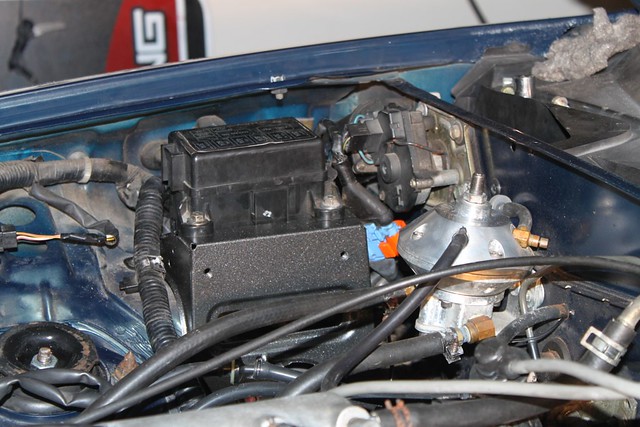
Was also a good time to do one of the ugly brackets and some cleaning. Just one small part at a time.
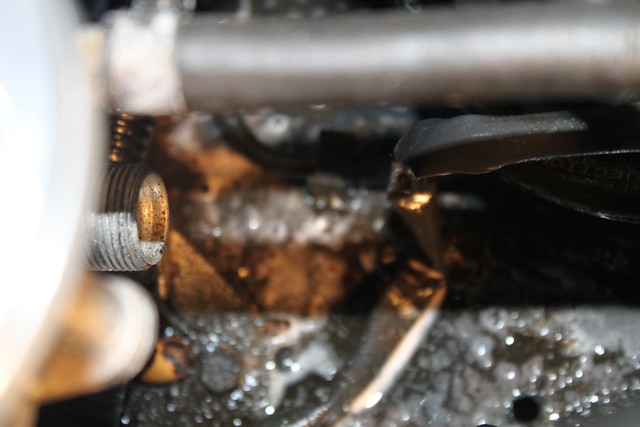

Put it back on and removed the washer fluid reservoir. Its just a toy so don't really need it, lol.

Put the valve cover back on and spiffy oil cap. I got it for 7 bucks from the ricer section at Advance Auto. Bad idea it started leaking at the track. Oh well live and learn.
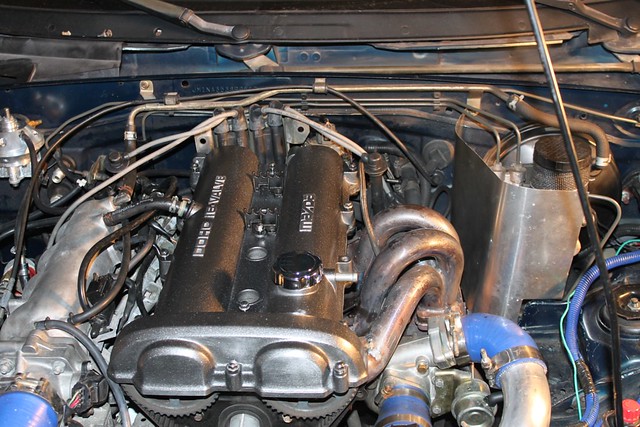

The wires and ricer blue wire loom were killing me. So I tucked it up best I could and put some black wire loom on.

Before

After
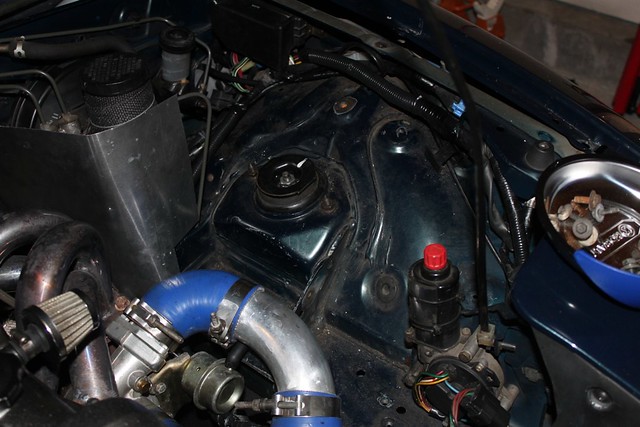

The engine bay still hasn't had a good cleaning. Its getting painted black when the new engine goes in. You'll read more about that later on.

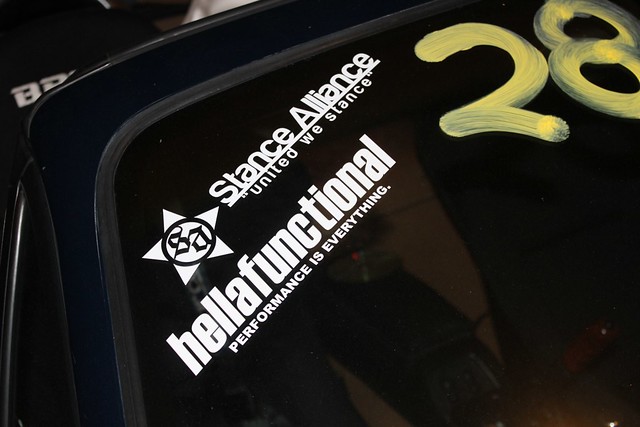
HellaFunctional

New NGK Plug wires waiting to go in


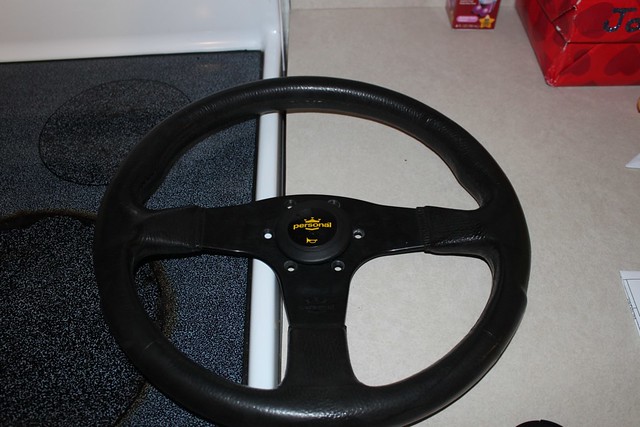
Personal steering wheel. The new hub and air bag delete are in the mail.

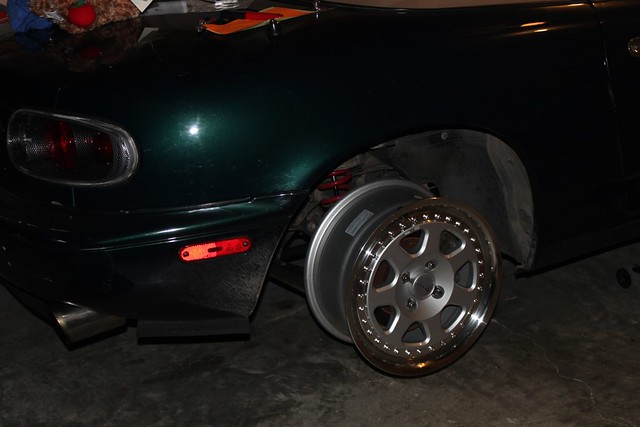
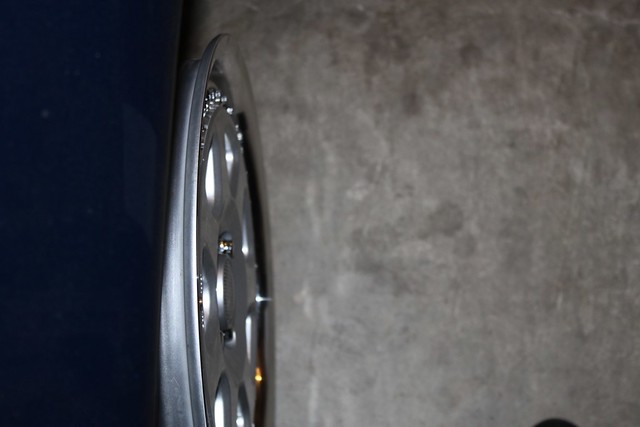
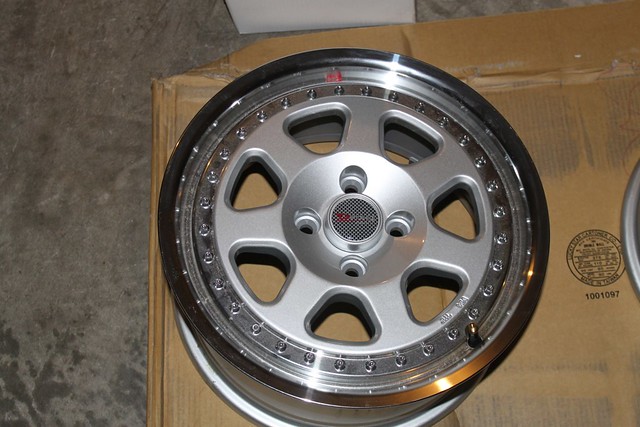
We found these today for 250 bucks. Brand new 15x7 wheels never mounted. So we snagged them. Now we can go from 205/50/15 to a 225/50/15. Now I can use my other wheels for auto x, these for daily driving, and pick up another set for drag.

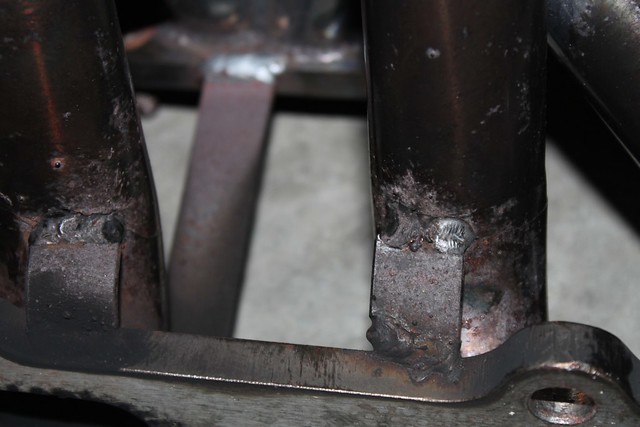
After the new exhaust went out it didn't sound right. I thought there was an exhaust leak. So I went back and had it looked out. Found out the manifold was cracked. So B&B welded it up free of charge. We started looking around and realized on the bottom of another runner it was cracked even worse and leaking bad.

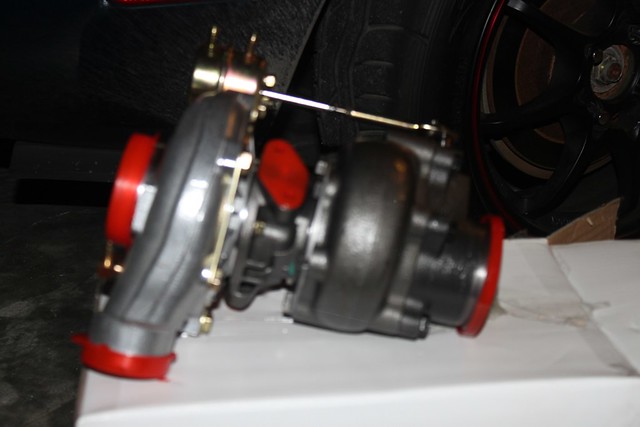
I went to the track and it got worse. I looked at the manifold and all 4 runners were cracked about to break in half. Time to get rid of the cheap ebay manifold. So we ordered an M-Tuned shorty tubular t3 manifold. I got with Jason at B&B muffler because now we have a t25 turbo that was too small and a new manifold that is on the way thats t3. Sounds like a good excuse for a GT30. So we did just that.
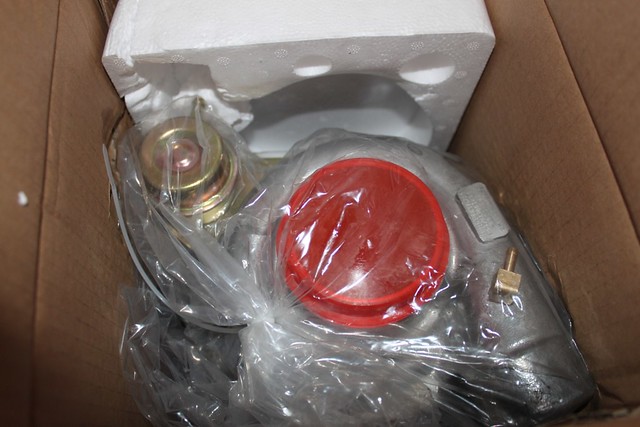
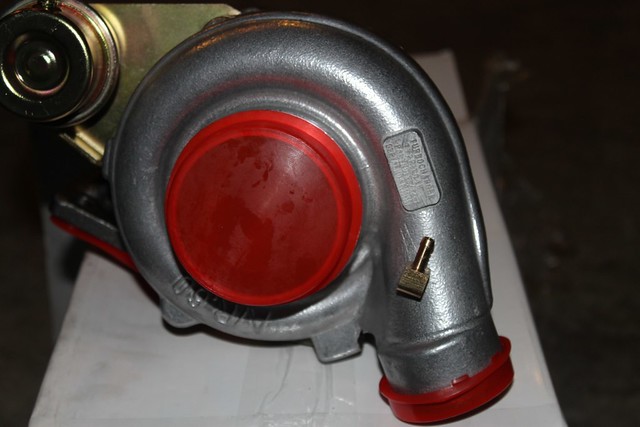


Waiting on the new manifold to come in so we can have this installed

I knew if I got Renee out in the garage enough she would realize my tool box blew. It worked, picked this up.


Thats all for now


Re: Rabbit's Miata Build
Saturday, April 09, 2011 5:25 PM
Test fit the new wheels. I have the tires mounted on them now. They don't look bad on the car with tires. For the price I paid I like them.


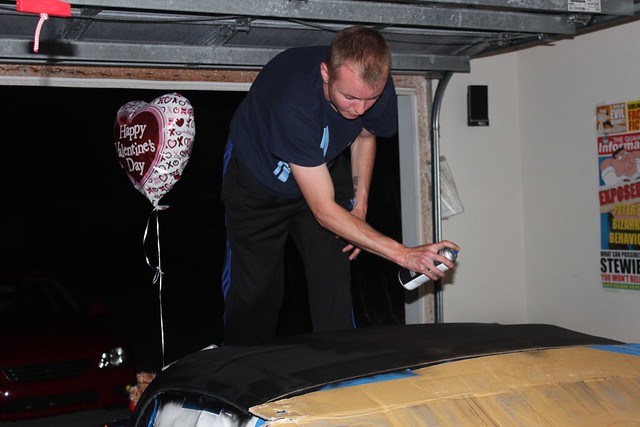
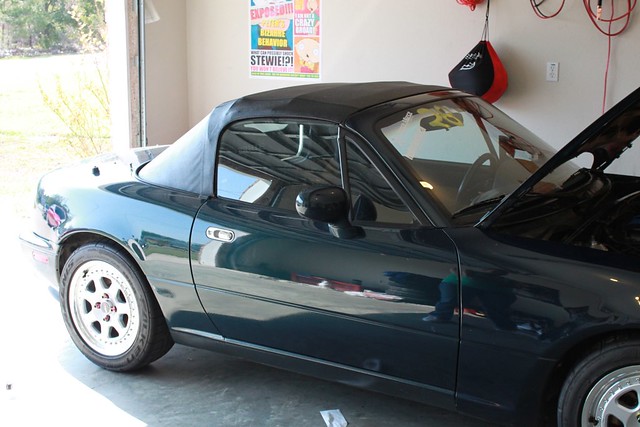
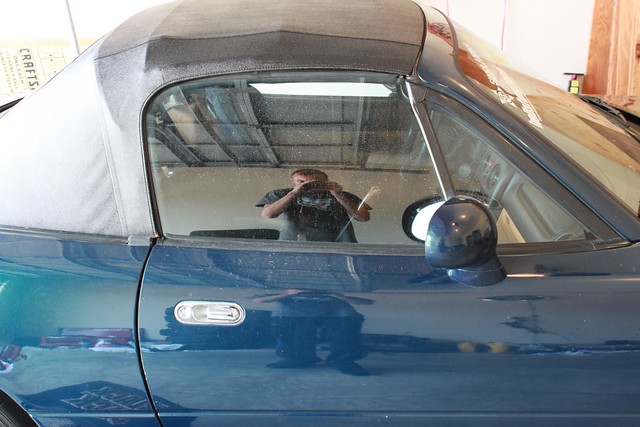
So I did some research on vinyl paint. A lot of people have used it on many different cars. I figured what the hell i'll give it a shot. So I painted (really its more of a dye) the top black.


I'm actually really really happy with the results. The black changed the look of the car so much. Especially with the new wheels.

Here is the manifold before it went down to pretty much be rebuilt.
http://farm6.static.flickr.com/5143/5554424695_3139bdea39_z.jpg]

You can see all the cracks in it.


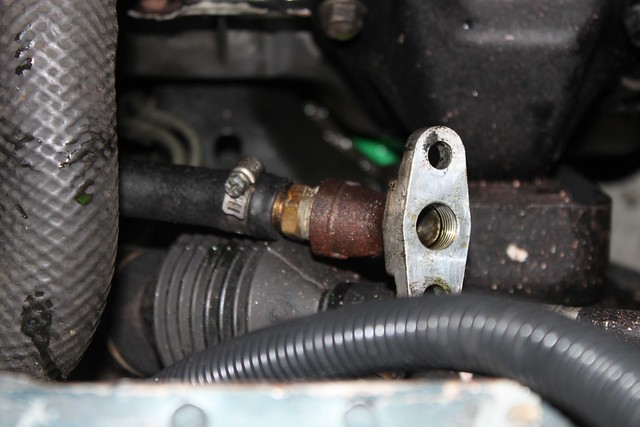
Yea, nice return line =/


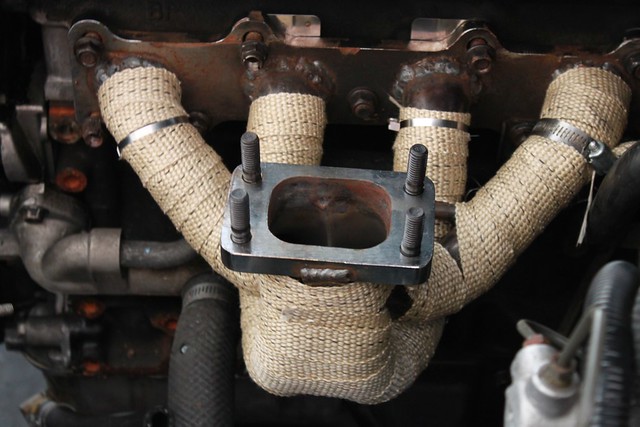
I got the manifold back from Jason at B&B Muffler and Dyno and mounted it up.


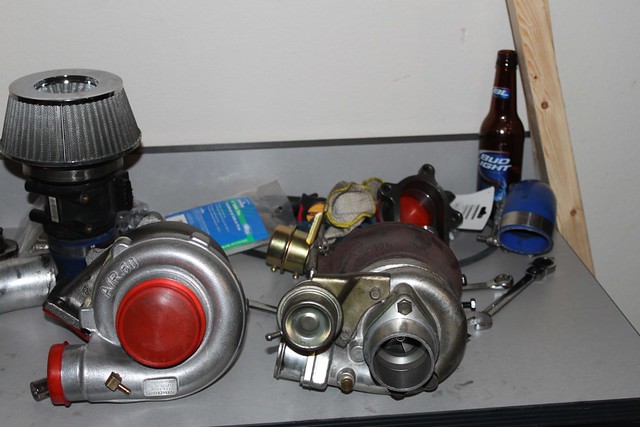
Old turbo vs new turbo


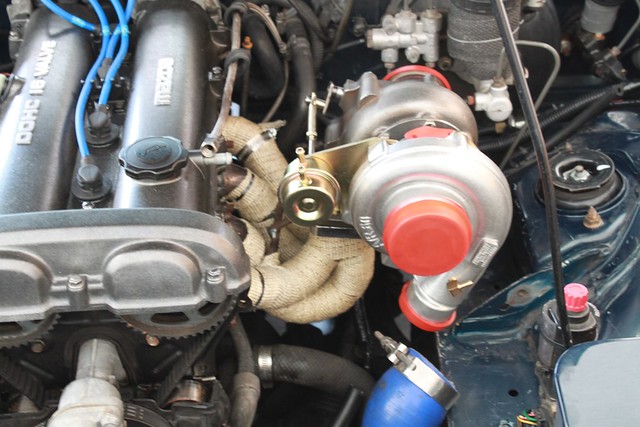
Turbo mocked up, also installed the plug wires.


Re: Rabbit's Miata Build
Saturday, April 09, 2011 5:25 PM


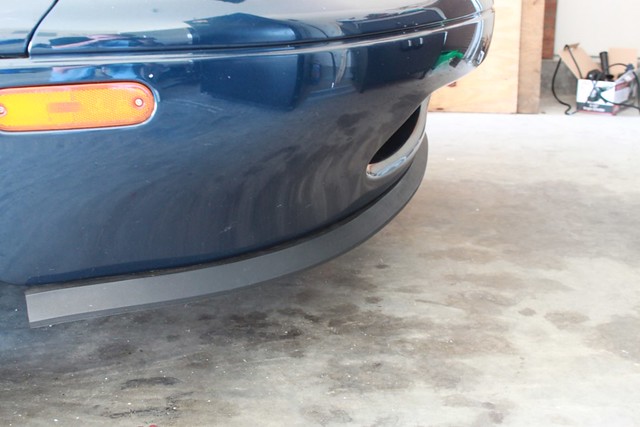
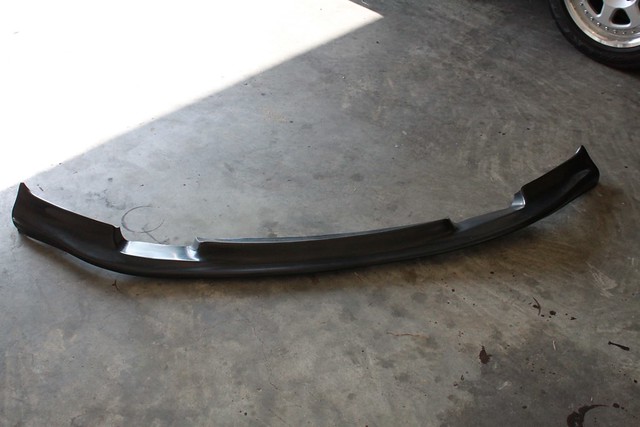
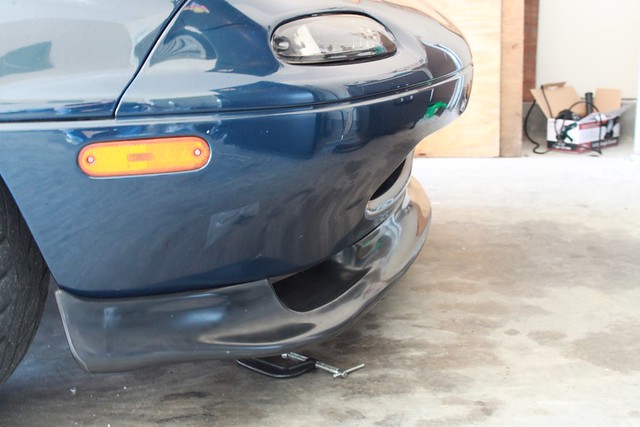
from Garage Door lip to a Garage Vary front lip.

Here is the old "lip"


New GV Lip


There were 30 nuts and bolts holding the garage door seal on. A little excessive you think?

Got the new one installed. I wasn't really looking for a lip. I liked the lips a lot but they go for over 200 new plus shipping. A shop somewhere was going out of business and was trying to ditch some stuff. They were selling these dirt cheap and had 5. So a guy on the miata forums bought 5 of them and was selling them for 140 shipped. I couldn't pass that kind of deal. He said after shipping he was only making about 10 bucks on each one. Whether he's making more or not I don't know. Doesn't matter I still got a great deal. If he got an even better deal good for him.


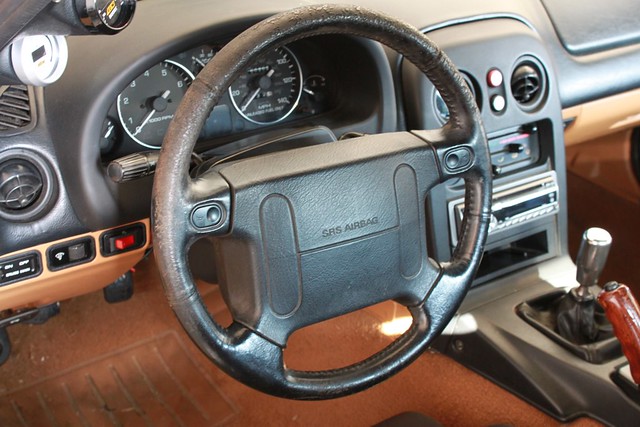
I had bought a Personal steering wheel. Waited for my hub to came in and it did. Sat for a while and finally decided to install it.

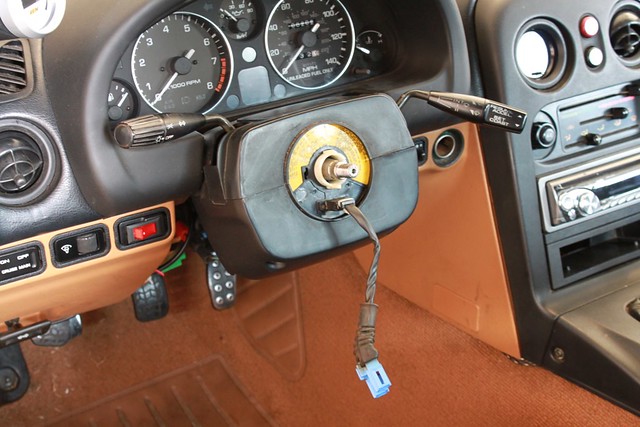
Old steering wheel and air bag.


Removed wheel with the air bag.


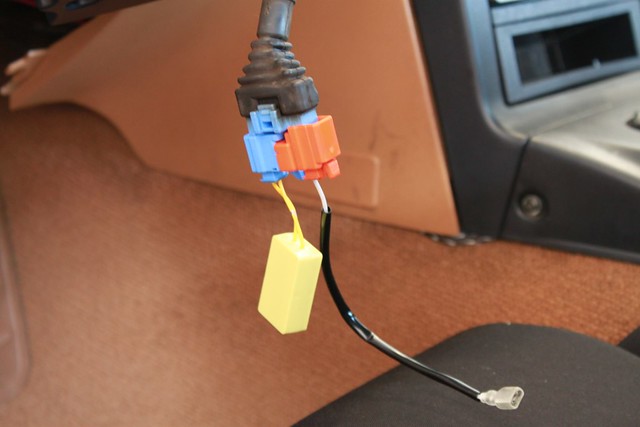
Air bag delete kit with hookup for horn.


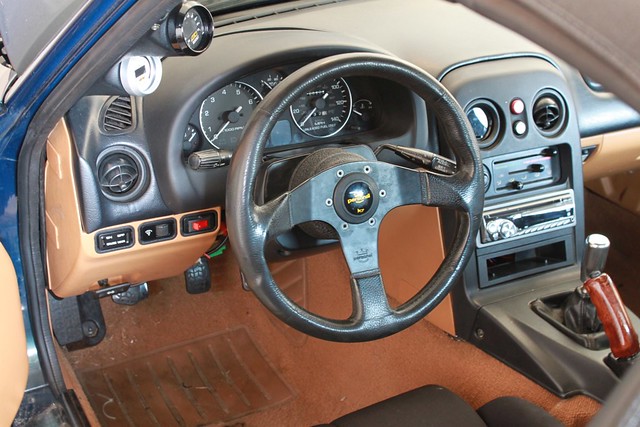
New wheel is on.


Re: Rabbit's Miata Build
Saturday, April 09, 2011 5:26 PM
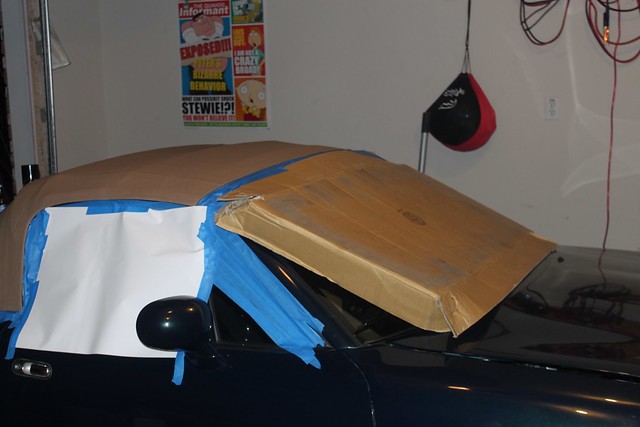
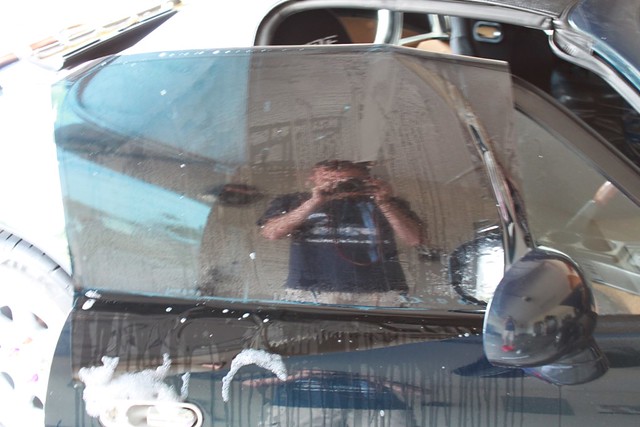
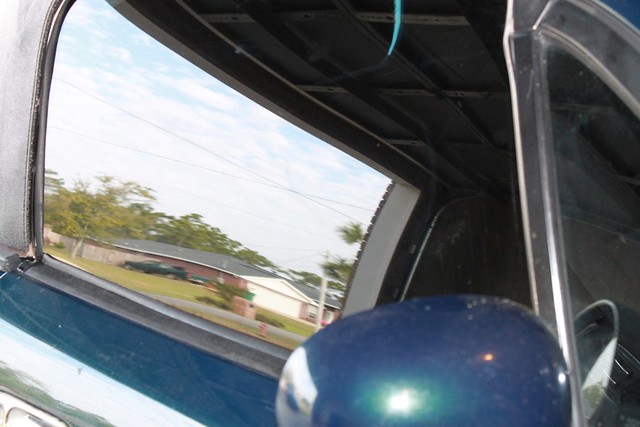
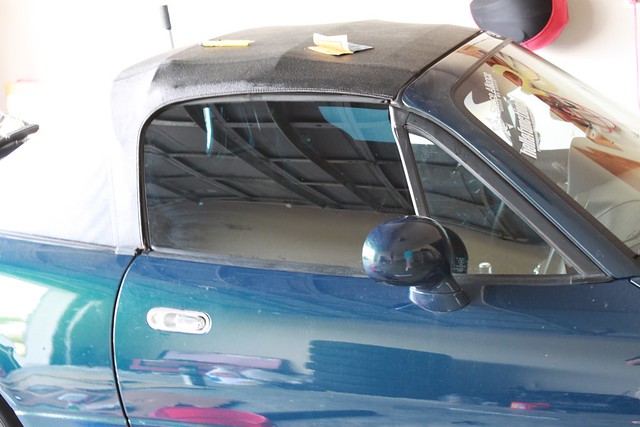
Small update, decided that with the new black top window tint would look cool. So went to autozone and picked up some eXtreme limo tint...lol. Thats what its called.

Before


Cutting it down


Done


Its hard to see in these pics, but still not running and I didn't feel like pushing it outside then pushing it back in, lol.


Re: Rabbit's Miata Build
Saturday, April 09, 2011 5:26 PM
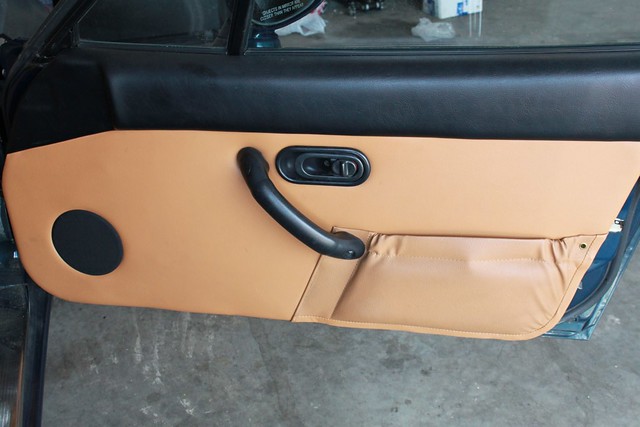
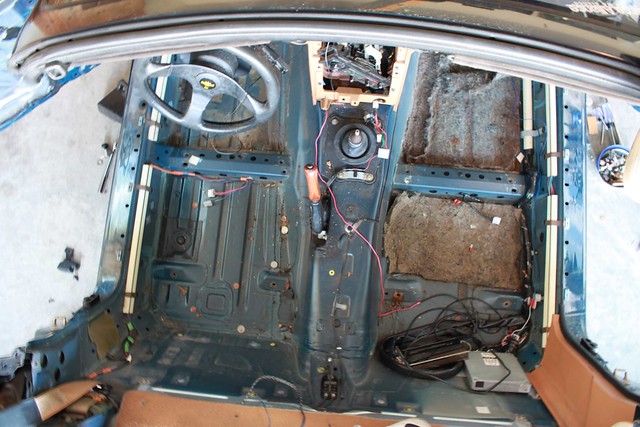
Did a little more work today.

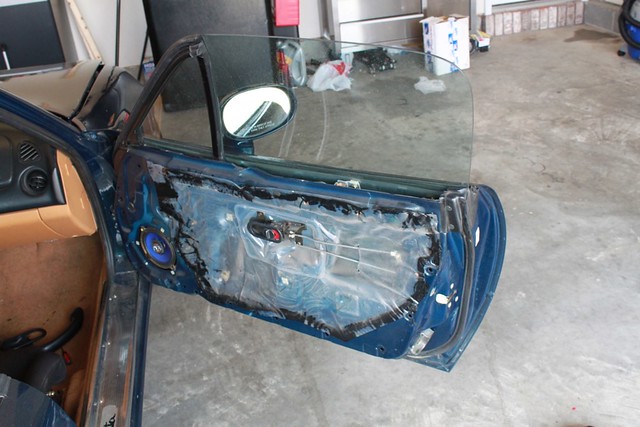
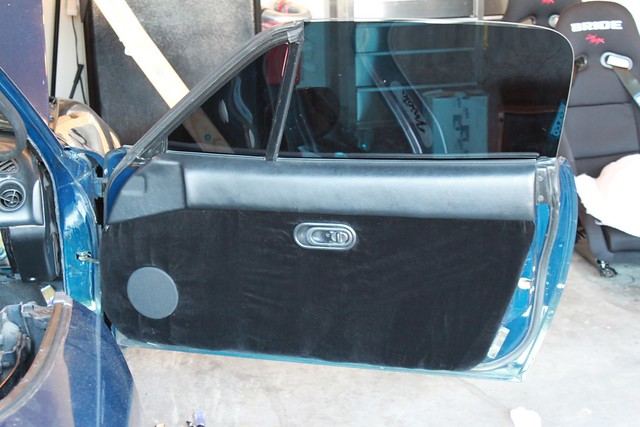
Door panel at the start


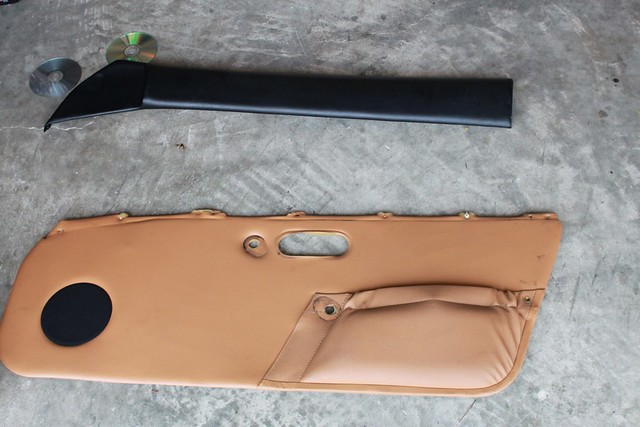
Took the door panels off.


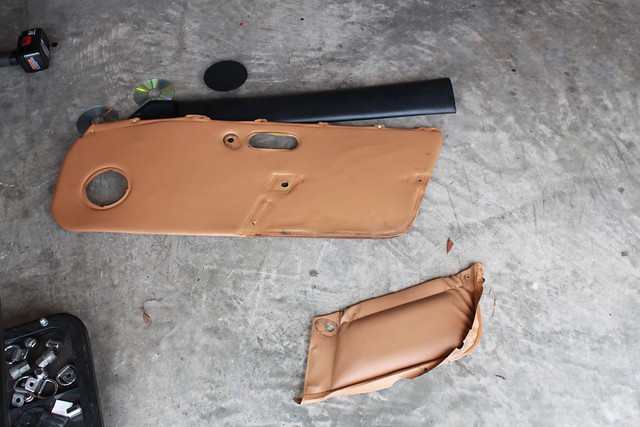
Broke them down


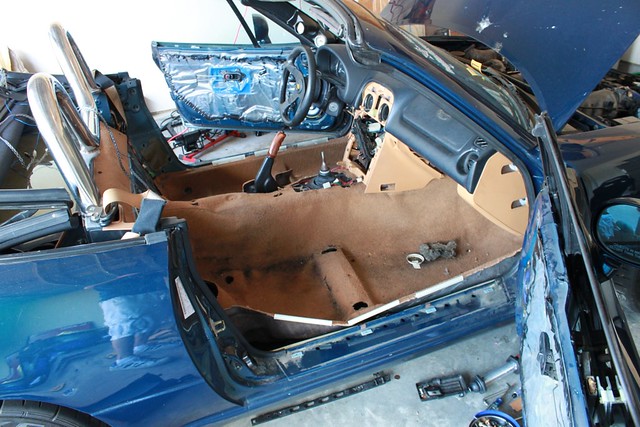
Started in on the carpet


Black Carpet waiting to be cleaned


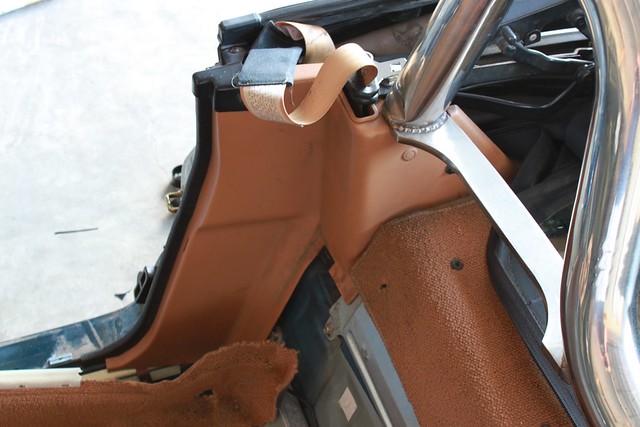
Black Carpet in


Door panel back on


Had to start in on the panels


Re: Rabbit's Miata Build
Saturday, April 09, 2011 5:53 PM
whole lots of win in this post........we need to hang out some time since i see you are in FL lol


RIP JESSE GERARD.....Youll always be in my thoughts and prayers...


Re: Rabbit's Miata Build
Saturday, April 09, 2011 6:09 PM
Awesome!


Ryan1


Re: Rabbit's Miata Build
Saturday, April 09, 2011 6:27 PM
the Jew wrote:whole lots of win in this post........we need to hang out some time since i see you are in FL lol

Thanks man appreciate it. You're pretty far from Navarre FL though aren't you? I'll be at spring fling car show next weekend with the Lexus.

Ryan1 wrote:Awesome!

Thank you


Re: Rabbit's Miata Build
Saturday, April 09, 2011 6:41 PM
Rabbit(AKA RedAssassin) wrote: I'll be at spring fling car show next weekend with the Lexus.


i should be there too. last few years it was the same weekend as spring break nationals in daytona so i could not make it.


Re: Rabbit's Miata Build
Saturday, April 09, 2011 6:43 PM
Hit me up if you're there. You can't miss me. I'll be the red lexus with white wheels. I'll be parked next to the black cherry Lexus.


Re: Rabbit's Miata Build
Saturday, April 09, 2011 7:10 PM
yea i would love to go to the spring fling but i will be a huge trailblazer SS BBQ meet tarpoon springs


RIP JESSE GERARD.....Youll always be in my thoughts and prayers...


Re: Rabbit's Miata Build
Saturday, April 09, 2011 10:38 PM
Looks amazing as always.


Re: Rabbit's Miata Build
Sunday, April 10, 2011 8:11 AM
Wow great pics!

Awesome job with the valve cover!!!
Re: Rabbit's Miata Build
Sunday, April 10, 2011 10:47 AM
love it, in for updates.


Re: Rabbit's Miata Build
Sunday, April 10, 2011 3:43 PM
Coming along well, looks like you've got a lot of work into her so far. One quick question, Why tint the outside of the window as opposed to the inside?


Re: Rabbit's Miata Build
Sunday, April 10, 2011 4:40 PM
KG wrote:Coming along well, looks like you've got a lot of work into her so far. One quick question, Why tint the outside of the window as opposed to the inside?


When ive seen it done its usually laid on the outside of the window to get the pattern and then cut and moved to the inside.


Re: Rabbit's Miata Build
Sunday, April 10, 2011 5:21 PM
Stephen wrote:
KG wrote:Coming along well, looks like you've got a lot of work into her so far. One quick question, Why tint the outside of the window as opposed to the inside?


When ive seen it done its usually laid on the outside of the window to get the pattern and then cut and moved to the inside.


Bingo, its easier to get most of your cuts on the outide. Just make sure you have it facing the right way. Otherwise you put it in the inside and its backwards. Ask me how I know. Lmao.


Re: Rabbit's Miata Build
Sunday, April 10, 2011 6:26 PM
In for more lower.


Re: Rabbit's Miata Build
Sunday, April 10, 2011 6:40 PM
Rabbit(AKA RedAssassin) wrote:
Stephen wrote:
KG wrote:Coming along well, looks like you've got a lot of work into her so far. One quick question, Why tint the outside of the window as opposed to the inside?


When ive seen it done its usually laid on the outside of the window to get the pattern and then cut and moved to the inside.


Bingo, its easier to get most of your cuts on the outide. Just make sure you have it facing the right way. Otherwise you put it in the inside and its backwards. Ask me how I know. Lmao.


That does make sense. I've been doing it wrong


Re: Rabbit's Miata Build
Sunday, April 10, 2011 7:20 PM
mctoad wrote:In for more lower.


Don't hold your breath. I wouldn't expect it to go much lower if any at all. I have the lexus slammed on low off set wheels. This is for function. Low doesn't always mean better handeling.


Re: Rabbit's Miata Build
Sunday, April 10, 2011 7:51 PM

I didn't catch that you have lowering springs the first time I read through. Still though, in for moar low


Re: Rabbit's Miata Build
Monday, April 11, 2011 3:40 AM
Yea they were already on the car when I bought it. Stock shocks and ebay springs. Bah! I haven't moved to suspension yet.


Re: Rabbit's Miata Build
Monday, April 11, 2011 4:49 AM
nice read. cool seeing all the work done. how are you liking the brides?

http://www.flickr.com/photos/sndsgood/ https://www.facebook.com/#!/Square1Photography
Re: Rabbit's Miata Build
Monday, April 11, 2011 6:05 AM
Im liking the brides a lot. There are two issues with them. Neither of which are an issue for me though. They are a tight fit, but im a small guy so no worries. Also they don't recline, but its a Miata and stock seats don't really either.


Re: Rabbit's Miata Build
Monday, April 11, 2011 8:44 AM
Forum Post / Reply
You must log in before you can post or reply to messages.


Start New Topic Advanced Search