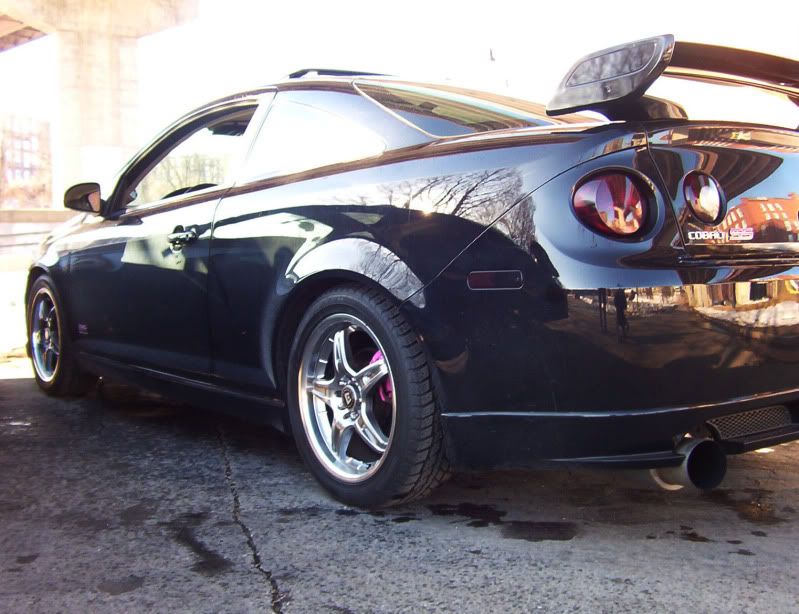
I decided to try to tint a pair of stock 95-99 Cavalier tail lights. I documented the entire process and photographed it as well. I must admit up front that this is my first attempt at painting anything so I did as much research as I could and even then I was not sure how it would come out. You be the judge....
Materials used:
95-99 Cavalier tail lights
(1) 10oz can of VHT NITE-SHADES translucent black lens paint
(1) 11oz can of Krylon Crystal Clear Acrylic Gloss Clear coat paint
(1) Sheet of 600 grit dry/wet sand paper
(1) Sheet of 1500 grit dry/wet sand paper
Masking tape
Garbage bags
Tack cloth
Paper towels
Bucket
Water
Dish soap
Wax
Step 1. (Seal and clean)
The first thing you will need to do is seal the hole for the light bulb and socket with masking tape to keep the moisture out while you are wet sanding. Once the tail light is sealed for moisture you will need to clean the lenses on each individual tail light. During this entire process you will want to keep your work area as clean as possible because this will in return be a direct result of how smooth the surface ends up.
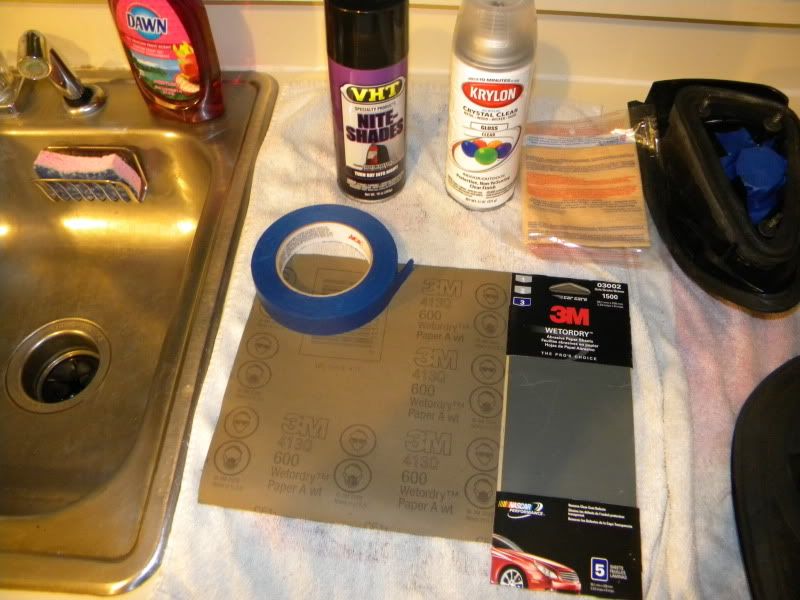
Materials used
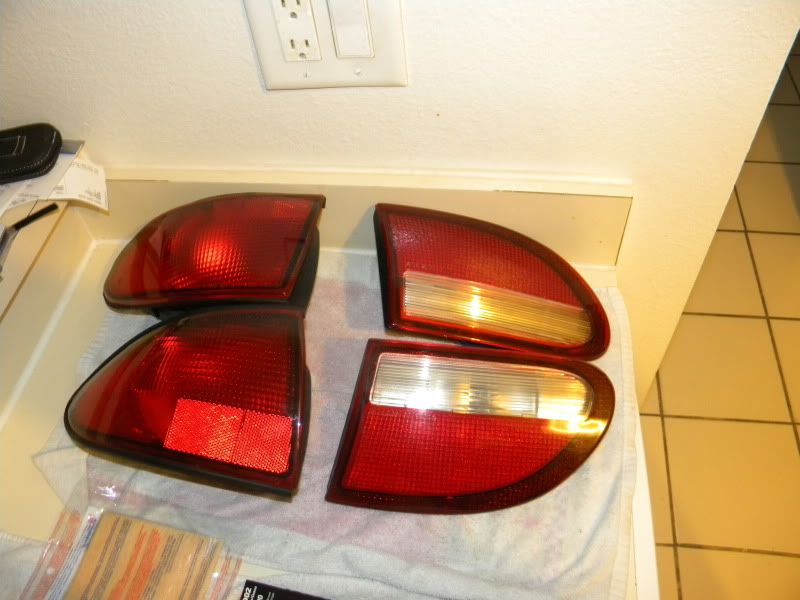
Cleaned tail lights
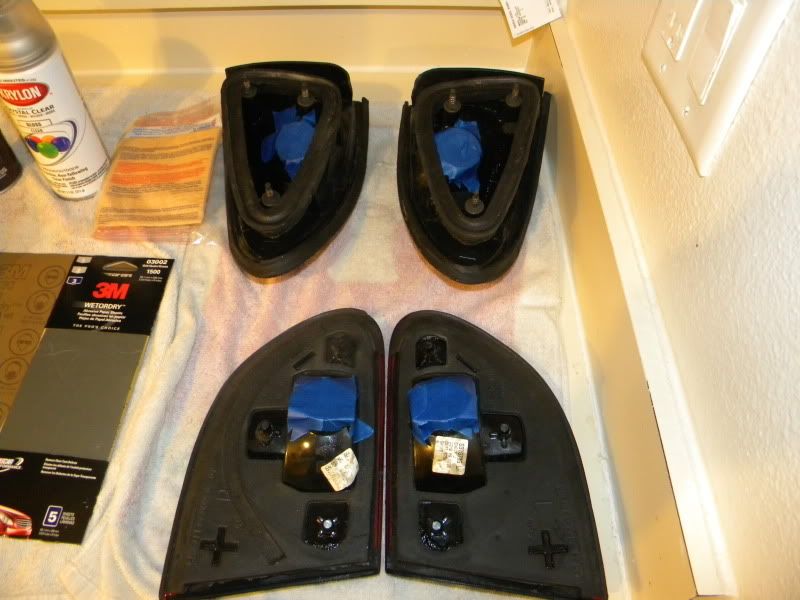
Taping Tail Lights
Step 2. (Design and prepare surface)
The next couple steps are up to you as far as how you want to prepare your surface. In this instance I took the reverse light and masked it off to retain the clear strip of plastic in my design. Once the inner tail lights were masked off and ready for preparation I began by filling up a bucket half full of water and I added dish soap to the water to help in keeping the surface clean and lubricated while wet sanding. I ended up using my dish strainer upside down to keep the tail light from sitting in a puddle of water and to hold the tail light in one spot. I took each tail light and sanded the gloss off of the lenses with the 600 grit sand paper. Make sure you keep the sand paper and surface wet and do your best to keep your hands off the lenses itself as it adds oil to the surface and can again change the final outcome.
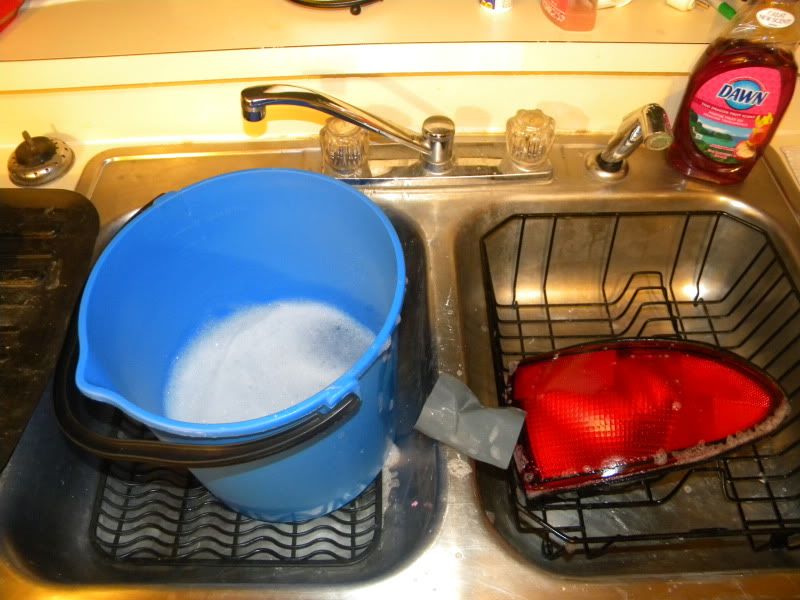
Wet sanding 600 grit
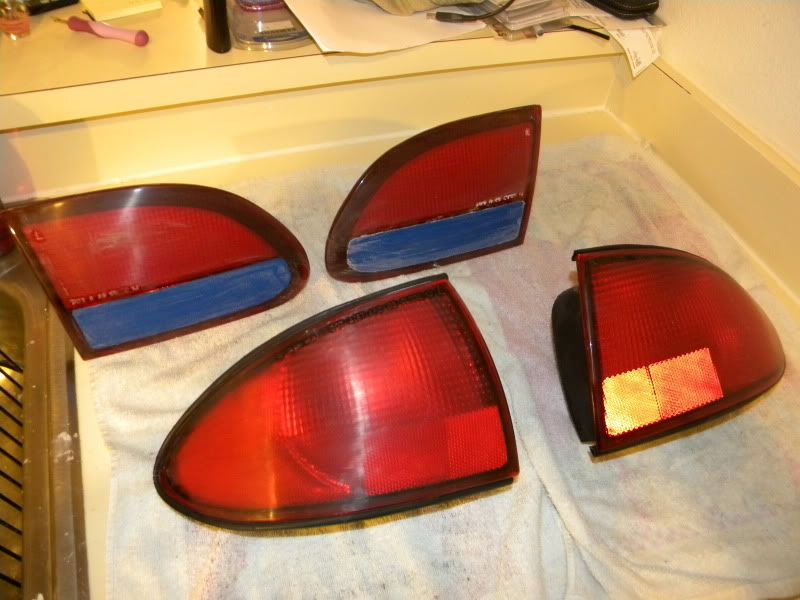
Tail lights taped up and wet sanded with 600 grit
Step 3. (Drying, more prep work and laying 1st coat)
Once the gloss was sanded off of the lenses I used the kitchen sink sprayer to rinse off any remaining soap or particles left over from sanding. Then I set the lenses off to the side and continued on with the next lenses. After sanding and rinsing each lens take a paper towel and gently wipe off any remaining water or dirt. While the tail lights finish drying take the time to prepare the area you plan on spraying the lenses’. I was limited on space so I used an old table out side. I cleaned the table off and took a couple garbage bags and taped them down to the table top. Cleaning the surface is extremely important because you are ultimately trying to limit dust and debris particles. Once the surface is clean and the tail lights are dry its time to position them for painting and use the tack cloth for a final dusting of the tail lights. Once the tail lights have been wiped down with tack cloth you are ready to began laying your first coat of VHT. Your going to want to shake the spray can for 2-3 minutes to loosen up the paint and keep the mixture from separating in the can. Start by spraying a light coat over the tail lights using a sweeping motion, be sure to keep the can about 8-10 inches away from the surface your painting as the closer you are to that surface the higher the chance of runs and blotches.
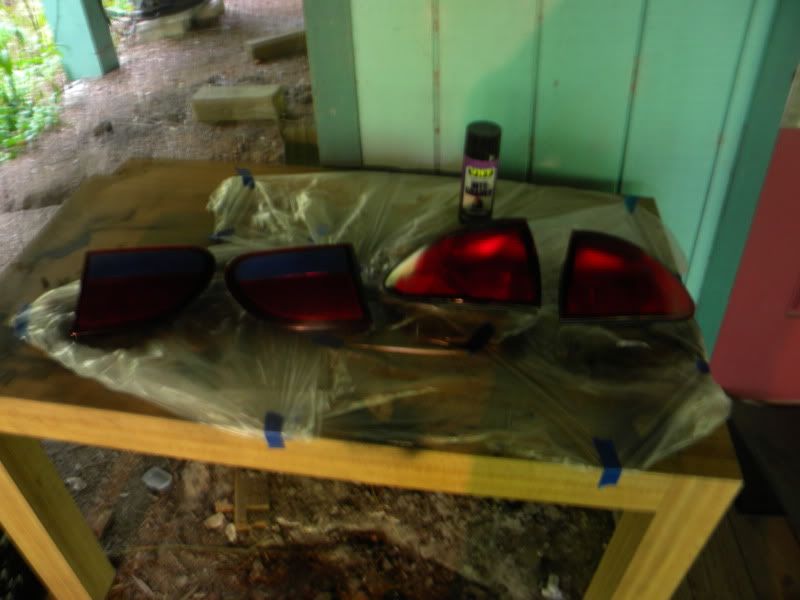
First coat of VHT
Step 4. (Wet sand and lay more coats of VHT)
Once the first coat of VHT is dry you will want to wet sand the surface again but this time you will be using the 1500 grit sand paper. You do not need to sand it very much as you are just removing the dust particles not the paint. Once you have sanded the tail lights you will want to let them dry and go over them with the tack cloth again. You will want to repeat this step of the process until you get to the desired darkness of the tint. Personally I was going for a pretty dark look so I went over the tail lights 5 times with VHT and wet sanded between each coat.
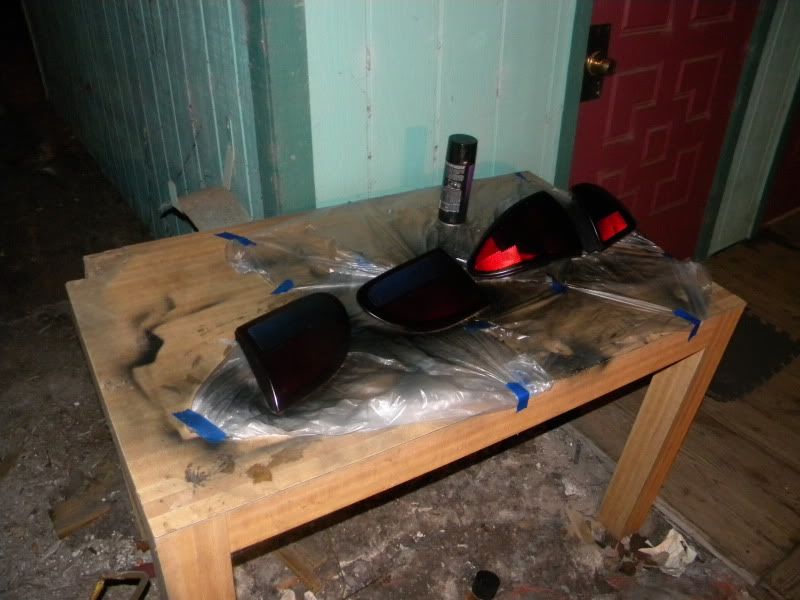
Third coat of VHT
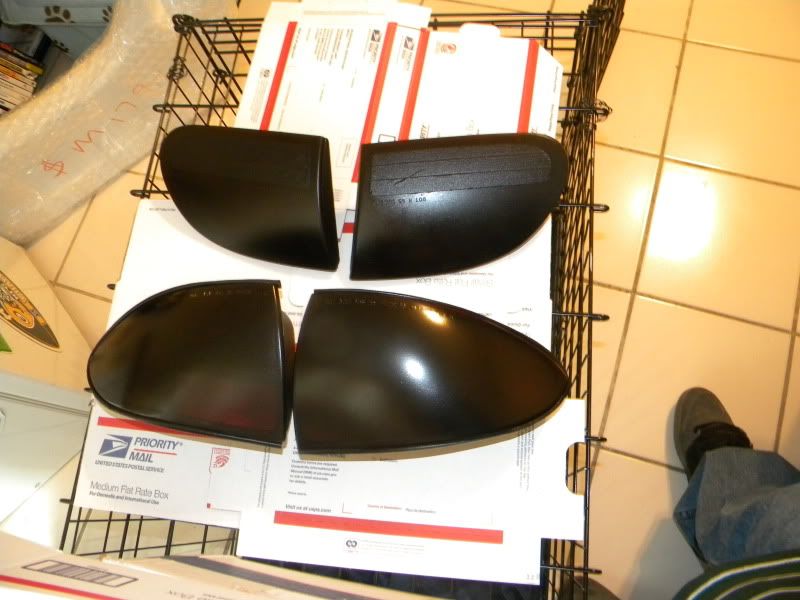
Fourth Coat of VHT
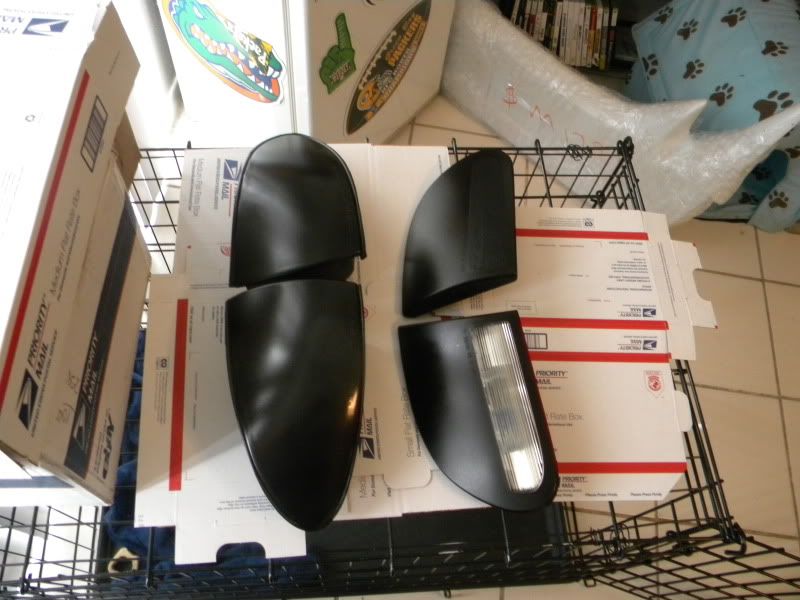
Fifth coat with tape removed
Step 5 (wet sand, tack and clear coat)
Once you have gotten to that desired darkness it is time to wet sand yet again with 1500 grit sand paper. Again you are just sanding for the purpose of removing the imperfections from the paint and NOT the paint itself. So be gentle but be even and make sure the surface is smooth and free of imperfections. You now should have tinted tail lights that are dull and may be even a little milky looking. Let them dry, and rub them down with tack cloth again before you spray your clear coat. For every coat of clear coat you will want to wet sand in between coats and make sure you use the tack cloth before spraying them. I can not stress enough how important it is to let each step dry fully before moving on. If you rush it will look like $#@!. Since I covered the reverse light on the inners I took the masking tape off once I had the desired color and wet sanded the whole surface for preparation of the clear coat. This way I would have a nice even coat of clear across the entire lenses.
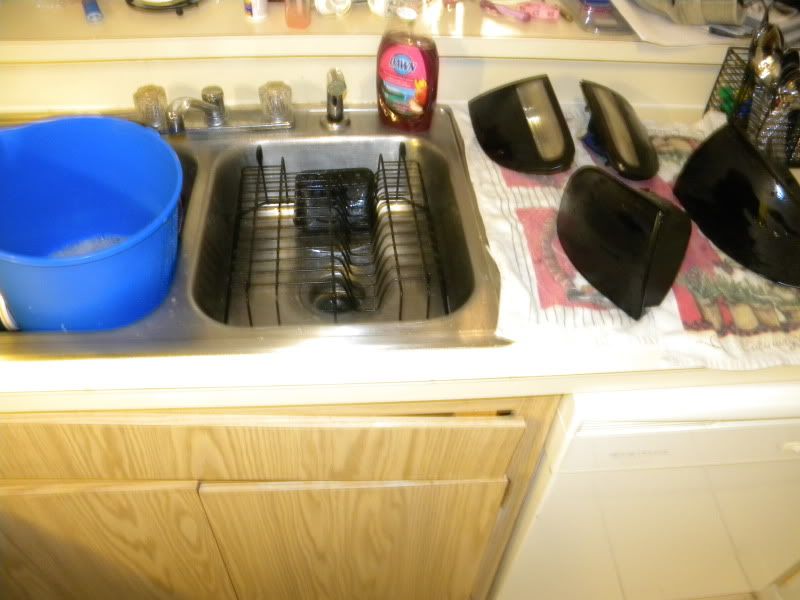
Wet sand the last time before waxing
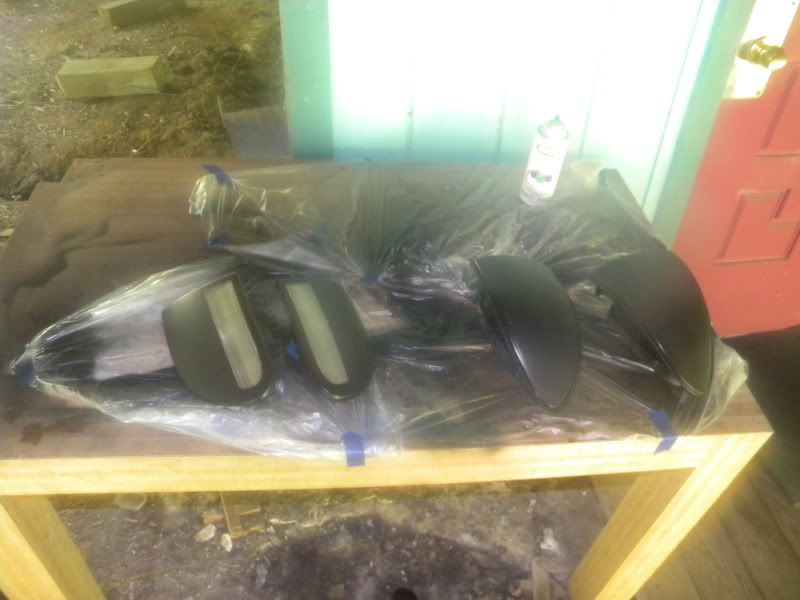
Applying clear coat
Step 6. (Waxing)
The final step after you have wet sanded and clear coated the tail lights is to give the tail lights one more wet sanding and rub down with tack cloth. Your tail lights should have a some what glossy finish. Now you will need to build up a nice layer of wax on the tail lights. Personally I clear coated the tail lights 5 times and waxed them 4 times to achieve the look I was going for.
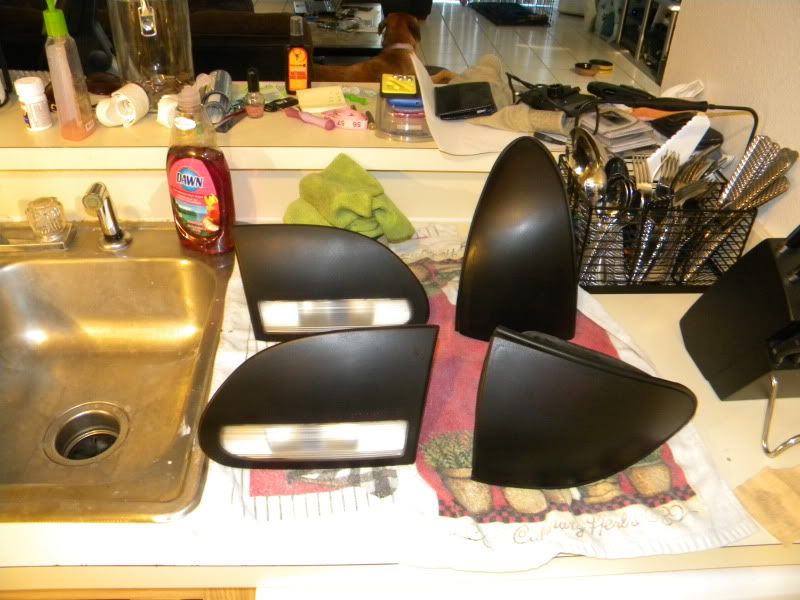
Finished product.... (Needs a few more coats of wax)

Looks like there is no clear or wax on them in the last pic and those are super dark your not gonna see much threw them. Just my opinion though u will find out for your self

There is 5 coats of clear coat, and 2 coats of wax. The car is not daily driven and murdered out is the look I'm going for.

How in the hell did you clear those and get NO shine what so ever?
This is clear over Nightshades

Paying someone to install parts and bragging about it being fast, is like watching someone bang your wife and being proud to raise their kids.
I honestly dont know. Did I not put the clear coat on thick enought? I mean I put 5 coats on, I wet sanded between coats and all...
What Clear coat did you use? Maybe I need to try to re-clear coat the tail lights..........
If some one has advice.... I am all ears.

looks sick man nice job, but also wow those r dark, id like to see a pic of them at night with the brake applied just to see what other people will see, but nice job tho
Jrox wrote:looks sick man nice job, but also wow those r dark, id like to see a pic of them at night with the brake applied just to see what other people will see, but nice job tho
Hey man I appreciate the comments. Your the first person to say something positive I. Feel like I should give you a door prize or something lol. They are pretty dark but, that was the goal. The car is suppose to be a street drag car and since I have ditched the body kit I wanted to do something to the stock look to set it apart from other cavaliers.
This was my first attempt before I do my HHR so I wanted to know where to dark starts and I think with the way I did it my next attempt will be only 3 or 4 coats.
Update:
This morning I have lightly wet sanded one outter tail light to remove any wax, cleaned the surface and added a THICK coat of clear. The result was an instant glossy surface so I will re-clear them all tonight and have updated pictures ASAP.

i was gonna say man.. maybe you picked up satin clear or something? just cuz its 'clear' doesnt necessarily mean it has to be glossy. but if you re-spray and they are glossy then you have the right stuff.
good write up, thats pretty much exactly what i did to mine and they turned out amazing.
i would still perfer having a professional automotive grade clear to be used but in the end whatever gets the jobs done and looks good is all it takes.


I have had trouble with Krylon paints, sanding and adhesion wise. Maybe remove wax and try a different clear.
davedmp wrote:I have had trouble with Krylon paints, sanding and adhesion wise. Maybe remove wax and try a different clear.
I removed the wax this morning and re-clear coated the whole set.... didn't come out much better. Gonna take a trip to discount auto and get some better clear and re-do the clear coat process again. I am so glad I started with a spare set of tail lights and not my 2010 HHR LT tail lights lol

Clear should definitely produce more gloss than that before sanding. I do think if you finish the wetsanding with 2000 grit then polish before you apply wax, you will get way better results. Wax is a final step after polishing. A polish will remove the sanding scratches and give the surface a real nice gloss. A waxes job is to provide a layer of protection to the polished surface. Wax has no scratch removal capabilites. A polish that has had good reviews that is easy to find at most stores is Meguiars Ultimate Compound, would definitely be worth giving a shot.
The tinting you have done looks great, maybe try polishing that clear first before you go buy a different clear, see what happens.
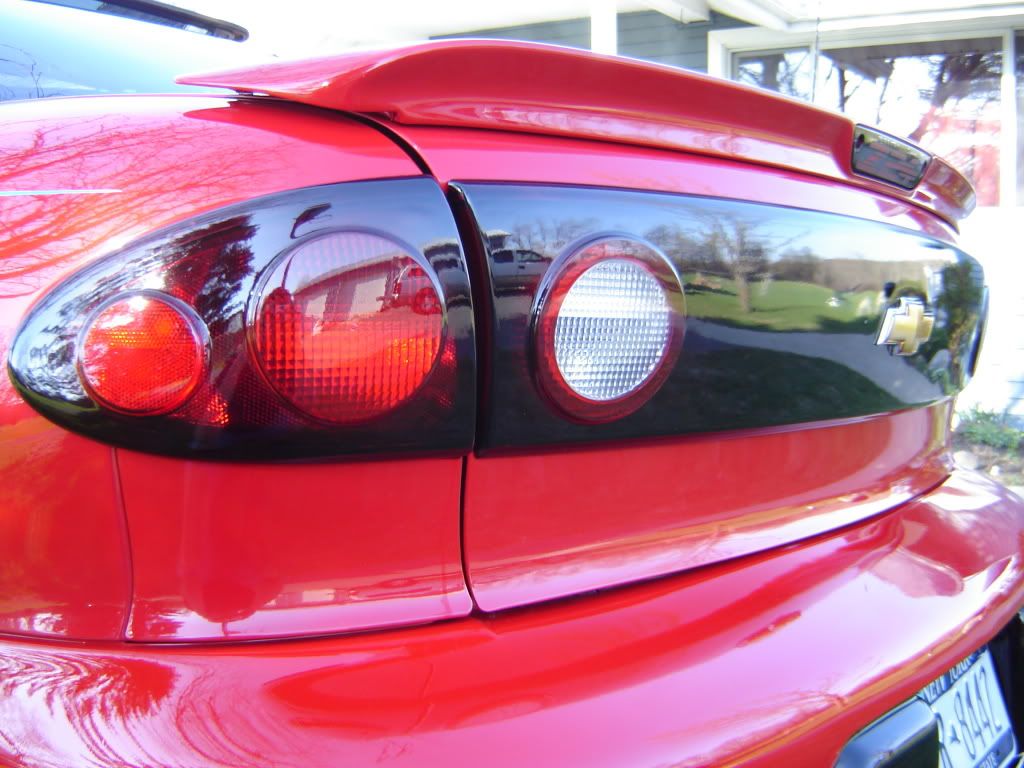
This is an old pic but of my tails, I sanded with 2000 grit, buffed them out, then applied a coat of wax. You can see there is a real nice gloss happening. Hope this helps!


Well it turns out I was using the wrong type of clear coat. I was at Discount Auto and the manager was showing me the difference between the kind I was using and the plastic clear coat. The clear I was using was being sucked in by the plastic itself. I wet sanded again tonight at 1500 grit, smooth as glass and ready for a day of clearing tomorrow. (provided we miss this 60% chance of rain prediction) What are you using to buff the lights besides compound? Are you using an auto buffer, hand buffing, dremel/drill attachment?
I appreciate the advice. Its crazy because when the clear was wet they looked awesome and not as dark in the light.

Too dark for my taste but that's ok it's not my car quality looks superb so props on that buddy.

Everyone keeps saying "too dark too dark". Me personally, I really it. Id like to see them now that you got the correct clear. Also, if Im not mistaken, isnt VHT supposed to be translucent anyways?

HardcoreXSunfire wrote:Everyone keeps saying "too dark too dark". Me personally, I really it. Id like to see them now that you got the correct clear. Also, if Im not mistaken, isnt VHT supposed to be translucent anyways?
Well what I would like to point out is the fact that these pictures were taken in doors, horrible lighting, sitting flat on a counter with the socket holes still taped. In the sun they remind me or black cherry red. Where you can see the red hue but its got a heavy black coat. I will post pictures tomorrow of the new clear. Once I get this down I am doing my 2010 HHR and my 2009 Cobalt tail lights/ reflectors.

I have a DeWalt power polisher that I used on the tail lights in that picture I posted. Takes no time to get the scratches out with a power polisher! 3M has a headlight lens polishing kit that comes with a 3 inch pad and drill attatchments if you don't have access to a buffer. You can polish by hand and get decent results, but it takes elbow grease and no matter what, the results won't be as good as machine polishing. If you do decide to polish by hand, I suggest finishing with 2000 or 2500 grit to make the polishing step easier.

Sweet thanks man. Looks like I will be buying a 3M headlight lens polishing kit tomorrow lol

Haha, good to hear. Clear is tricky, you have to put it on nice and wet, but not too much that it'll run on you.
That's what she said...

Paying someone to install parts and bragging about it being fast, is like watching someone bang your wife and being proud to raise their kids.
Transporter7220 wrote:That's what she said...
One of the best lines ever no matter what your talking about LOL


I love the lights. I'm planning on doing mine soon and I plan on going that dark too. How do they look lit up? Did you get a looksy yet?
HardcoreXSunfire wrote:Everyone keeps saying "too dark too dark". Me personally, I really it. Id like to see them now that you got the correct clear. Also, if Im not mistaken, isnt VHT supposed to be translucent anyways?
i only said it was too dark for MY taste. which means nothing since it's not my car, i just personally like vht when it's laid on in a small number of coats. where the red is still very visible just a tad darker. but like i said, it's not my car, if that's what josh likes then more power to him. it's all personal preferance.
vht is translucent, when it's not laid on so thick that it becomes black. if you put enough coats of a "tinting" paint on eventually, it's going to black it out completely, and then no they're either not visible at all, or just barely.
but like josh said, this is not his dd so if that's the look he's going for then it's all good.

Well after a good 1500 grit wet sand, about 5 coats of clear and a buffing pad with some 3M rubbing compound I was able to get a shine. I will post up some pictures tomorrow when its not raining and sunny so you can get a better idea of how dark they really are. My kitchen has horrible lighting.


